
Homemade Scones, warm from the oven and slathered with clotted cream and jam, are a quintessential treat that evokes images of cozy tea rooms and leisurely afternoons. But forget the fancy cafes! I’m here to show you how incredibly easy it is to bake these delightful little breads in your very own kitchen.
Scones have a rich history, tracing back to Scotland, where they were originally made with oats and cooked on a griddle. Over time, the recipe evolved, incorporating wheat flour and baking powder, resulting in the light and fluffy texture we know and love today. They quickly became a staple of afternoon tea, a tradition that continues to be cherished around the world.
What’s not to love about a homemade scone? Their slightly crumbly yet tender texture, combined with a subtle sweetness, makes them utterly irresistible. They’re incredibly versatile too! Enjoy them plain, with fruit, or even savory additions like cheese and herbs. Plus, they’re surprisingly quick to make, perfect for a last-minute brunch or a comforting treat any time of day. Get ready to impress your friends and family with your newfound baking skills let’s get started!

Ingredients:
- 2 cups all-purpose flour, plus more for dusting
- 1/4 cup granulated sugar
- 1 tablespoon baking powder
- 1/2 teaspoon baking soda
- 1/4 teaspoon salt
- 1/2 cup (1 stick) cold unsalted butter, cut into small cubes
- 3/4 cup buttermilk, cold
- 1 large egg, lightly beaten
- 1 teaspoon vanilla extract
- Optional: 1/2 cup dried cranberries, blueberries, or chocolate chips
- For the Egg Wash: 1 large egg, 1 tablespoon milk or cream
- Optional: Coarse sugar, for sprinkling
Preparing the Scone Dough
Okay, let’s get started! Making scones from scratch is easier than you might think. The key is to keep everything cold, so your butter doesn’t melt before it goes into the oven. This helps create those lovely flaky layers we all crave.
- Combine the Dry Ingredients: In a large bowl, whisk together the 2 cups of all-purpose flour, 1/4 cup of granulated sugar, 1 tablespoon of baking powder, 1/2 teaspoon of baking soda, and 1/4 teaspoon of salt. Make sure everything is well combined so the leavening agents are evenly distributed. This will ensure your scones rise properly.
- Cut in the Cold Butter: Add the 1/2 cup (1 stick) of cold, cubed unsalted butter to the dry ingredients. This is where the magic happens! You can use a pastry blender, your fingers (work quickly!), or even a food processor to cut the butter into the flour. The goal is to create pea-sized pieces of butter coated in flour. These little pockets of butter will melt in the oven, creating steam and those beautiful flaky layers. If using a food processor, pulse until the mixture resembles coarse crumbs. Be careful not to over-process!
- Add the Wet Ingredients: In a separate small bowl, whisk together the 3/4 cup of cold buttermilk, 1 lightly beaten large egg, and 1 teaspoon of vanilla extract. Make sure the buttermilk is really cold; it helps keep the butter firm.
- Combine Wet and Dry: Pour the wet ingredients into the bowl with the dry ingredients and butter. Gently stir until just combined. Be careful not to overmix! Overmixing will develop the gluten in the flour, resulting in tough scones. The dough should be shaggy and slightly sticky.
- Add Optional Mix-Ins: If you’re using dried cranberries, blueberries, or chocolate chips (or any other mix-ins you like!), gently fold them into the dough now. Be careful not to overwork the dough.
- Shape the Dough: Turn the dough out onto a lightly floured surface. Gently pat it into a circle about 1 inch thick. You can use a rolling pin if you prefer, but be gentle!
- Cut the Scones: Use a sharp knife or a biscuit cutter (about 2-3 inches in diameter) to cut out the scones. If using a knife, cut the circle into 6-8 wedges. If using a biscuit cutter, cut out as many scones as possible, then gently re-form the scraps and cut out more. Be careful not to twist the cutter, as this can seal the edges and prevent the scones from rising properly.
- Chill the Scones (Important!): Place the cut scones onto a baking sheet lined with parchment paper. Cover them loosely with plastic wrap and chill in the refrigerator for at least 30 minutes. This is a crucial step! Chilling the scones allows the butter to firm up again, which will result in taller, flakier scones. You can even chill them overnight if you want to bake them in the morning.
Baking the Scones
Now for the fun part baking! The oven temperature is key to getting that golden-brown crust and perfectly cooked interior.
- Preheat the Oven: Preheat your oven to 400°F (200°C). Make sure your oven is fully preheated before you put the scones in.
- Prepare the Egg Wash: In a small bowl, whisk together 1 large egg and 1 tablespoon of milk or cream. This egg wash will give the scones a beautiful golden-brown color.
- Brush with Egg Wash: Remove the scones from the refrigerator and brush the tops with the egg wash. Be sure to get an even coating.
- Sprinkle with Sugar (Optional): If you like, sprinkle the tops of the scones with coarse sugar. This adds a nice sparkle and a little extra sweetness.
- Bake the Scones: Bake for 15-20 minutes, or until the scones are golden brown and a toothpick inserted into the center comes out clean. Keep an eye on them, as baking times can vary depending on your oven.
- Cool Slightly: Remove the scones from the oven and let them cool on the baking sheet for a few minutes before transferring them to a wire rack to cool completely.
Serving and Storing Your Scones
These scones are best enjoyed warm, straight from the oven. But they’re also delicious at room temperature. Here’s how to serve and store them for maximum enjoyment.
- Serve Warm: Serve the scones warm with your favorite toppings, such as clotted cream, jam, lemon curd, or butter. They’re also delicious with a cup of tea or coffee.
- Store Properly: Store leftover scones in an airtight container at room temperature for up to 2 days. For longer storage, you can freeze them.
- Freezing Scones: To freeze scones, let them cool completely. Then, wrap them individually in plastic wrap and place them in a freezer bag. They can be frozen for up to 2 months. To reheat frozen scones, bake them in a preheated oven at 350°F (175°C) for 10-15 minutes, or until warmed through. You can also microwave them for a quick reheat, but they won’t be as crispy.
- Reheating Scones: To reheat scones that have been stored at room temperature, bake them in a preheated oven at 350°F (175°C) for 5-10 minutes, or until warmed through. You can also microwave them for a quick reheat.
Tips for Perfect Scones
Here are a few extra tips to help you make the best scones ever:
- Use Cold Ingredients: As mentioned before, keeping everything cold is crucial for flaky scones. Use cold butter, cold buttermilk, and even chill your mixing bowl if you have time.
- Don’t Overmix: Overmixing the dough will develop the gluten in the flour, resulting in tough scones. Mix just until the ingredients are combined.
- Handle the Dough Gently: Be gentle when patting out and cutting the scones. Avoid overworking the dough.
- Chill the Scones: Chilling the scones before baking allows the butter to firm up again, which will result in taller, flakier scones.
- Use a Sharp Cutter: Use a sharp knife or biscuit cutter to cut out the scones. A dull cutter can seal the edges and prevent the scones from rising properly.
- Don’t Overbake: Overbaking the scones will make them dry. Bake until they are golden brown and a toothpick inserted into the center comes out clean.
- Experiment with Flavors: Feel free to experiment with different flavors and mix-ins. You can add dried fruit, nuts, chocolate chips, or even savory ingredients like cheese and herbs.
Variations
Want to mix things up? Here are a few variations you can try:
- Lemon Scones: Add the zest of one lemon to the dry ingredients and a tablespoon of lemon juice to the wet ingredients.
- Orange Scones: Add the zest of one orange to the dry ingredients and a tablespoon of orange juice to the wet ingredients.
- Cheddar Cheese Scones: Add 1/2 cup of shredded cheddar cheese to the dry ingredients.
- Herb Scones: Add 1 tablespoon of chopped fresh herbs, such as rosemary, thyme, or chives, to the dry ingredients.
- Chocolate Chip Scones: Add 1/2 cup of chocolate chips to the dough.
- Blueberry Scones: Add 1/2 cup of fresh or frozen blueberries to the dough. If using frozen blueberries, don’t thaw them first.
Troubleshooting
Sometimes things don’t go as planned. Here are a
Conclusion:
And there you have it! These homemade scones are truly a must-try, transforming simple ingredients into a delightful treat that’s perfect for any occasion. From the satisfyingly crumbly texture to the subtle sweetness that dances on your tongue, every bite is a little piece of heaven. I genuinely believe that once you’ve tasted these, you’ll never want to buy store-bought scones again. They’re just that good!
But what makes them so special? It’s the combination of the fresh ingredients, the careful technique, and the sheer joy of creating something delicious from scratch. Plus, the aroma that fills your kitchen as they bake is simply intoxicating. It’s an experience that engages all your senses and leaves you feeling warm and content.
Beyond their inherent deliciousness, these scones are incredibly versatile. Serve them warm with a generous dollop of clotted cream and your favorite jam for a classic afternoon tea experience. Or, for a more casual treat, simply spread them with butter and a drizzle of honey. They’re also fantastic alongside a cup of coffee or tea in the morning, providing a delightful start to your day.
Looking for variations? The possibilities are endless! Try adding a handful of fresh or frozen berries to the dough for a burst of fruity flavor. Blueberries, raspberries, or cranberries all work beautifully. You could also incorporate some chopped nuts, such as walnuts or pecans, for added texture and richness. For a savory twist, consider adding some grated cheese and herbs, like cheddar and chives, for a delicious accompaniment to soup or salad. A little lemon zest can also brighten up the flavor profile considerably. Don’t be afraid to experiment and create your own signature scone!
I’ve personally made these scones countless times, and they always disappear in a flash. They’re a guaranteed crowd-pleaser, whether you’re serving them to family, friends, or even just yourself. And the best part is, they’re surprisingly easy to make. Even if you’re a beginner baker, I’m confident that you’ll be able to whip up a batch of these delicious scones with ease. Just follow the recipe carefully, and don’t be afraid to get your hands a little messy.
So, what are you waiting for? Grab your apron, gather your ingredients, and get baking! I promise you won’t regret it. These homemade scones are a truly special treat that deserves a place in your baking repertoire.
And once you’ve tried them, I’d love to hear about your experience! Share your photos and stories on social media using #HomemadeSconesRecipe. Let me know what variations you tried and how they turned out. I’m always eager to see your creations and learn from your experiences. Happy baking, and enjoy! I am sure you will love this recipe as much as I do.
Homemade Scones: The Ultimate Guide to Baking Perfect Scones
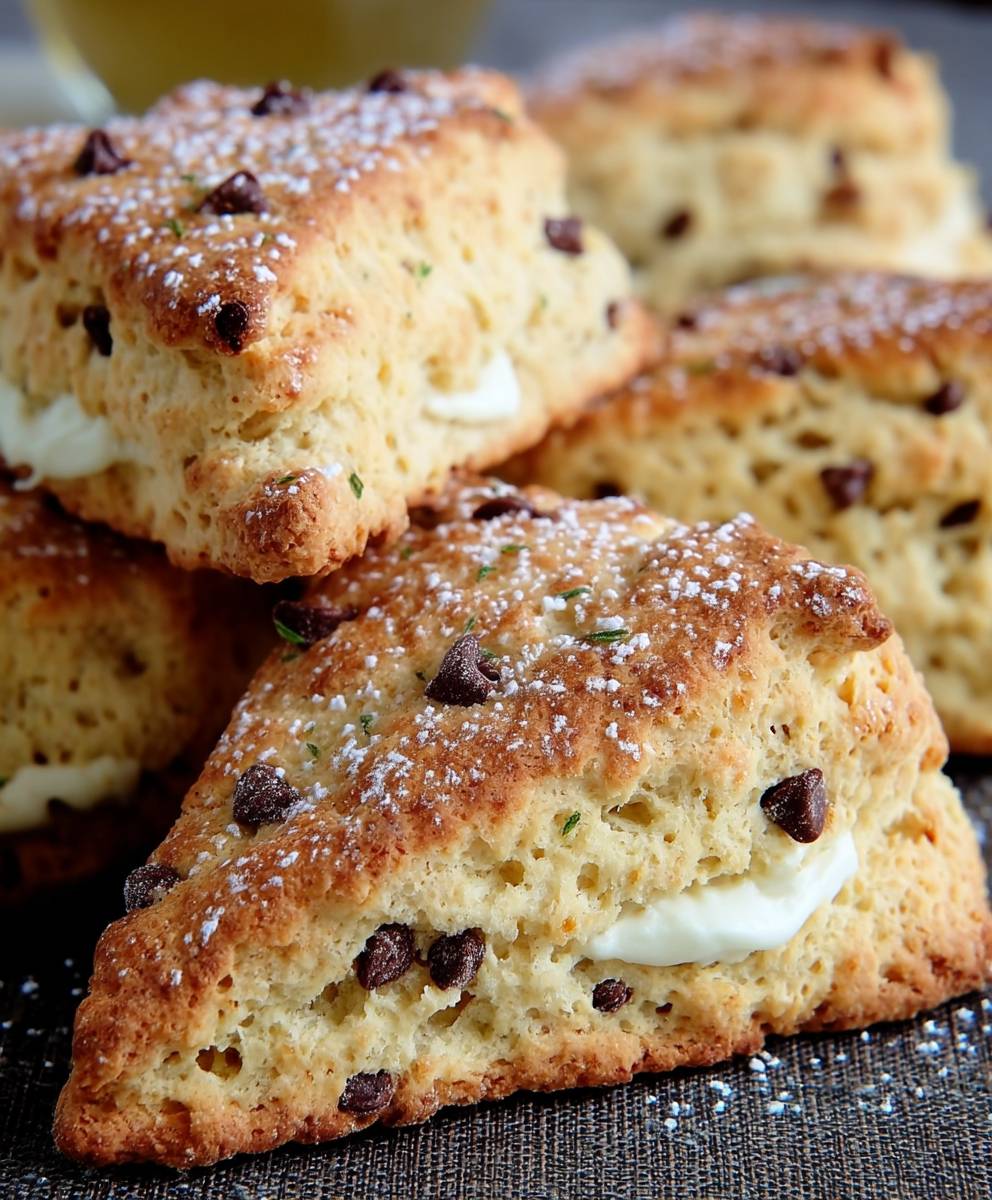
Flaky homemade scones, perfect for breakfast or tea. Customize with cranberries, blueberries, or chocolate chips!
Ingredients
- 2 cups all-purpose flour, plus more for dusting
- 1/4 cup granulated sugar
- 1 tablespoon baking powder
- 1/2 teaspoon baking soda
- 1/4 teaspoon salt
- 1/2 cup (1 stick) cold unsalted butter, cut into small cubes
- 3/4 cup buttermilk, cold
- 1 large egg, lightly beaten
- 1 teaspoon vanilla extract
- 1/2 cup dried cranberries, blueberries, or chocolate chips
- 1 large egg
- 1 tablespoon milk or cream
- Coarse sugar, for sprinkling
Instructions
- Combine the Dry Ingredients: In a large bowl, whisk together the flour, sugar, baking powder, baking soda, and salt.
- Cut in the Cold Butter: Add the cold, cubed butter to the dry ingredients. Use a pastry blender, your fingers (work quickly!), or a food processor to cut the butter into pea-sized pieces coated in flour. If using a food processor, pulse until the mixture resembles coarse crumbs. Be careful not to over-process!
- Add the Wet Ingredients: In a separate small bowl, whisk together the cold buttermilk, lightly beaten egg, and vanilla extract.
- Combine Wet and Dry: Pour the wet ingredients into the bowl with the dry ingredients and butter. Gently stir until just combined. Be careful not to overmix! The dough should be shaggy and slightly sticky.
- Add Optional Mix-Ins: If using dried cranberries, blueberries, or chocolate chips, gently fold them into the dough.
- Shape the Dough: Turn the dough out onto a lightly floured surface. Gently pat it into a circle about 1 inch thick.
- Cut the Scones: Use a sharp knife or a biscuit cutter (about 2-3 inches in diameter) to cut out the scones. If using a knife, cut the circle into 6-8 wedges. If using a biscuit cutter, cut out as many scones as possible, then gently re-form the scraps and cut out more. Be careful not to twist the cutter.
- Chill the Scones (Important!): Place the cut scones onto a baking sheet lined with parchment paper. Cover them loosely with plastic wrap and chill in the refrigerator for at least 30 minutes.
- Preheat the Oven: Preheat your oven to 400°F (200°C).
- Prepare the Egg Wash: In a small bowl, whisk together the egg and milk or cream.
- Brush with Egg Wash: Remove the scones from the refrigerator and brush the tops with the egg wash.
- Sprinkle with Sugar (Optional): If you like, sprinkle the tops of the scones with coarse sugar.
- Bake the Scones: Bake for 15-20 minutes, or until the scones are golden brown and a toothpick inserted into the center comes out clean.
- Cool Slightly: Remove the scones from the oven and let them cool on the baking sheet for a few minutes before transferring them to a wire rack to cool completely.
- Serve Warm: Serve the scones warm with your favorite toppings, such as clotted cream, jam, lemon curd, or butter.
- Store Properly: Store leftover scones in an airtight container at room temperature for up to 2 days. For longer storage, you can freeze them.
- Freezing Scones: To freeze scones, let them cool completely. Then, wrap them individually in plastic wrap and place them in a freezer bag. They can be frozen for up to 2 months. To reheat frozen scones, bake them in a preheated oven at 350°F (175°C) for 10-15 minutes, or until warmed through. You can also microwave them for a quick reheat, but they won’t be as crispy.
- Reheating Scones: To reheat scones that have been stored at room temperature, bake them in a preheated oven at 350°F (175°C) for 5-10 minutes, or until warmed through. You can also microwave them for a quick reheat.
Notes
- Keeping all ingredients cold is crucial for flaky scones.
- Don’t overmix the dough.
- Chilling the scones before baking is essential.
- Use a sharp cutter to avoid sealing the edges.
- Don’t overbake the scones.
- Experiment with different flavors and mix-ins.


Leave a Comment