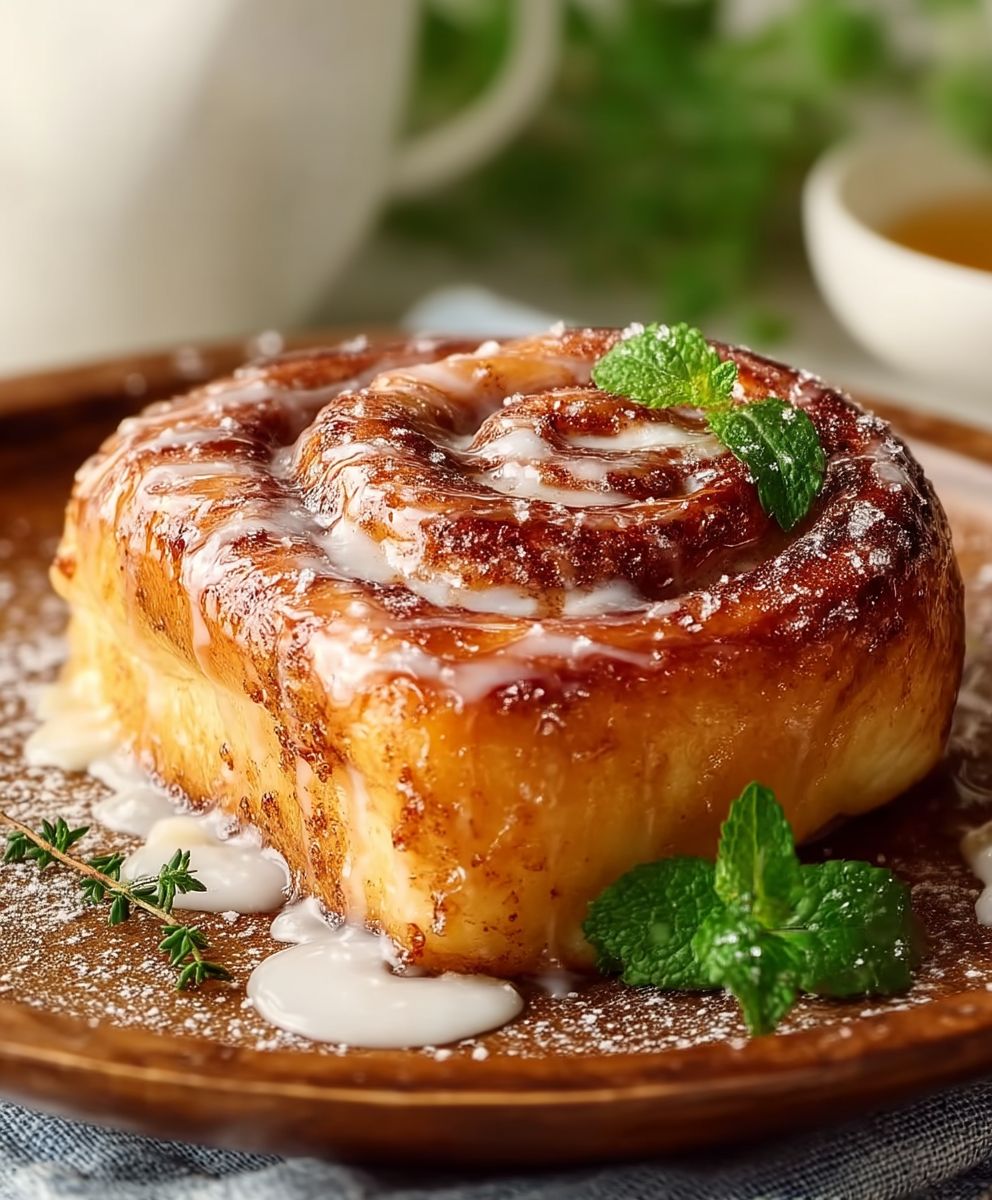
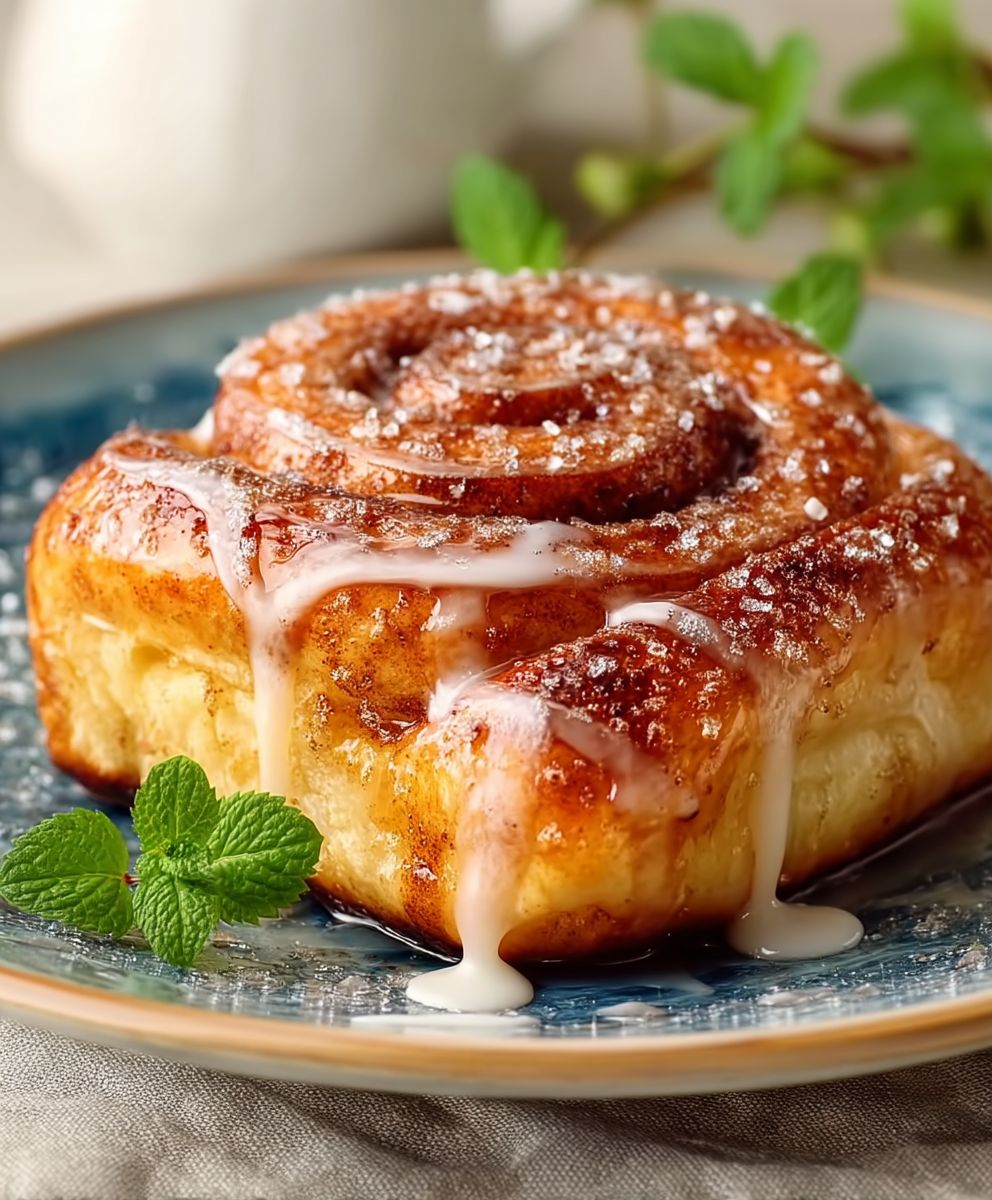
Homemade Honey Bun cravings hitting hard? You’re not alone! There’s something undeniably comforting about that soft, sweet, and sticky treat that just screams pure indulgence. Forget the store-bought versions that are often dry and disappointing; we’re diving headfirst into creating the ultimate, melt-in-your-mouth homemade honey bun experience right in your own kitchen.
While the exact origins of the honey bun are a bit hazy, its roots are likely intertwined with the German “Schnecken,” or snail pastries, brought to America by immigrants. These coiled, sweet doughs evolved over time, eventually embracing the irresistible glaze we know and love. The honey bun became a staple in bakeries and lunchboxes across the nation, a testament to its simple yet satisfying flavor profile.
What makes the honey bun so universally adored? It’s the perfect trifecta of textures: the pillowy soft dough, the slightly crisp edges, and that gloriously gooey honey glaze that clings to every nook and cranny. The warm, comforting sweetness is a hug in pastry form, making it an ideal treat for breakfast, brunch, or a well-deserved afternoon pick-me-up. Plus, making them from scratch allows you to customize the sweetness and spice levels to your exact liking. So, let’s get baking and create some unforgettable homemade honey bun magic!
Ingredients:
- For the Dough:
- 4 cups all-purpose flour, plus more for dusting
- 1/4 cup granulated sugar
- 1 teaspoon salt
- 1/4 ounce (about 2 1/4 teaspoons) active dry yeast
- 1 cup warm milk (110-115°F)
- 1/4 cup (4 tablespoons) unsalted butter, melted
- 2 large eggs, lightly beaten
- For the Filling:
- 1/2 cup (1 stick) unsalted butter, softened
- 1 cup packed light brown sugar
- 2 tablespoons ground cinnamon
- 1/4 teaspoon ground nutmeg (optional, but adds a nice warmth)
- For the Honey Glaze:
- 1/2 cup (1 stick) unsalted butter
- 1/2 cup honey
- 1/4 cup packed light brown sugar
- 1/4 cup heavy cream
- 1/4 teaspoon salt
- 1 teaspoon vanilla extract
Preparing the Dough:
- Activate the Yeast: In a large bowl, or the bowl of your stand mixer, combine the warm milk, sugar, and yeast. Let it sit for 5-10 minutes, or until the yeast is foamy. This step is crucial to ensure your yeast is alive and active. If it doesn’t foam, your yeast might be old, and you’ll need to start over with fresh yeast.
- Combine Wet Ingredients: Add the melted butter and beaten eggs to the yeast mixture. Whisk everything together until well combined. The mixture should be smooth and slightly bubbly.
- Add Dry Ingredients: In a separate bowl, whisk together the flour and salt. Gradually add the dry ingredients to the wet ingredients, mixing on low speed with the dough hook attachment (or by hand) until a shaggy dough forms.
- Knead the Dough: If using a stand mixer, knead the dough on medium speed for 8-10 minutes, or until it becomes smooth and elastic. If kneading by hand, turn the dough out onto a lightly floured surface and knead for 10-12 minutes, until it’s smooth and elastic. The dough should be slightly tacky but not sticky. If it’s too sticky, add a tablespoon of flour at a time until it reaches the right consistency.
- First Rise: Place the dough in a lightly oiled bowl, turning to coat all sides. Cover the bowl with plastic wrap or a clean kitchen towel and let it rise in a warm place for 1-1.5 hours, or until doubled in size. This is where the magic happens! The dough needs time to develop its flavor and airy texture. A warm environment helps the yeast work its best.
Preparing the Filling and Assembling the Honey Buns:
- Prepare the Filling: While the dough is rising, prepare the filling. In a medium bowl, cream together the softened butter, brown sugar, cinnamon, and nutmeg (if using) until light and fluffy. This mixture will create that irresistible swirl of flavor in your honey buns.
- Roll Out the Dough: Once the dough has doubled in size, gently punch it down to release the air. Turn it out onto a lightly floured surface and roll it into a large rectangle, about 12×18 inches. Try to keep the rectangle as even as possible for uniform honey buns.
- Spread the Filling: Evenly spread the prepared filling over the entire surface of the dough rectangle. Make sure to get the filling all the way to the edges for maximum flavor in every bite.
- Roll Up the Dough: Starting from one of the long edges, tightly roll the dough into a log. Pinch the seam to seal it tightly. This is important to prevent the filling from leaking out during baking.
- Cut the Honey Buns: Using a sharp knife or unflavored dental floss, cut the log into 12 equal slices. I find that dental floss creates a cleaner cut and prevents the buns from getting squished.
- Arrange in Baking Pan: Grease a 9×13 inch baking pan. Place the honey bun slices in the prepared pan, cut-side up, leaving a little space between each bun. They will expand during the second rise.
- Second Rise: Cover the pan with plastic wrap or a clean kitchen towel and let the honey buns rise in a warm place for 30-45 minutes, or until they are puffy and almost doubled in size. This second rise is crucial for creating light and airy honey buns.
Preparing the Honey Glaze and Baking:
- Preheat Oven: While the honey buns are rising for the second time, preheat your oven to 350°F (175°C).
- Prepare the Honey Glaze: In a medium saucepan, combine the butter, honey, brown sugar, heavy cream, and salt. Cook over medium heat, stirring constantly, until the butter is melted and the sugar is dissolved. Bring the mixture to a simmer and cook for 1-2 minutes, stirring occasionally, until slightly thickened. Remove from heat and stir in the vanilla extract. Be careful not to burn the glaze.
- Pour Glaze Over Buns: Once the honey buns have finished their second rise, gently pour the honey glaze evenly over the top of the buns. Make sure the glaze seeps down into all the crevices.
- Bake the Honey Buns: Bake in the preheated oven for 25-30 minutes, or until the honey buns are golden brown and the glaze is bubbly. Keep an eye on them towards the end of the baking time to prevent them from burning. If the tops are browning too quickly, you can tent the pan with foil.
- Cool and Serve: Remove the honey buns from the oven and let them cool in the pan for at least 10-15 minutes before serving. This allows the glaze to set slightly and makes them easier to handle. Serve warm and enjoy! These are best enjoyed fresh, but they can be stored in an airtight container at room temperature for up to 2 days. You can also reheat them briefly in the microwave or oven before serving.
Tips and Variations:
- Nutty Honey Buns: Add 1/2 cup of chopped pecans or walnuts to the filling for a nutty twist.
- Cream Cheese Glaze: For a richer glaze, substitute half of the honey glaze ingredients with a cream cheese glaze made from 4 ounces of softened cream cheese, 1/2 cup powdered sugar, and 1-2 tablespoons of milk.
- Caramel Honey Buns: Add a layer of caramel sauce to the bottom of the baking pan before placing the honey buns for a decadent caramel flavor.
- Overnight Rise: For a deeper flavor, you can let the dough rise in the refrigerator overnight. Just make sure to bring it to room temperature before rolling it out.
- Freezing Instructions: Baked honey buns can be frozen for up to 2 months. Wrap them tightly in plastic wrap and then in foil. Thaw overnight in the refrigerator before reheating.
Troubleshooting:
- Dough Not Rising: Make sure your yeast is fresh and that the milk is warm enough (110-115°F) but not too hot, as hot milk can kill the yeast. Also, ensure the environment is warm enough for the dough to rise properly.
- Honey Buns Too Dry: Make sure you’re not overbaking the honey buns. Check for doneness by inserting a toothpick into the center; it should come out clean. Also, ensure you’re using enough glaze.
- Filling Leaking Out: Make sure you seal the seam of the dough log tightly after rolling it up. You can also try chilling the dough log for 15-20 minutes before cutting it into slices to help the filling firm up.
Enjoy your homemade honey buns! They’re a labor of love, but the delicious results are well worth the effort.

Conclusion:
And there you have it! I truly believe this Homemade Honey Bun recipe is a must-try for anyone who loves a sweet, comforting treat. From the satisfyingly soft dough to the gooey, cinnamon-infused honey glaze, every bite is pure bliss. It’s more than just a pastry; it’s a warm hug on a plate, a nostalgic trip back to childhood, and a guaranteed crowd-pleaser all rolled into one delicious package.
Why is it a must-try? Because it’s surprisingly simple to make, using ingredients you probably already have in your pantry. Forget those store-bought honey buns that are often dry and lacking in flavor. This homemade version is bursting with freshness and a depth of flavor that you just can’t replicate with processed ingredients. Plus, the aroma that fills your kitchen while these are baking is simply divine! It’s an experience in itself.
But the best part? You get to customize it! Feel free to experiment with different variations to suit your taste. Want to add a little crunch? Sprinkle some chopped pecans or walnuts on top before baking. Craving a richer flavor? Use brown butter in the glaze for a nutty, caramel-like twist. For a citrusy zing, add a teaspoon of orange zest to the dough. The possibilities are endless!
Serving Suggestions:
These Homemade Honey Buns are perfect on their own, warm from the oven with a glass of cold milk or a steaming cup of coffee. They also make a fantastic addition to a brunch spread, alongside scrambled eggs, bacon, and fresh fruit. For a truly decadent dessert, try serving them with a scoop of vanilla ice cream and a drizzle of chocolate sauce. And don’t forget, they’re even delicious cold, straight from the fridge (if they last that long!).
Here are a few more ideas to get your creative juices flowing:
* Honey Bun French Toast: Slice the honey buns and dip them in a mixture of eggs, milk, and cinnamon, then pan-fry until golden brown. Top with maple syrup and fresh berries.
* Honey Bun Bread Pudding: Cube the honey buns and combine them with a custard mixture, then bake until set. This is a great way to use up any leftover honey buns (though I doubt you’ll have any!).
* Honey Bun Parfaits: Layer crumbled honey buns with yogurt, granola, and fresh fruit for a quick and easy breakfast or snack.
I’m so excited for you to try this recipe and experience the joy of baking your own Homemade Honey Buns. It’s a labor of love, but the reward is well worth the effort. The satisfaction of creating something so delicious from scratch is truly unparalleled.
So, what are you waiting for? Gather your ingredients, preheat your oven, and get ready to embark on a baking adventure. I promise you won’t be disappointed. And once you’ve made these, I’d absolutely love to hear about your experience! Share your photos, your variations, and your stories in the comments below. Let’s spread the honey bun love! I can’t wait to see what you create! Happy baking!
Homemade Honey Bun: The Ultimate Recipe and Baking Guide
Warm, gooey homemade honey buns with soft dough, cinnamon-sugar filling, and luscious honey glaze.
Ingredients
- 4 cups all-purpose flour, plus more for dusting
- 1/4 cup granulated sugar
- 1 teaspoon salt
- 1/4 ounce (about 2 1/4 teaspoons) active dry yeast
- 1 cup warm milk (110-115°F)
- 1/4 cup (4 tablespoons) unsalted butter, melted
- 2 large eggs, lightly beaten
- 1/2 cup (1 stick) unsalted butter, softened
- 1 cup packed light brown sugar
- 2 tablespoons ground cinnamon
- 1/4 teaspoon ground nutmeg (optional)
- 1/2 cup (1 stick) unsalted butter
- 1/2 cup honey
- 1/4 cup packed light brown sugar
- 1/4 cup heavy cream
- 1/4 teaspoon salt
- 1 teaspoon vanilla extract
Instructions
- Activate the Yeast: In a large bowl, combine the warm milk, sugar, and yeast. Let sit for 5-10 minutes, until foamy.
- Combine Wet Ingredients: Add the melted butter and beaten eggs to the yeast mixture. Whisk until combined.
- Add Dry Ingredients: In a separate bowl, whisk together the flour and salt. Gradually add to the wet ingredients, mixing on low speed until a shaggy dough forms.
- Knead the Dough: Knead on medium speed for 8-10 minutes (or by hand for 10-12 minutes) until smooth and elastic.
- First Rise: Place dough in a lightly oiled bowl, turning to coat. Cover and let rise in a warm place for 1-1.5 hours, or until doubled.
- Prepare the Filling: While the dough is rising, cream together the softened butter, brown sugar, cinnamon, and nutmeg (if using) until light and fluffy.
- Roll Out the Dough: Punch down the risen dough. Roll it into a 12×18 inch rectangle on a lightly floured surface.
- Spread the Filling: Evenly spread the filling over the dough rectangle.
- Roll Up the Dough: Starting from a long edge, tightly roll the dough into a log. Pinch the seam to seal.
- Cut the Honey Buns: Cut the log into 12 equal slices using a sharp knife or dental floss.
- Arrange in Baking Pan: Grease a 9×13 inch baking pan. Place the honey bun slices in the pan, cut-side up, leaving space between each bun.
- Second Rise: Cover and let rise in a warm place for 30-45 minutes, or until puffy.
- Preheat Oven: Preheat oven to 350°F (175°C).
- Prepare the Honey Glaze: In a saucepan, combine butter, honey, brown sugar, heavy cream, and salt. Cook over medium heat, stirring constantly, until butter is melted and sugar is dissolved. Simmer for 1-2 minutes, until slightly thickened. Remove from heat and stir in vanilla extract.
- Pour Glaze Over Buns: Gently pour the honey glaze evenly over the risen buns.
- Bake the Honey Buns: Bake for 25-30 minutes, or until golden brown and the glaze is bubbly.
- Cool and Serve: Let cool in the pan for 10-15 minutes before serving. Serve warm.
Notes
- Nutty Honey Buns: Add 1/2 cup of chopped pecans or walnuts to the filling.
- Cream Cheese Glaze: Substitute half of the honey glaze ingredients with a cream cheese glaze made from 4 ounces of softened cream cheese, 1/2 cup powdered sugar, and 1-2 tablespoons of milk.
- Caramel Honey Buns: Add a layer of caramel sauce to the bottom of the baking pan before placing the honey buns.
- Overnight Rise: For a deeper flavor, let the dough rise in the refrigerator overnight. Bring to room temperature before rolling.
- Freezing Instructions: Baked honey buns can be frozen for up to 2 months. Wrap tightly in plastic wrap and then in foil. Thaw overnight in the refrigerator before reheating.
- Dough Not Rising: Make sure your yeast is fresh and that the milk is warm enough (110-115°F) but not too hot, as hot milk can kill the yeast. Also, ensure the environment is warm enough for the dough to rise properly.
- Honey Buns Too Dry: Make sure you’re not overbaking the honey buns. Check for doneness by inserting a toothpick into the center; it should come out clean. Also, ensure you’re using enough glaze.
- Filling Leaking Out: Make sure you seal the seam of the dough log tightly after rolling it up. You can also try chilling the dough log for 15-20 minutes before cutting it into slices to help the filling firm up.


Leave a Comment