
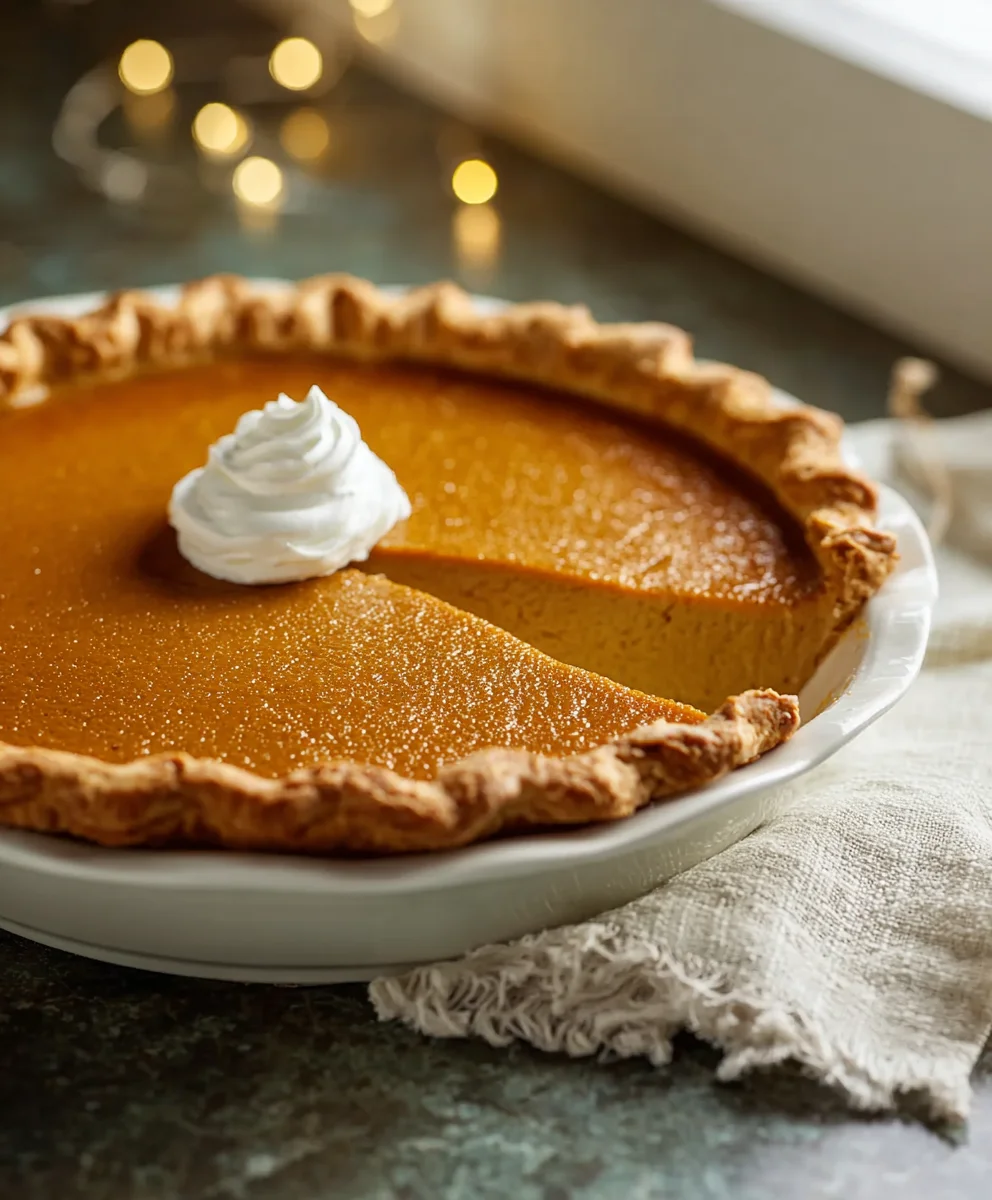
Pumpkin Pie Recipe: The quintessential dessert that embodies autumn’s cozy embrace, this Pumpkin Pie Recipe is more than just a sweet treat; it’s a warm hug in a flaky crust. We all adore pumpkin pie, don’t we? It’s the star of Thanksgiving tables, a comforting presence on chilly evenings, and the perfect sweet ending to any harvest-themed meal. What truly sets this particular Pumpkin Pie Recipe apart is the exquisite balance of spices, the velvety smooth texture of the filling, and the foolproof crust that always bakes to golden perfection. Forget those bland, store-bought versions! This recipe delivers an explosion of warm cinnamon, nutmeg, and ginger that dances on your palate, while the pureed pumpkin creates a rich, creamy indulgence you’ll dream about all year long. Get ready to create a pie that will have everyone asking for seconds – and maybe even thirds!

Ingredients:
- 1 store-bought refrigerated pie crust (or frozen)
- 1 ¾ cups pumpkin puree (one full can)
- ¾ cup brown sugar (firmly packed)
- 3 large eggs
- 2 teaspoons ground cinnamon
- ½ teaspoon ground nutmeg
- 1 teaspoon ground ginger
- 1 teaspoon salt
- 1 ¾ cups whole milk
Preparing the Pie Crust
Preheating the Oven and Preparing the Crust
First things first, let’s get our oven preheated and the pie crust ready. Preheat your oven to 425 degrees Fahrenheit (220 degrees Celsius). If you’re using a frozen pie crust, make sure to follow the package directions for thawing it completely. If you’re using a refrigerated crust, you can usually unroll it right away. Gently unroll the store-bought pie crust and carefully press it into a 9-inch pie plate. It’s important to ensure the crust is evenly distributed across the bottom and up the sides of the plate. You can crimp the edges decoratively with your fingers or a fork to give your pumpkin pie a professional look. If you plan on blind baking your crust (which I often do for a crispier bottom, though it’s not strictly necessary for this recipe), you would prick the bottom all over with a fork and line it with parchment paper, filling it with pie weights or dried beans. However, for simplicity and to ensure the custard bakes through properly, we’ll be filling it directly. Just make sure those edges are nicely secured!
Making the Pumpkin Pie Filling
Combining the Wet and Dry Ingredients
Now, let’s get to the heart of our Pumpkin Pie Recipe – the filling! In a large mixing bowl, combine the pumpkin puree and the brown sugar. Make sure to pack the brown sugar firmly as you measure it; this ensures you get the right amount of sweetness and depth of flavor. Whisk these two ingredients together until they are well combined and smooth. Next, add the three large eggs to the pumpkin and sugar mixture. Whisk everything together until it’s thoroughly incorporated. It’s important to mix well here to ensure the eggs are fully distributed, which will help create a smooth, creamy custard filling. Don’t be afraid to whisk vigorously for a minute or two to get a really uniform consistency.
Adding the Spices and Salt
This is where the magic of pumpkin pie truly comes alive. To the pumpkin, sugar, and egg mixture, add the ground cinnamon, ground nutmeg, ground ginger, and salt. The combination of these warm spices is what gives pumpkin pie its distinctive and comforting aroma and taste. Measure them out carefully; while these spices are forgiving, getting the balance right is key. Stir these spices and the salt into the pumpkin mixture until everything is evenly distributed. You want to make sure there are no pockets of just cinnamon or nutmeg. The salt, while seeming simple, is crucial for enhancing all the other flavors and balancing the sweetness of the pie. Stir until the mixture is a uniform color and consistency.
Incorporating the Milk for a Creamy Custard
The final step in preparing the filling is to add the whole milk. Gradually pour the 1 ¾ cups of whole milk into the pumpkin and spice mixture while whisking continuously. Whisk until the milk is fully incorporated and the filling is smooth and creamy. The whole milk contributes to the rich, luscious texture of the finished pie. As you whisk, you’ll notice the mixture becoming more liquid, which is exactly what we want for a baked custard. Continue to whisk until you don’t see any streaks of milk remaining and the entire mixture is a uniform, pourable consistency. This thorough mixing is what will prevent a separated or grainy texture in your final pie.
Baking the Pumpkin Pie
Filling the Pie Crust and Initial Baking
Now that our delicious filling is ready, it’s time to assemble the pie. Carefully pour the pumpkin pie filling into the prepared pie crust. Try to pour it gently and evenly to avoid disturbing the crust too much. Once the filling is in, it’s time to bake. Place the pie on a baking sheet – this is a really good tip for catching any potential spills and makes it easier to move the pie in and out of the oven. Bake in the preheated 425 degrees Fahrenheit (220 degrees Celsius) oven for 15 minutes. This initial high heat helps to set the crust and begin the cooking process for the filling.
Reducing the Oven Temperature and Continuing to Bake
After 15 minutes at the higher temperature, reduce the oven temperature to 350 degrees Fahrenheit (175 degrees Celsius). Continue baking for another 35 to 45 minutes. The exact baking time can vary depending on your oven, so it’s important to keep an eye on it. You’ll know the pie is done when the edges of the custard are set, but the center still has a slight jiggle when you gently shake the pie plate. You can also insert a knife about an inch from the center; it should come out clean. If the crust edges start to brown too quickly during baking, you can cover them with aluminum foil or use a pie crust shield. This ensures you get a perfectly cooked pie without burnt edges.
Cooling and Serving
Cooling the Pie for Optimal Texture
Once your pumpkin pie is baked to perfection, carefully remove it from the oven. Place the pie on a wire cooling rack. It’s crucial to let the pie cool completely. This cooling process allows the custard to fully set and firm up. Attempting to slice and serve a warm pumpkin pie can result in a gooey, unset center. Allow it to cool for at least 2 to 3 hours at room temperature. If you’re in a hurry, you can place it in the refrigerator after it has cooled for about an hour at room temperature, but room temperature cooling is generally preferred for the best texture.
Serving Your Delicious Pumpkin Pie
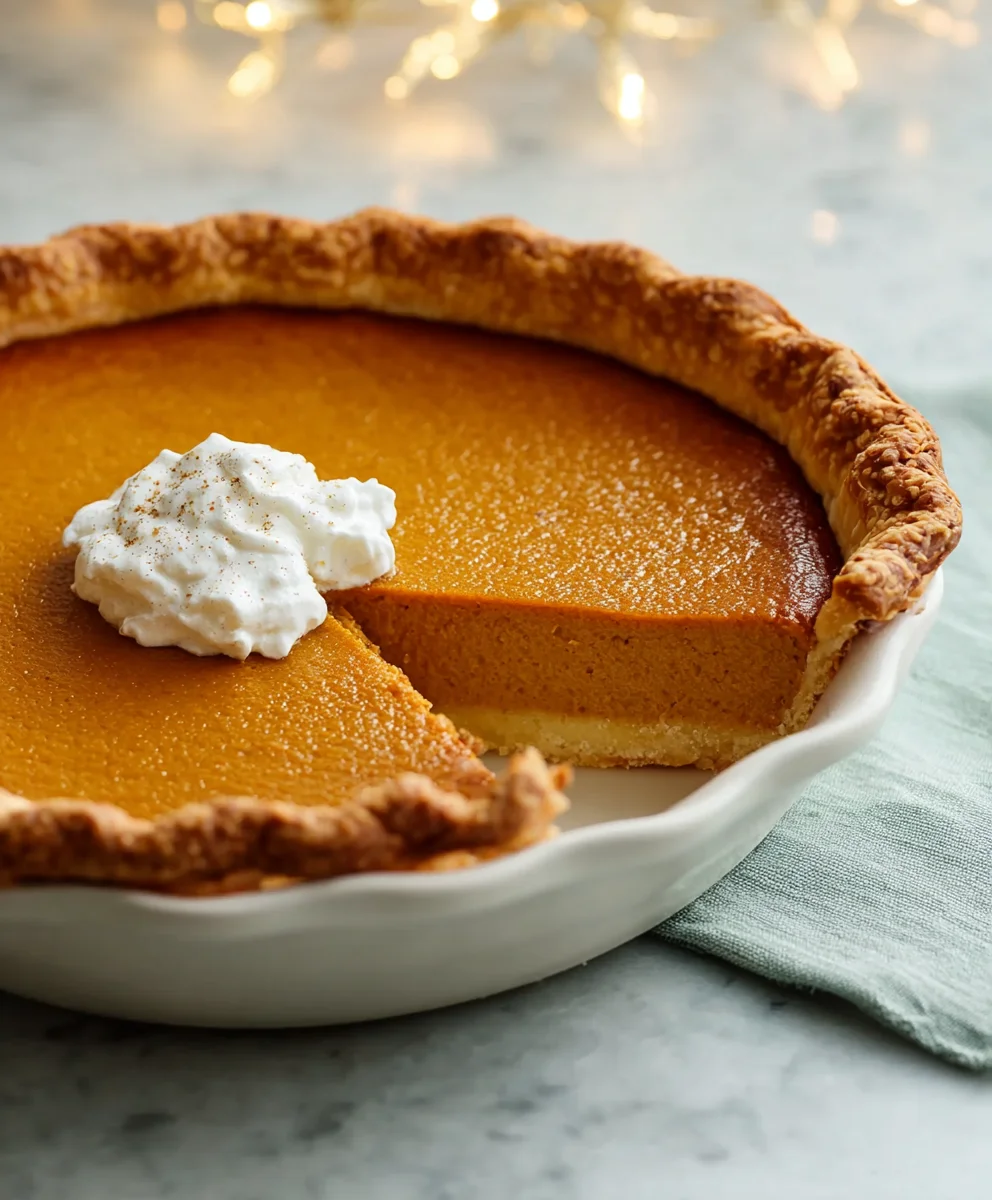
After the pie has cooled completely, it’s ready to be served! Slice it into wedges using a sharp knife. For the classic experience, serve a slice of your homemade pumpkin pie with a dollop of whipped cream or a scoop of vanilla ice cream. This simple yet delicious Pumpkin Pie Recipe is perfect for any occasion, from Thanksgiving feasts to casual weekend gatherings. Enjoy the rich, spiced, and creamy goodness of your homemade creation!
Conclusion:
You’ve now mastered the art of creating a truly delightful Pumpkin Pie Recipe! This classic dessert, with its rich, spiced filling and flaky crust, is perfect for any occasion, especially during the autumn months and holidays. I hope you found this guide straightforward and inspiring. Remember, baking is a journey, and this recipe is a wonderful starting point. Don’t be afraid to experiment and make it your own!
Serve your beautiful pumpkin pie warm with a dollop of whipped cream, a scoop of vanilla ice cream, or a drizzle of caramel sauce for an extra touch of indulgence. For variations, consider adding a pinch of ground cardamom or a touch of orange zest to the filling for a subtle flavor twist. You could also try a gingersnap crust for a bolder spice profile. I encourage you to share your creations with loved ones and savor every delicious bite. Happy baking!
Frequently Asked Questions:
Can I make the pumpkin pie ahead of time?
Absolutely! Pumpkin pie can be made one to two days in advance and stored, covered, in the refrigerator. This can actually allow the flavors to meld beautifully. Just be sure to bring it to room temperature or gently reheat it before serving for the best texture and taste.
What kind of pumpkin should I use for this Pumpkin Pie Recipe?
For the best flavor and texture, it’s recommended to use pure pumpkin puree, not pumpkin pie filling. Look for 100% pure pumpkin puree in cans. If you’re feeling ambitious, you can roast and puree your own sugar pumpkin or pie pumpkin for an even fresher taste, but ensure it’s well-drained to avoid a watery filling.
Easy Classic Pumpkin Pie Recipe
A delicious and easy classic pumpkin pie recipe perfect for any fall gathering.
Ingredients
-
1 store-bought refrigerated pie crust (or frozen)
-
1 ¾ cups pumpkin puree (one full can)
-
¾ cup brown sugar (firmly packed)
-
3 large eggs
-
2 teaspoons ground cinnamon
-
½ teaspoon ground nutmeg
-
1 teaspoon ground ginger
-
1 teaspoon salt
-
1 ¾ cups whole milk
Instructions
-
Step 1
Preheat oven to 425 degrees Fahrenheit (220 degrees Celsius). Gently unroll the pie crust and press it into a 9-inch pie plate. Crimp the edges decoratively. -
Step 2
In a large mixing bowl, combine pumpkin puree and firmly packed brown sugar. Whisk until smooth. Add eggs and whisk until thoroughly incorporated. -
Step 3
Add ground cinnamon, ground nutmeg, ground ginger, and salt to the pumpkin mixture. Stir until evenly distributed. -
Step 4
Gradually pour in the whole milk while whisking continuously until the filling is smooth and creamy. -
Step 5
Carefully pour the pumpkin pie filling into the prepared pie crust. Place the pie on a baking sheet. -
Step 6
Bake at 425 degrees Fahrenheit (220 degrees Celsius) for 15 minutes. Reduce oven temperature to 350 degrees Fahrenheit (175 degrees Celsius) and bake for another 35-45 minutes, or until the center is set with a slight jiggle. -
Step 7
Let the pie cool completely on a wire cooling rack for at least 2-3 hours before serving.
Important Information
Nutrition Facts (Per Serving)
It is important to consider this information as approximate and not to use it as definitive health advice.
Allergy Information
Please check ingredients for potential allergens and consult a health professional if in doubt.
Leave a Comment