
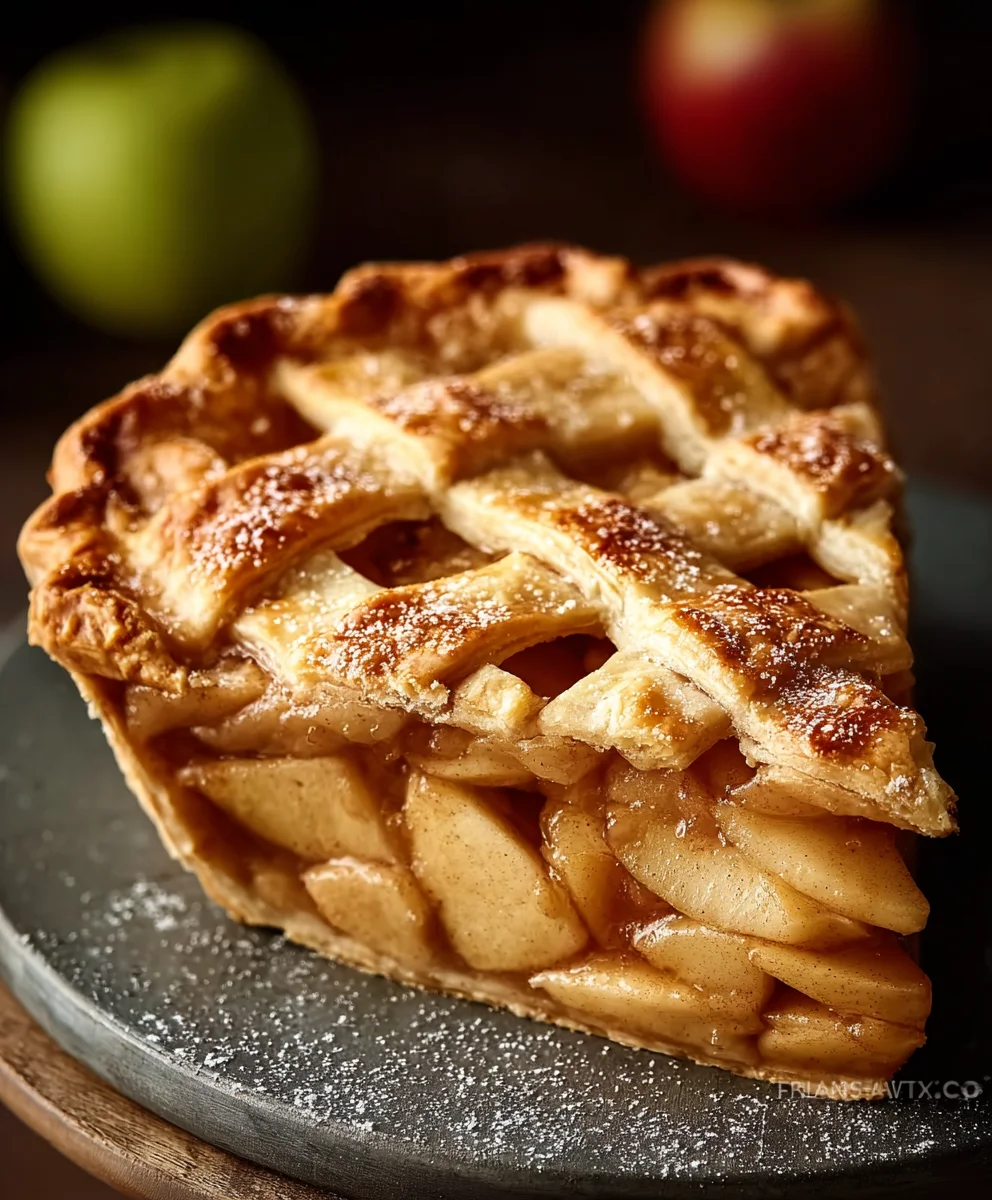
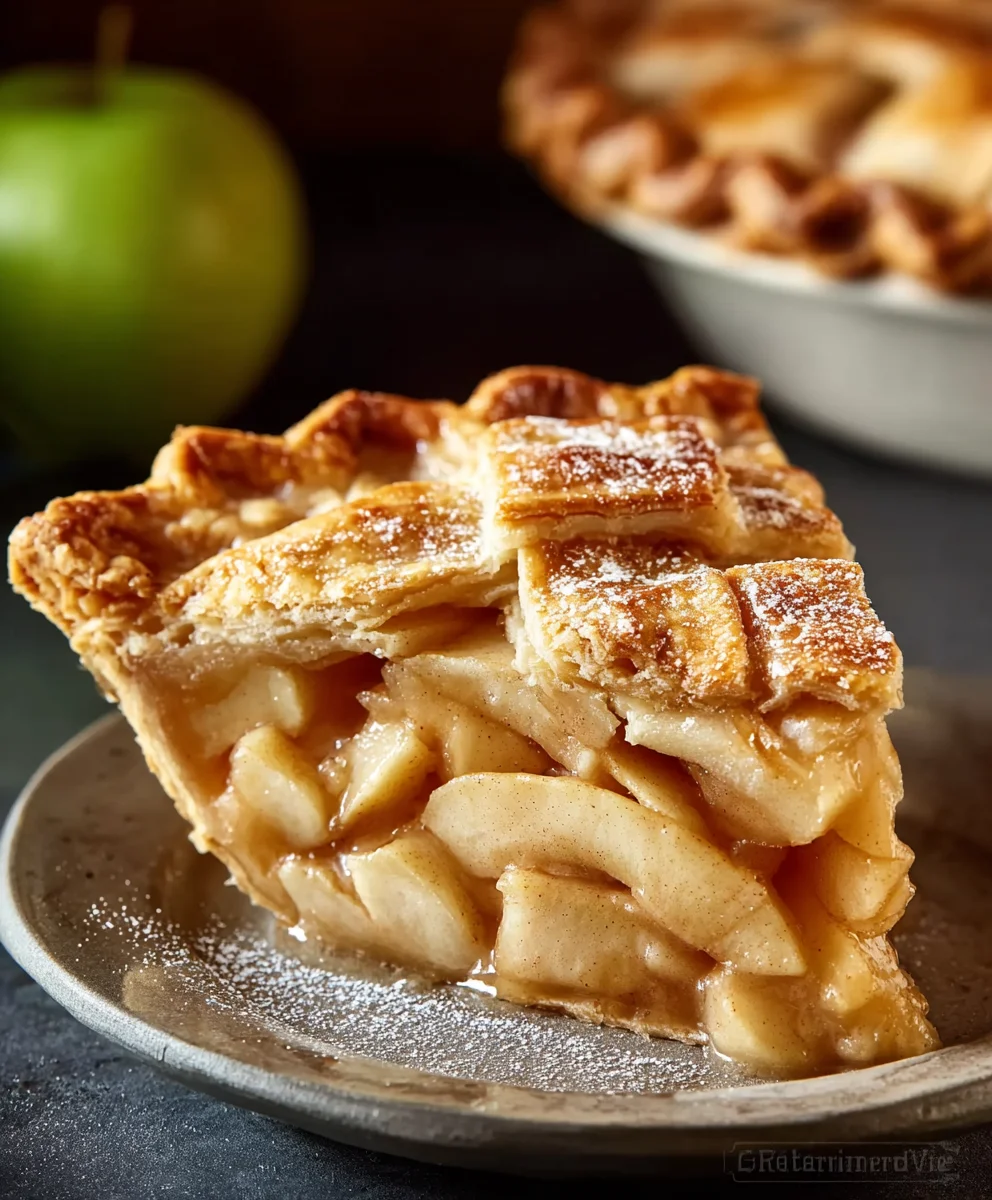
Classic Apple Pie. Is there a more comforting aroma, a more universally beloved dessert? I think not. The scent of warm, spiced apples bubbling beneath a flaky, golden crust is pure nostalgia, a ticket back to cozy kitchens and cherished family gatherings. This isn’t just any pie; it’s a taste of tradition, a simple yet profound pleasure that has captured hearts for generations. What makes a classic apple pie so special? It’s the perfect harmony of sweet and tart apples, often a blend of varieties for textural complexity, tenderly baked with fragrant cinnamon and nutmeg. The butter-rich pastry, crisp on the outside and delightfully tender within, provides the ideal canvas for this heartwarming filling. It’s a dessert that invites sharing, a centerpiece for any occasion, or simply a sweet reward after a long day. Get ready to create a masterpiece that will have everyone asking for seconds!

Ingredients:
- 6 cups thinly sliced peeled apples (about 6 medium apples)
- 3/4 cup granulated sugar
- 2 tbsp all-purpose flour
- 3/4 tsp ground cinnamon
- 1/4 tsp salt
- 1/8 tsp ground nutmeg
- 1 tbsp lemon juice
- 1 double pie crust (homemade or store-bought)
- 1 egg (beaten, for egg wash)
- 1 tsp water (for egg wash)
- Additional sugar (for sprinkling)
Preparing the Apple Filling
This is where the magic of your Classic Apple Pie truly begins. We want our apples to be tender but still hold their shape, creating that delightful textural contrast with the flaky crust. Start by ensuring your apples are thinly sliced. Aim for slices about 1/4 inch thick. If they are too thick, they may not cook through properly, leaving you with crunchy apple chunks. Too thin, and they might turn to mush. Varieties like Granny Smith, Honeycrisp, or a mix of both are excellent choices for their balance of tartness and sweetness, which will prevent your pie from being overly sweet. Once sliced, place them in a large bowl.
Now, it’s time to introduce the flavor. In a separate, smaller bowl, whisk together the granulated sugar, all-purpose flour, ground cinnamon, salt, and ground nutmeg. The flour acts as a thickening agent, ensuring your pie doesn’t become a watery mess once baked. The cinnamon and nutmeg are quintessential pie spices that evoke warmth and comfort. Whisk these dry ingredients thoroughly to ensure they are evenly distributed – nobody wants a bite with a clump of flour or an overwhelming amount of spice! Add this dry mixture to the bowl with the sliced apples. Gently toss the apples with your hands or a large spoon until each slice is coated. This coating is crucial for even flavor distribution.
Finally, we’ll add the lemon juice. Sprinkle the tablespoon of lemon juice over the coated apples and toss again. The lemon juice not only adds a subtle brightness and tang that cuts through the sweetness of the apples and sugar but also helps prevent the apples from browning too much while you’re preparing the crust. Let the apple mixture sit for about 10-15 minutes. This resting period allows the sugar to start drawing out some of the apple’s natural juices, creating a syrupy consistency that will bake beautifully.
Assembling the Classic Apple Pie
With your delicious apple filling ready, it’s time to assemble the pie. Preheat your oven to 425°F (220°C). This initial high heat is important for setting the crust and ensuring it bakes up golden and flaky. Take one of your pie crusts and carefully press it into a 9-inch pie plate. Gently drape the dough over the plate, ensuring it fits snugly into the corners and edges without stretching it too much, as this can cause it to shrink during baking. Trim any excess dough, leaving about a 1-inch overhang.
Now, pour the prepared apple filling into the pie crust-lined plate. Try to arrange the apples evenly. If you notice a lot of liquid has accumulated in the bottom of the bowl, you can spoon some of it over the apples, but avoid pouring in all of it, as this can make the bottom crust soggy. Once the apples are in place, it’s time for the top crust. You can opt for a solid top crust, a lattice, or cut out decorative shapes. For a traditional look, simply place the second pie crust over the filling. Again, trim the excess dough, leaving about a 1-inch overhang to match the bottom crust.
To seal the pie and create that classic pie crimp, fold the overhang of the top crust under the overhang of the bottom crust. Press them together firmly. You can then use your fingers or a fork to create a decorative edge. This seals the pie, preventing the filling from leaking out during baking. If you’re making a solid top crust, remember to cut several vents in it using a sharp knife. These vents allow steam to escape as the pie bakes, preventing the crust from puffing up excessively or bursting.
Baking Your Perfect Apple Pie
The final step before baking is the egg wash. In a small bowl, whisk together the beaten egg and 1 teaspoon of water. This mixture, known as an egg wash, is brushed lightly over the top crust. It’s the secret to that beautiful, golden-brown, and slightly glossy finish that makes a Classic Apple Pie so appealing. Be sure to brush it evenly over the entire surface of the top crust, including the crimped edges.
For an extra touch of sweetness and visual appeal, sprinkle a little additional granulated sugar over the egg wash. This will create a delightful crunch and sparkle on your finished pie. Now, carefully place your pie onto a baking sheet. This is a crucial step, as it will catch any potential drips from the filling, keeping your oven clean. Place the baking sheet with the pie on the center rack of your preheated oven.
Bake at 425°F (220°C) for 15 minutes. After these initial 15 minutes, reduce the oven temperature to 375°F (190°C) and continue baking for another 35-45 minutes. The total baking time will be approximately 50-60 minutes. You’ll know your pie is ready when the crust is a deep golden brown and you can see the filling bubbling through the vents. If the crust begins to brown too quickly before the filling is cooked, you can loosely tent the pie with aluminum foil. Once baked to perfection, carefully remove the pie from the oven and place it on a wire rack to cool. Allowing the pie to cool completely for at least 2-3 hours is essential. This allows the filling to set properly, ensuring clean slices rather than a runny mess. Enjoy your homemade masterpiece!
Conclusion:
And there you have it – your journey to crafting the perfect Classic Apple Pie is complete! We’ve walked through each step, from selecting the ideal apples to achieving that golden-brown, flaky crust. This recipe is designed to be accessible for bakers of all levels, and the reward of that warm, comforting aroma filling your kitchen is truly unparalleled. Don’t be afraid to experiment and make this recipe your own!
For serving, this Classic Apple Pie is divine on its own, but we highly recommend serving it warm with a scoop of vanilla bean ice cream or a dollop of freshly whipped cream. A drizzle of caramel sauce is also a delightful addition. Get creative with variations! Consider adding a pinch of nutmeg or a tablespoon of bourbon to the apple filling for an extra layer of flavor. You could also try a crumble topping instead of a double crust for a delightful textural contrast.
The joy of baking is in the process and the delicious results. So, gather your ingredients, embrace the simplicity, and enjoy creating this timeless dessert. We’re confident you’ll love the taste and the satisfaction of making this wonderful pie from scratch. Happy baking!
Frequently Asked Questions:
Why are my apples not softening enough in the pie?
This can happen if you’ve used very firm apple varieties or cut them too thick. For a softer filling, ensure you’re using a mix of sweet and tart apples like Honeycrisp, Gala, or Granny Smith, and try to cut them into uniform 1/4-inch thick slices. If you’re concerned, you can also pre-cook the apple slices slightly on the stovetop for a few minutes before adding them to the pie crust.
Can I make the crust ahead of time?
Absolutely! Pie crust dough can be made up to two days in advance and stored, tightly wrapped, in the refrigerator. You can also freeze it for up to three months. When you’re ready to use it, simply let it thaw in the refrigerator overnight. This is a great way to save time on baking day!
Classic Apple Pie – Best Homemade Recipe Easy
A classic homemade apple pie recipe that is easy to follow and results in a delicious, flaky, and perfectly spiced pie.
Ingredients
-
6 cups thinly sliced peeled apples (about 6 medium apples)
-
3/4 cup granulated sugar
-
2 tbsp all-purpose flour
-
3/4 tsp ground cinnamon
-
1/4 tsp salt
-
1/8 tsp ground nutmeg
-
1 tbsp lemon juice
-
1 double pie crust (homemade or store-bought)
-
1 egg (beaten, for egg wash)
-
1 tsp water (for egg wash)
-
Additional sugar (for sprinkling)
Instructions
-
Step 1
Prepare the apple filling: Thinly slice peeled apples. In a separate bowl, whisk together granulated sugar, all-purpose flour, cinnamon, salt, and nutmeg. Add this dry mixture to the apples and toss to coat. Sprinkle with lemon juice and toss again. Let sit for 10-15 minutes. -
Step 2
Assemble the pie: Preheat oven to 425°F (220°C). Press one pie crust into a 9-inch pie plate, leaving a 1-inch overhang. Pour the apple filling into the crust. Place the second pie crust over the filling, trim overhang to match the bottom crust. -
Step 3
Seal and vent the crust: Fold the top crust overhang under the bottom crust overhang and crimp edges to seal. If using a solid top crust, cut several vents. -
Step 4
Apply egg wash and sugar: In a small bowl, whisk together the beaten egg and water. Brush this egg wash evenly over the top crust. Sprinkle with additional granulated sugar. -
Step 5
Bake the pie: Place the pie on a baking sheet and bake at 425°F (220°C) for 15 minutes. Reduce oven temperature to 375°F (190°C) and bake for an additional 35-45 minutes, or until the crust is golden brown and the filling is bubbling. Tent with foil if crust browns too quickly. -
Step 6
Cool completely: Remove from oven and let cool on a wire rack for at least 2-3 hours before slicing and serving.
Important Information
Nutrition Facts (Per Serving)
It is important to consider this information as approximate and not to use it as definitive health advice.
Allergy Information
Please check ingredients for potential allergens and consult a health professional if in doubt.


Leave a Comment