Cereal Bars are more than just a quick breakfast or snack; they’re a nostalgic trip back to childhood, a portable powerhouse of flavor, and an incredibly versatile canvas for your culinary creativity. Who among us hasn’t rummaged through the pantry for that satisfying crunch, that sweet, chewy embrace that only a perfectly crafted cereal bar can provide? They’re universally loved for their simplicity, their adaptability, and that undeniable comfort factor. What truly sets these Cereal Bars apart, however, is the ability to customize them endlessly. Forget those pre-packaged options with ingredients you can’t pronounce. We’re diving into a world where you control the textures, the sweetness, and the flavor profiles, creating a bar that’s not just delicious, but deeply personal.
Why You’ll Love This Recipe
This recipe is designed to be your go-to guide for creating the ultimate homemade cereal bar. It’s incredibly straightforward, meaning even novice bakers can achieve impressive results. You’ll discover how to achieve that perfect balance of chewy and crunchy, how to ensure your bars hold their shape without being too hard, and how to introduce exciting flavor combinations that will have everyone asking for the recipe. Get ready to elevate your snack game and impress yourself (and everyone around you) with these sensational Cereal Bars.
Ingredients:
- 3 cups cereal of choice
- 2/3 cup peanut butter or nut butter of choice
- 1/2 cup agave, honey, or brown rice syrup
- 1/2 tsp salt (optional)
- 3 tbsp protein powder (optional)
Getting Started: Preparation is Key
Before we dive into the deliciously simple process of making these fantastic Cereal Bars, let’s ensure we have everything ready. This will make the entire experience smooth and enjoyable. First, line an 8×8 inch baking pan with parchment paper, leaving an overhang on the sides. This overhang will be your best friend when it comes time to lift the bars out of the pan – no more struggling or broken pieces! Make sure the parchment paper covers the entire bottom and extends up the sides; this creates a natural sling for easy removal.
Next, grab your mixing bowl. A good-sized one is important because we’ll be mixing several ingredients together, and you don’t want to be in a situation where things are overflowing. If you’re adding the optional protein powder, make sure you have that measured out and ready to go. The choice of cereal is entirely up to you – whether you prefer a crunchy puffed rice, a classic flake, or something a little more decadent with added chocolate, it will all work beautifully. Just be sure it’s something you love, as it’s the star of the show! If you have any allergies or dietary preferences, this is the time to swap out the peanut butter for almond butter, sunflower seed butter, or any other nut or seed butter that suits your needs. The same goes for the sweetener; agave offers a neutral sweetness, honey provides a distinct floral note, and brown rice syrup offers a mild caramel undertone. Consider what flavor profile you’re aiming for in your finished Cereal Bars.
The Binding Magic: Melting and Mixing
Now for the fun part – bringing all these wonderful ingredients together! We need to create that sticky, sweet binder that will hold our Cereal Bars together. In a microwave-safe bowl or a small saucepan over low heat, combine your chosen nut butter and your sweetener (agave, honey, or brown rice syrup). If you’re using the optional salt, add it now. This is a great way to subtly enhance the overall flavor profile of your Cereal Bars, especially if you’re using a less salty nut butter or a very mild sweetener.
Gently heat the nut butter and sweetener mixture. If using a microwave, heat in 20-second intervals, stirring well between each interval, until the mixture is smooth and pourable. Be careful not to overheat it, as this can cause the nut butter to become oily. If you’re using a saucepan, keep the heat on very low and stir constantly until everything is well combined and liquid. The goal is to make it easily incorporated into the dry ingredients. Once it’s smooth and warm, remove it from the heat. If you are using the optional protein powder, now is the time to whisk it into this warm, liquid mixture. This helps to prevent any clumping and ensures it’s evenly distributed throughout the Cereal Bars. Whisk vigorously until the protein powder is fully incorporated and you have a smooth, thick, albeit slightly granular, liquid binder.
Combining the Elements: The Cereal Incorporation
With your binder ready and your cereal waiting, it’s time for the main event! Pour the cereal of your choice directly into your large mixing bowl. If you’ve opted for the protein powder, your warm binder should have already had it incorporated into it. Now, pour the warm nut butter and sweetener mixture (with or without protein powder) over the cereal.
This is where you’ll need to get your hands in there, or at least use a very sturdy spatula! Gently fold and mix everything together. The goal is to coat every single piece of cereal with the sticky binder. It might seem like a lot of mixture at first, but as you continue to stir and combine, the cereal will absorb some of the liquid, and everything will start to come together. Work relatively quickly but avoid crushing the cereal too much; we still want some satisfying crunch in our Cereal Bars. If you find it a little challenging to mix, you can add another tablespoon of your sweetener or nut butter to help things along, but try to avoid going overboard, as too much can make the bars too soft. Ensure every morsel of cereal is coated in that delicious, gooey mixture.
Pressing for Perfection: Shaping Your Cereal Bars
Once the cereal is thoroughly coated and you have a cohesive mixture, it’s time to get it into our prepared pan. Transfer the cereal mixture into the parchment-lined 8×8 inch baking pan. Don’t just dump it in and hope for the best! You need to press this mixture down firmly and evenly. Use the back of a sturdy spoon, a spatula, or even your hands (lightly greased with a little oil or cooking spray if needed) to compact the mixture into the pan. The firmer you press, the more cohesive and solid your Cereal Bars will be.
Pay special attention to the corners and edges, ensuring they are well-packed. This is crucial for clean slicing later on. You want a dense, even layer of Cereal Bars. Think of it like building a delicious edible brick. The tighter you pack it now, the less likely it is to crumble when you cut it. If the mixture is sticking to your hands or tools, a light spritz of cooking spray or a dampening of your hands with water can help prevent sticking and allow for a smoother pressing action. The goal here is to create a solid base that will hold its shape beautifully once chilled.
The Chill Factor: Setting Your Cereal Bars
Now that our Cereal Bars are pressed into their perfect shape, they need a little time to set and firm up. Place the pan in the refrigerator for at least 30 minutes, or until the mixture is firm to the touch. For even firmer bars, you can leave them in the fridge for up to an hour, or even pop them in the freezer for about 15-20 minutes if you’re in a hurry. The chilling process allows the nut butter and sweetener to solidify, binding the cereal together effectively.
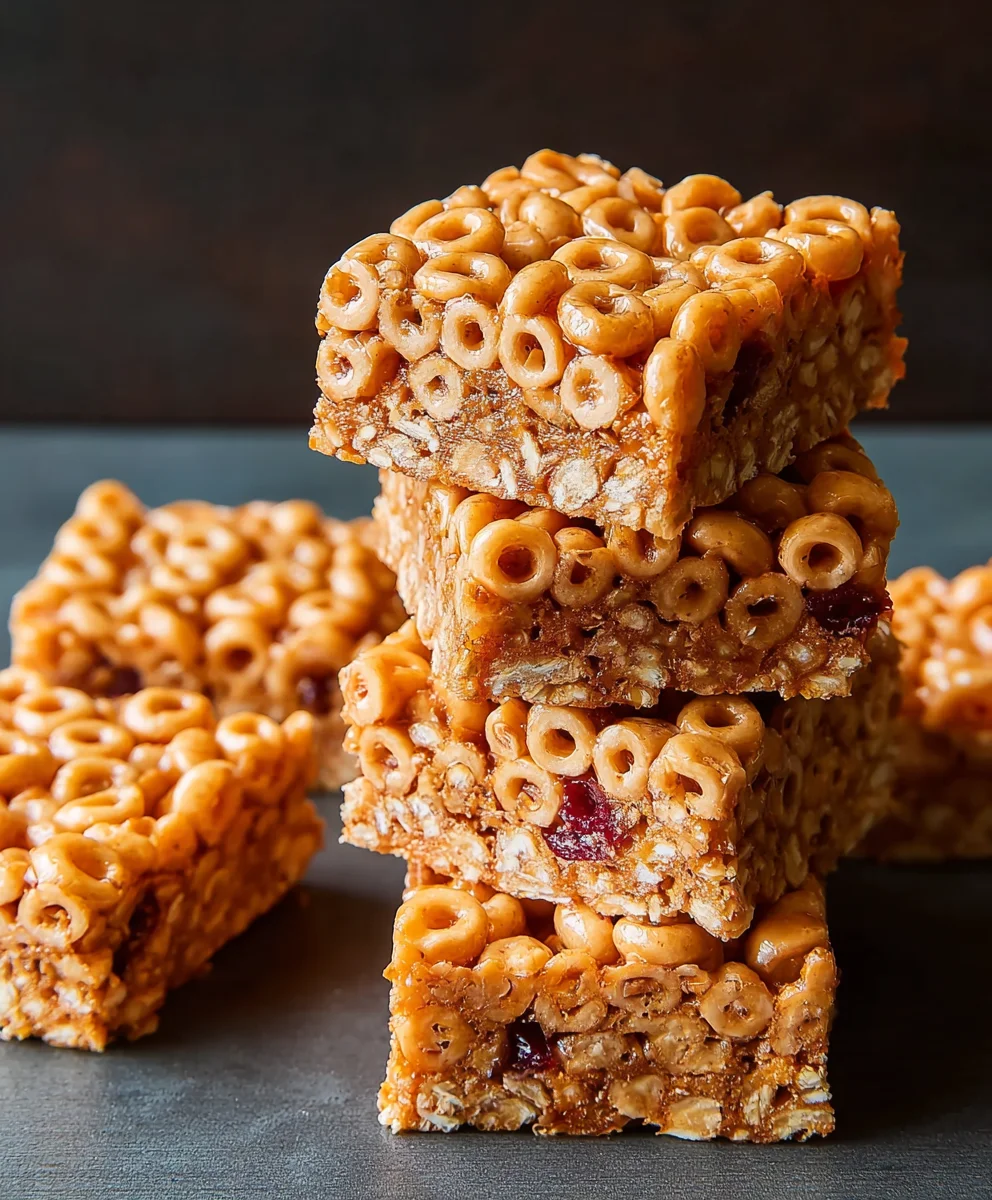
Once chilled and firm, use the parchment paper overhang to carefully lift the entire block of Cereal Bars out of the pan. Place it on a cutting board. Now, using a sharp knife, cut the block into your desired bar shapes. You can make them large and satisfying, or smaller, bite-sized pieces. Again, a sharp knife will help prevent crumbling and ensure clean edges. If the bars feel too soft to cut cleanly, pop them back into the refrigerator for another 10-15 minutes. These Cereal Bars are best stored in an airtight container in the refrigerator to maintain their shape and texture. Enjoy your homemade, customizable Cereal Bars!
Conclusion:
And there you have it – your guide to creating the most delicious and satisfying Cereal Bars! We’ve explored the simple yet rewarding process of transforming everyday breakfast staples into a convenient and delightful treat. These bars are more than just a snack; they’re a customizable canvas for your culinary creativity, perfect for busy mornings, post-workout fuel, or an afternoon pick-me-up. Remember, the beauty of these Cereal Bars lies in their adaptability. Feel free to experiment with different types of cereals, add in your favorite nuts, seeds, or even a sprinkle of chocolate chips for an extra indulgence. Serve them chilled for a firmer texture or at room temperature for a chewier bite. They pair wonderfully with a glass of milk or a hot cup of tea, making them a versatile addition to any mealtime. I truly hope you enjoy making and devouring these homemade goodies as much as I do. Don’t be afraid to get creative and make them your own – happy baking!
Frequently Asked Questions:
What is the best way to store Cereal Bars?
For optimal freshness, I recommend storing your homemade Cereal Bars in an airtight container at room temperature for up to 3-4 days. If you plan to keep them longer, they can also be refrigerated in an airtight container for up to a week. You can also freeze individual bars wrapped tightly in plastic wrap and then placed in a freezer bag for up to 2 months. Simply let them thaw at room temperature before enjoying.
Can I make these Cereal Bars vegan or gluten-free?
Absolutely! To make them vegan, simply ensure you use vegan-friendly marshmallows or a vegan binder like date paste or agave nectar, and check that your cereal is also vegan. For gluten-free Cereal Bars, opt for gluten-free cereals like rice crisp cereal or puffed quinoa, and ensure any add-ins like nuts or seeds are certified gluten-free.
Easy Homemade Cereal Bars
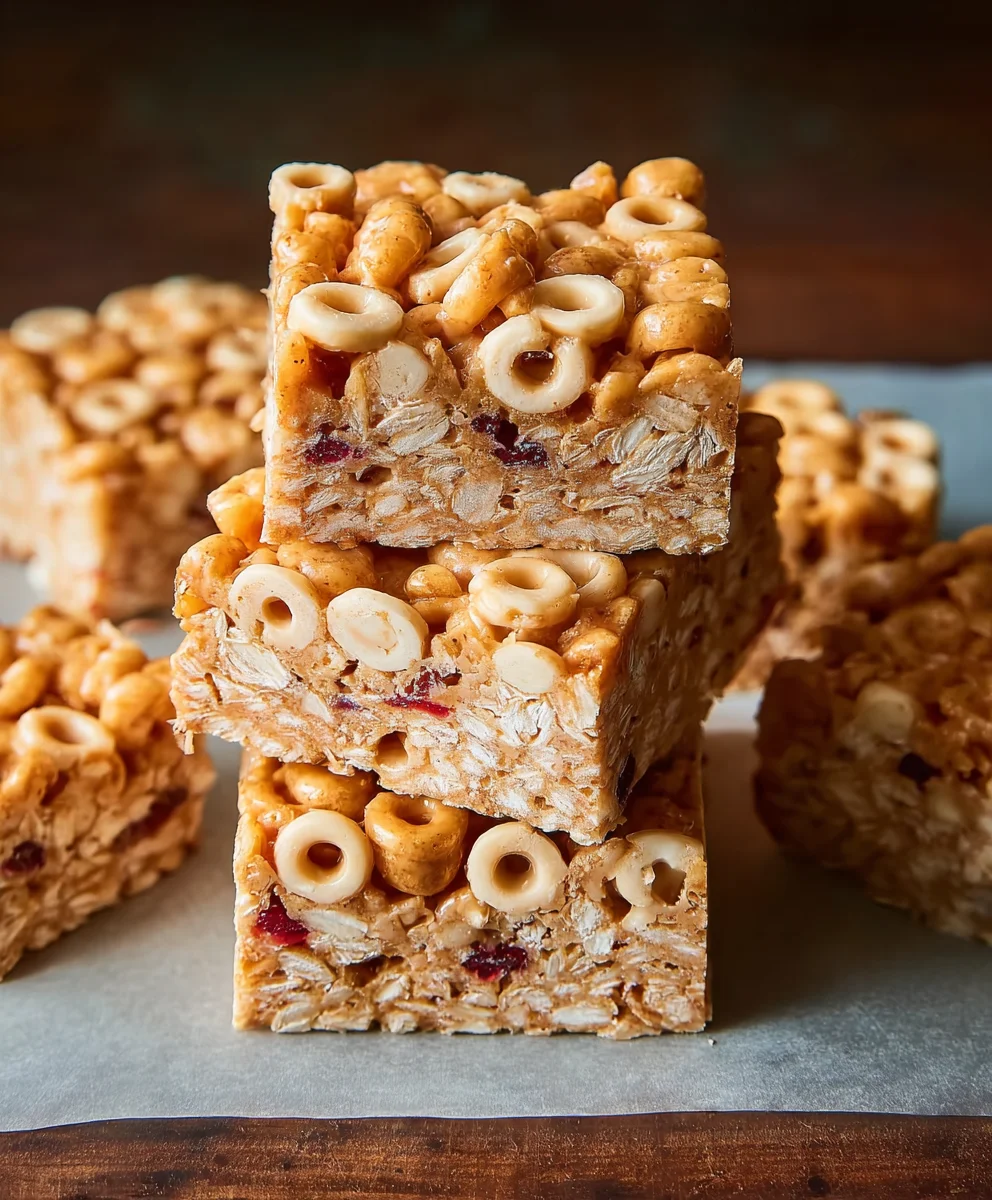
Quick and easy homemade cereal bars, perfect for a customizable snack.
Ingredients
-
3 cups cereal of choice
-
2/3 cup peanut butter or nut butter of choice
-
1/2 cup agave, honey, or brown rice syrup
-
1/2 tsp salt (optional)
-
3 tbsp protein powder (optional)
Instructions
-
Step 1
Line an 8×8 inch baking pan with parchment paper, leaving an overhang on the sides for easy removal. -
Step 2
In a microwave-safe bowl or saucepan, combine nut butter and sweetener. Heat gently in 20-second intervals (microwave) or on low heat (stovetop), stirring until smooth and pourable. If using, whisk in optional salt and protein powder until fully incorporated. -
Step 3
Pour the warm nut butter mixture over the cereal in a large mixing bowl. Gently fold and mix until every piece of cereal is coated. -
Step 4
Transfer the cereal mixture to the prepared pan and press down firmly and evenly to compact it. Ensure corners and edges are well-packed for clean slicing. -
Step 5
Refrigerate for at least 30 minutes, or until firm. Once chilled, lift the bars out of the pan using the parchment paper overhang and cut into desired shapes.
Important Information
Nutrition Facts (Per Serving)
It is important to consider this information as approximate and not to use it as definitive health advice.
Allergy Information
Please check ingredients for potential allergens and consult a health professional if in doubt.




Leave a Comment