
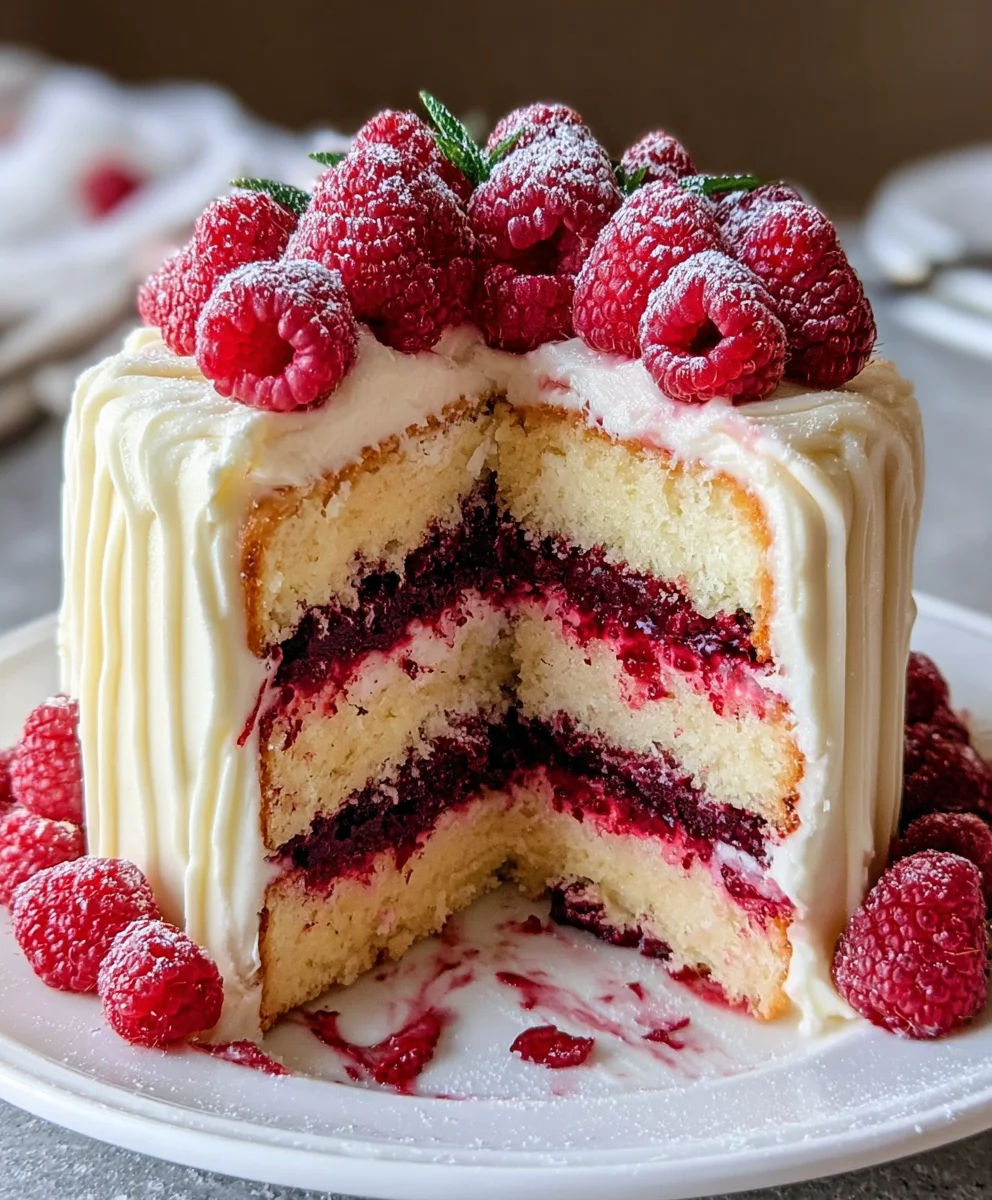
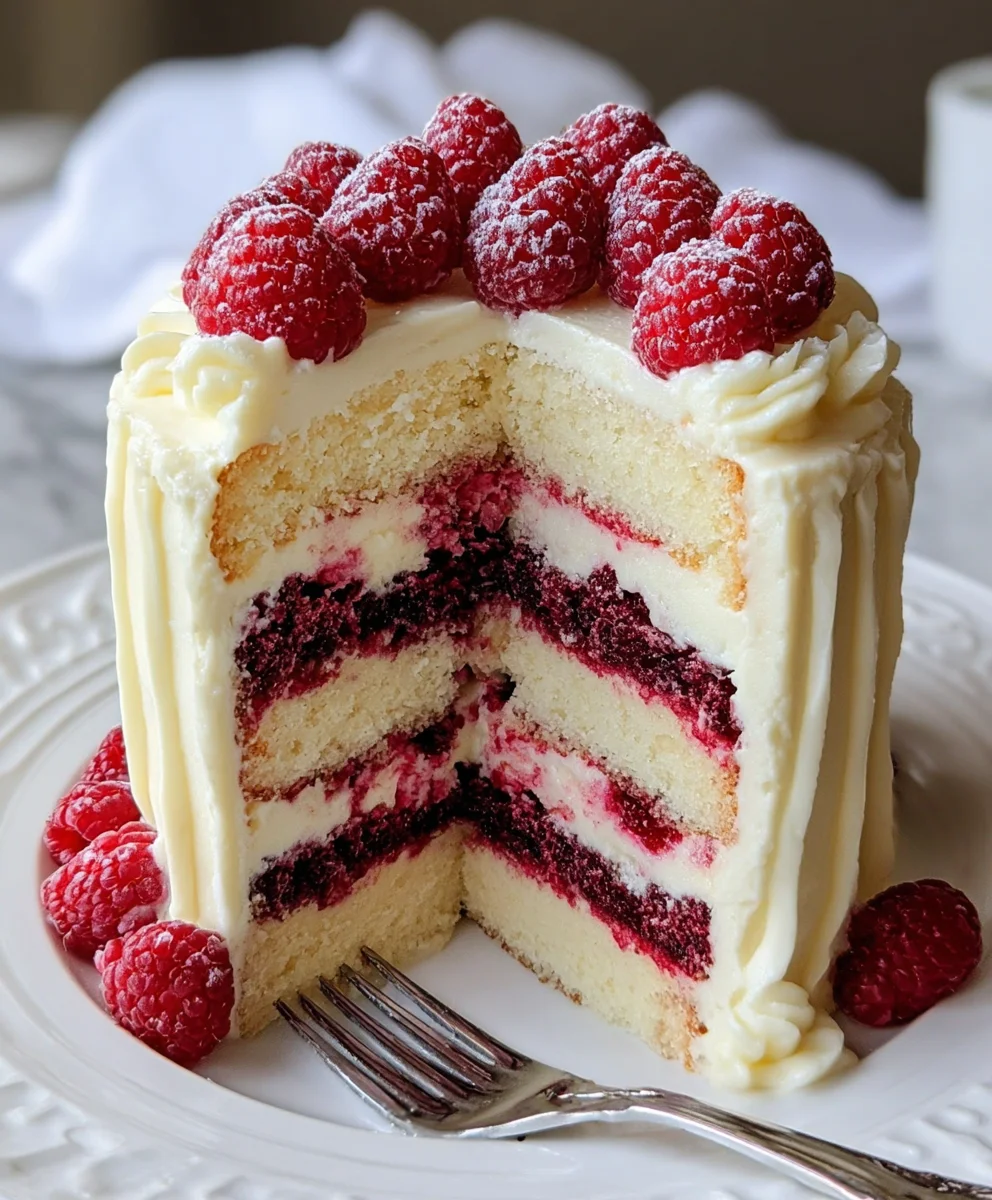
White Chocolate Raspberry Dream Cake Recipe Revenon-alcoholic aled isn’t just a dessert; it’s an experience. Imagine a moist, tender cake, infused with the delicate sweetness of white chocolate, then swirled with vibrant bursts of tart raspberry. This is the kind of treat that garners gasps of delight and requests for seconds before the first slice is even finished. What truly sets this White Chocolate Raspberry Dream Cake Recipe apart is its ethereal lightness, a delightful contrast to the richness of the white chocolate, balanced perfectly by the juicy, fresh raspberry filling. It’s the kind of cake that feels both indulgent and surprisingly refreshing, making it an absolute crowd-pleaser for any occasion, from casual gatherings to more formal celebrations. You’ll find yourself coming back to this recipe time and time again, it’s that good!

Ingredients:
- 2 cups all-purpose flour
- 1 ½ cups granulated sugar
- ½ cup unsalted butter, softened
- 1 cup milk
- 3 large eggs
- 1 tablespoon baking powder
- 1 teaspoon vanilla extract (for cake batter)
- ½ teaspoon salt
- 1 cup white chocolate chips
- 1 cup fresh raspberries
- 1 cup heavy whipping cream
- 2 tablespoons powdered sugar (for whipped cream)
- 1 teaspoon vanilla extract (for whipped cream)
Preparing the Cake Batter
Step 1: Combine Dry Ingredients
In a medium bowl, whisk together the 2 cups of all-purpose flour, 1 ½ cups of granulated sugar, 1 tablespoon of baking powder, and ½ teaspoon of salt. This step ensures that all the leavening agent and salt are evenly distributed throughout the flour, which is crucial for a consistent rise and flavor in your cake. Whisking also helps to aerate the flour slightly, contributing to a lighter cake texture. Set this dry mixture aside for now.
Step 2: Cream Butter and Sugar, then Incorporate Wet Ingredients
In a large mixing bowl, cream together the ½ cup of softened unsalted butter and the 1 ½ cups of granulated sugar until light and fluffy. This creaming process is vital for developing the cake’s tender crumb and rich flavor. It incorporates air into the butter and sugar, which contributes to the cake’s leavening. Gradually beat in the 3 large eggs, one at a time, ensuring each egg is fully incorporated before adding the next. This helps to emulsify the batter. Next, stir in the 1 teaspoon of vanilla extract.
Step 3: Alternate Adding Dry and Wet Ingredients to Creamed Mixture
Now it’s time to combine the dry and wet components. Begin by adding about one-third of the dry ingredient mixture to the creamed butter and egg mixture. Mix on low speed until just combined. Then, pour in half of the 1 cup of milk and mix until incorporated. Continue alternating, adding another third of the dry ingredients, mixing, then the remaining milk, mixing, and finishing with the last portion of the dry ingredients. Be careful not to overmix the batter at this stage. Overmixing can develop the gluten in the flour too much, leading to a tough cake. Mix only until no dry streaks of flour remain.
Step 4: Fold in White Chocolate Chips and Raspberries
Gently fold in the 1 cup of white chocolate chips and the 1 cup of fresh raspberries into the cake batter. Use a spatula for this step, folding them in with a light hand. The goal is to distribute them evenly throughout the batter without breaking the raspberries too much. The white chocolate chips will melt slightly during baking, creating pockets of creamy sweetness, while the raspberries will burst with tart flavor, providing a beautiful contrast to the sweet cake and white chocolate.
Baking and Cooling the Cake
Step 5: Bake the Cake
Preheat your oven to 350°F (175°C). Grease and flour a 9-inch round cake pan or line it with parchment paper. Pour the prepared batter evenly into the prepared cake pan. Bake for 30-35 minutes, or until a wooden skewer or toothpick inserted into the center of the cake comes out clean. The baking time can vary depending on your oven, so it’s always best to check for doneness. Once baked, remove the cake from the oven and let it cool in the pan for about 10-15 minutes before inverting it onto a wire rack to cool completely. Allowing it to cool in the pan first prevents the cake from breaking when you remove it.
Preparing the Whipped Cream Frosting
Step 6: Whip the Cream
While the cake is cooling, prepare the whipped cream frosting. In a chilled mixing bowl, combine the 1 cup of heavy whipping cream, 2 tablespoons of powdered sugar, and 1 teaspoon of vanilla extract. Using an electric mixer, whip the cream on medium-high speed. Start slowly and gradually increase the speed as the cream begins to thicken. Continue whipping until stiff peaks form. This means that when you lift the whisk or beater out of the cream, the peaks will stand straight up without curling over. Be careful not to overbeat, as this can turn the whipped cream into butter.
Assembling the White Chocolate Raspberry Dream Cake
Once the cake has cooled completely, you can frost it with the prepared whipped cream. You can spread the whipped cream evenly over the top and sides of the cake. For an extra touch, you can reserve a few fresh raspberries and white chocolate shavings to decorate the top of the cake. This White Chocolate Raspberry Dream Cake Recipe is a delightful treat for any occasion, offering a perfect balance of sweet, creamy, and tart flavors with a wonderfully tender crumb.
Conclusion:
And there you have it – your very own White Chocolate Raspberry Dream Cake Recipe, wonderfully non-alcoholic and absolutely delightful! This cake is more than just a dessert; it’s a celebration of vibrant flavors and creamy textures, perfect for any occasion. We’ve walked through each step, from creating the moist cake layers to whipping up that luscious white chocolate ganache and layering it with tangy raspberry goodness. The result is a truly decadent treat that will have everyone asking for seconds. Don’t be afraid to get creative with your presentation; a dusting of powdered sugar, a few fresh raspberries, or even some white chocolate shavings can elevate its appearance even further.
This cake is fantastic on its own, but it also pairs beautifully with a dollop of whipped cream or a scoop of vanilla bean ice cream for an extra layer of indulgence. If you’re looking for ways to switch things up, consider adding a hint of almond extract to the cake batter, or swirling a little extra raspberry jam into the ganache. This White Chocolate Raspberry Dream Cake Recipe is designed to be enjoyed by all, so feel free to experiment and make it your own. We encourage you to bake this dream into reality and share the joy it brings!
Frequently Asked Questions:
Can I make this cake ahead of time?
Absolutely! The cake layers can be baked a day in advance and stored at room temperature, wrapped tightly in plastic wrap. The ganache can also be made a day or two ahead and stored in the refrigerator; simply gently reheat it before frosting.
What if I don’t have fresh raspberries?
Frozen raspberries work wonderfully in this recipe. You can use them directly in the jam layer, or thaw and drain them first if you prefer a less liquid filling. The flavor will still be just as delicious.
Is this cake suitable for a beginner baker?
Yes, this White Chocolate Raspberry Dream Cake Recipe is quite beginner-friendly! The steps are clearly outlined, and while it involves a few components, none are overly complicated. Taking your time and following the instructions carefully will lead to a fantastic outcome.
White Chocolate Raspberry Dream Cake – Non-Alcoholic
A delightful non-alcoholic cake featuring a tender white chocolate chip cake swirled with fresh raspberries and topped with a light vanilla whipped cream frosting. Perfect for any occasion, this cake offers a beautiful balance of sweet, creamy, and tart flavors.
Ingredients
-
2 cups all-purpose flour
-
1 ½ cups granulated sugar
-
½ cup unsalted butter, softened
-
1 cup milk
-
3 large eggs
-
1 tablespoon baking powder
-
1 teaspoon vanilla extract (for cake batter)
-
½ teaspoon salt
-
1 cup white chocolate chips
-
1 cup fresh raspberries
-
1 cup heavy whipping cream
-
2 tablespoons powdered sugar (for whipped cream)
-
1 teaspoon vanilla extract (for whipped cream)
Instructions
-
Step 1
Combine dry ingredients: In a medium bowl, whisk together the all-purpose flour, granulated sugar, baking powder, and salt. Set aside. -
Step 2
Cream butter and sugar, then incorporate wet ingredients: In a large mixing bowl, cream together the softened unsalted butter and granulated sugar until light and fluffy. Gradually beat in the eggs, one at a time. Stir in the vanilla extract. -
Step 3
Alternate adding dry and wet ingredients: Add about one-third of the dry ingredient mixture to the creamed mixture, mix until just combined. Pour in half of the milk and mix. Continue alternating with another third of dry ingredients, the remaining milk, and finishing with the last portion of dry ingredients. Do not overmix. -
Step 4
Fold in white chocolate chips and raspberries: Gently fold in the white chocolate chips and fresh raspberries into the cake batter using a spatula. -
Step 5
Bake the cake: Preheat oven to 350°F (175°C). Grease and flour a 9-inch round cake pan. Pour batter into the pan and bake for 30-35 minutes, or until a skewer inserted into the center comes out clean. Let cool in the pan for 10-15 minutes before inverting onto a wire rack to cool completely. -
Step 6
Whip the cream: In a chilled mixing bowl, combine heavy whipping cream, powdered sugar, and vanilla extract. Whip on medium-high speed until stiff peaks form. Be careful not to overbeat. -
Step 7
Assemble the cake: Once the cake is completely cooled, frost it with the prepared whipped cream. Decorate with reserved raspberries and white chocolate shavings if desired.
Important Information
Nutrition Facts (Per Serving)
It is important to consider this information as approximate and not to use it as definitive health advice.
Allergy Information
Please check ingredients for potential allergens and consult a health professional if in doubt.


Leave a Comment