
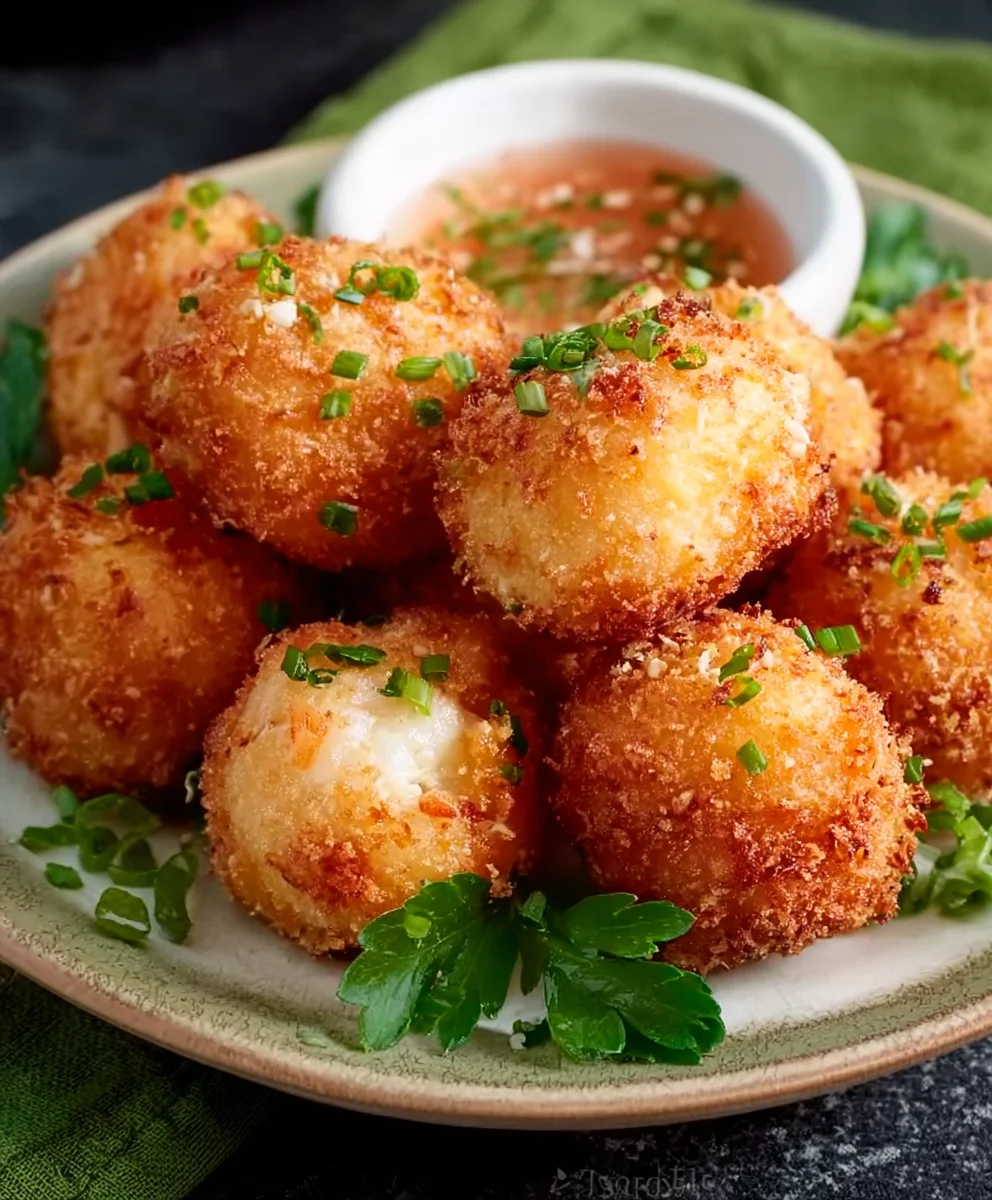
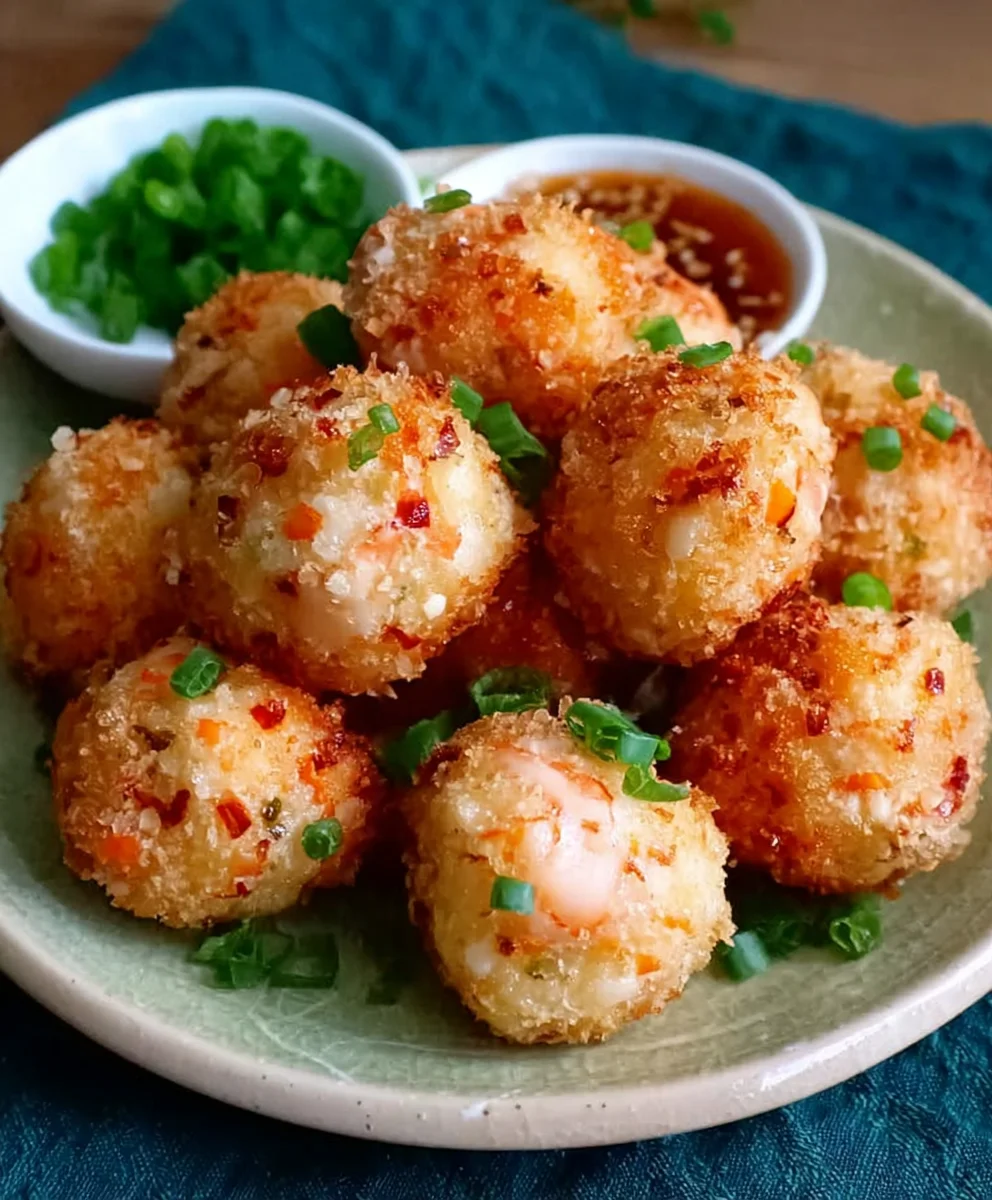
Shrimp Balls Recipe: Get ready to be utterly captivated by these delightful Shrimp Balls Recipe! If you’ve ever craved a bite-sized explosion of flavor that’s both elegant and incredibly satisfying, then this is the recipe for you. We’re talking about succulent shrimp, perfectly seasoned and expertly formed into irresistible spheres, promising a culinary experience that will have your taste buds singin extractg. People absolutely adore this dish because it strikes that magical balance: sophisticated enough for a dinner party appetizer, yet comforting and craveable enough for a casual snack. What truly sets our Shrimp Balls Recipe apart is the incredible texture – a delicate crisp exterior giving way to a tender, flavorful interior. It’s a symphony of sensations that makes each morsel an absolute joy. Prepare to impress yourself and everyone lucky enough to share them!

Ingredients:
- 1 lb raw shrimp, peeled and deveined
- 1/2 cup breadcrum extractbs (preferably panko for extra crispiness)
- 1 large egg, lightly beaten
- 1/4 cup green onions, finely chopped (both white and green parts are good!)
- 2 cloves garlic, minced
- 1 tablespoon fresh gin extractger, grated
- 1 tablespoon soy sauce
- 1 teaspoon sesame oil
- 1/2 teaspoon salt
- 1/2 teaspoon black pepper
- 1/4 cup fresh cilantro, chopped (optional, but highly recommended for a burst of freshness)
- 1 tablespoon cornstarch (optional, if you find your mixture a bit too wet and want extra binding power)
- Vegetable oil, for frying (enough to submerge the shrimp balls about halfway)
Preparing the Shrimp Mixture
The foundation of any great Shrimp Balls Recipe lies in a well-seasoned and cohesive mixturgin extractTo begin, take your peeled and deveined shrimp. For the best texture, I like to give the shrimp a quick pulse in a food processor. You don’t want a paste, but rather a coarse mince. Aim for about 8-10 short pulses. This will give your shrimp balls a pleasant, slightly chunky texture rather than being completely smooth. Transfer the processed shrimp to a medium-sized mixing bowl.
Next, add the other prepared ingredients to the bowl. This includes the 1/2 cup orum extractreadcrumbs, which will act as a binder and contribute to a lovely crisp exterior when fried. Pour in the lightly beaten egg, which is crucial for holding everything together. Incorporate the finely chopped green onions, minced garlic, agin extractggin extracted fresh ginger. The ginger and garlic provide aromatic depth, while the green onions add a subtle oniony bite. Season your mixture with 1/2 teaspoon of salt and 1/2 teaspoon of black pepper. For an extra layer of umami flavor, add 1 tablespoon of soy sauce and 1 teaspoon of sesame oil. If you’re using cilantro, stir in the chopped leaves now. The cilantro adds a wonderfully fresh, herbaceous note that complements the shrimp beautifully. If you feel your mixture is a little on the wet side, or if you want to ensure maximum binding, you can also add the optional 1 tablespoon of cornstarch at this stage. Gently mix all the ingredients together with your hands or a spoon until just combined. Be careful not to overmix, as this can make the shrimp tough. The mixture should be moist but hold its shape when you gently press it.
Forming the Shrimp Balls
Now comes the fun part: shaping your delicious shrimp mixture into perfect little balls! This step is straightforward but requires a little patience. Take a tablespoon of the shrimp mixture and roll it between your palms to form a compact ball. Aim for a size that’s easy to handle and will cook evenly, about 1 to 1.5 inches in diameter. As you form each ball, place it on a plate or baking sheet lined with parchment paper to prevent sticking. Repeat this process until you have used up all of your shrimp mixture. If you find the mixture is sticking to your hands, you can lightly dampen your palms with a little water. This makes the forming process much smoother. Ensure each ball is relatively uniform in size so they cook at the same rate.
Frying the Shrimp Balls
This is where the magic happens, transforming your seasoned shrimp mixture into golden, crispy delights. Heat about 1 to 2 inches of vegetable oil in a large, heavy-bottomed pot or Dutch oven over medium-high heat. The oil is ready when it reaches about 350°F (175°C). You can test this by dropping a tiny bit of the mixture into the oil; it should sizzle immediately. Carefully add the shrimp balls to the hot oil in batches. Do not overcrowd the pot, as this will lower the oil temperature and result in soggy shrimp balls. Leave enough space between each ball for them to cook evenly and to allow you to easily turn them.
Allow the shrimp balls to fry for about 3 to 4 minutes per side, or until they are beautifully golden brown and cooked through. The internal temperature should reach 165°F (74°C). Use a slotted spoon or spider strainer to gently turn the shrimp balls, ensuring they brown on all sides. They should float to the surface when they are nearly done. Once they are perfectly golden and cooked, carefully remove them from the oil using your slotted spoon and transfer them to a plate lined with paper towels. This will help drain off any excess oil, keeping your shrimp balls nice and crispy. Repeat this frying process with the remaining shrimp balls, ensuring the oil returns to the correct temperature between batches.
Resting and Serving Your Shrimp Balls
After all your delicious shrimp balls have been fried to perfection, it’s essential to let them rest for a minute or two. This brief resting period allows the internal temperature to equalize and ensures they are not too hot to handle. While they are resting, you can prepare your serving platter. These Shrimp Balls are incredibly versatile and can be served as an appetizer, a side dish, or even as part of a larger meal. They are fantastic on their own, but they also pair wonderfully with a variety of dipping sauces. A sweet chili sauce, a spgin extract mayonnaise, or a simple soy-ginger dipping sauce all make excellent accompaniments.
For an enhanced flavor profile, consider garnishing your serving platter with a few extra chopped cilantro leaves or some thinly sliced green onions. This not only adds visual appeal but also reinforces the fresh flavors of the shrimp balls. Serve them immediately while they are hot and crispy for the ultimate culinary experience. Enjoy the delightful crunch of the exterior, giving way to the tender, flavorful shrimp within.
Conclusion:
You’ve now mastered the art of creating delicious Shrimp Balls! This recipe offers a delightful appetizer or a flavorful addition to any meal, combining succulent shrimp with a light and crispy coating. We’ve explored the simple steps to achieve perfectly golden and tender Shrimp Balls, ensuring a satisfying bite every time.
To elevate your Shrimp Balls experience, consider serving them with a variety of dipping sauces. A sweet chili sauce offers a classic pairing, while a zesty lemon-dill aioli adds a refreshing twist. For a more adventurous option, try a spicy sriracha mayo or a creamy peanut sauce. These Shrimp Balls are also fantastic when incorporated into salads or served alongside rice and steamed vegetables for a complete and satisfying dinner.
Don’t be afraid to experiment with variations! You can add finely chopped herbs like parsley or chives to the shrimp mixture for an extra layer of flavor. A pinch of red pepper flakes can introduce a gentle heat, or you could even add a hint of garlic powder for a more savory profile. Remember, the beauty of homemade cooking lies in its adaptability. So go forth, create these wonderful Shrimp Balls, and enjoy the delicious results!
FAQs about Shrimp Balls Recipe:
Q1: Can I make Shrimp Balls ahead of time?
Yes, you can prepare the shrimp mixture for the Shrimp Balls ahead of time and refrigerate it for up to 24 hours. However, it’s best to form and cook the balls just before serving for optimal crispiness.
Q2: What can I substitute for shrimp if I have an allergy?
For a vegetarian option, you could try using finely chopped firm tofu or a firm white fish like cod. Ensure they are finely minced to achieve a similar texture to the shrimp in the Shrimp Balls Recipe.
Q3: How should I store leftover cooked Shrimp Balls?
Leftover cooked Shrimp Balls can be stored in an airtight container in the refrigerator for up to 2-3 days. For the best results when reheating, place them on a baking sheet in a preheated oven at around 375°F (190°C) for a few minutes until heated through and crisp.
Easy Shrimp Balls Recipe – Delicious Appetizer
A simple and delicious recipe for crispy fried shrimp balls, perfect as an appetizer.
Ingredients
-
1 lb raw shrimp, peeled and deveined
-
1/2 cup breadcrumbs (preferably panko)
-
1 large egg, lightly beaten
-
1/4 cup green onions, finely chopped
-
2 cloves garlic, minced
-
1 tablespoon fresh ginger, grated
-
1 tablespoon soy sauce
-
1 teaspoon sesame oil
-
1/2 teaspoon salt
-
1/2 teaspoon black pepper
-
1/4 cup fresh cilantro, chopped (optional)
-
1 tablespoon cornstarch (optional, for binding)
-
Vegetable oil, for frying
Instructions
-
Step 1
Pulse peeled and deveined shrimp in a food processor until coarsely minced. Transfer to a mixing bowl. -
Step 2
Add breadcrumbs, beaten egg, green onions, minced garlic, grated ginger, soy sauce, sesame oil, salt, pepper, and optional cilantro and cornstarch to the bowl. Mix gently until just combined. Do not overmix. -
Step 3
Roll about a tablespoon of the shrimp mixture between your palms to form compact balls, about 1 to 1.5 inches in diameter. Place on a parchment-lined plate. -
Step 4
Heat 1-2 inches of vegetable oil in a pot over medium-high heat to 350°F (175°C). Fry shrimp balls in batches for 3-4 minutes per side, until golden brown and cooked through. -
Step 5
Remove shrimp balls with a slotted spoon and drain on paper towels. Repeat with remaining balls, ensuring oil returns to temperature between batches. -
Step 6
Let the shrimp balls rest for a minute or two before serving. Serve hot with your favorite dipping sauces.
Important Information
Nutrition Facts (Per Serving)
It is important to consider this information as approximate and not to use it as definitive health advice.
Allergy Information
Please check ingredients for potential allergens and consult a health professional if in doubt.

Leave a Comment