
Blueberry Cheesecake Ice Cream is a delightful treat that perfectly marries the rich, creamy texture of cheesecake with the refreshing burst of blueberries. As someone who has always had a sweet tooth, I can confidently say that this dessert is a game-changer. The origins of cheesecake date back to ancient Greece, but when combined with the vibrant flavor of blueberries, it transforms into a modern classic that resonates with dessert lovers everywhere.
People adore this dish not just for its luscious taste but also for its convenience; its a no-bake recipe that can be whipped up in no time, making it perfect for warm summer days or any occasion that calls for a sweet indulgence. The combination of tangy cream cheese and sweet blueberries creates a symphony of flavors that dance on your palate, leaving you craving more. Join me as we dive into this delightful recipe that is sure to become a favorite in your household!

Ingredients:
- 2 cups fresh blueberries (or frozen, if fresh are unavailable)
- 1 cup granulated sugar, divided
- 1 tablespoon lemon juice
- 1 teaspoon vanilla extract
- 1 cup cream cheese, softened
- 1 cup heavy cream
- 1 cup whole milk
- 1 teaspoon vanilla bean paste (or an additional teaspoon of vanilla extract)
- 1/4 teaspoon salt
- 1/2 cup crushed graham crackers (for garnish)
Preparing the Blueberry Sauce
1. In a medium saucepan, combine the fresh blueberries, 1/2 cup of granulated sugar, and lemon juice. 2. Cook over medium heat, stirring occasionally, until the blueberries start to break down and release their juices, about 5-7 minutes. 3. Once the mixture is bubbling, reduce the heat to low and let it simmer for another 5 minutes. 4. Remove from heat and let it cool slightly. 5. For a smoother sauce, you can blend the mixture using an immersion blender or transfer it to a blender and pulse until smooth. 6. Set the blueberry sauce aside to cool completely while you prepare the ice cream base.Preparing the Ice Cream Base
7. In a large mixing bowl, beat the softened cream cheese with the remaining 1/2 cup of granulated sugar until smooth and creamy. 8. Add the heavy cream, whole milk, vanilla extract, vanilla bean paste, and salt to the bowl. 9. Using an electric mixer, beat the mixture on medium speed until it is well combined and slightly thickened, about 2-3 minutes. 10. Taste the mixture and adjust the sweetness if necessary by adding more sugar, a tablespoon at a time, until it reaches your desired sweetness.Combining the Blueberry Sauce and Ice Cream Base
11. Once the blueberry sauce has cooled completely, gently fold it into the ice cream base. 12. Use a spatula to swirl the blueberry sauce into the mixture, creating a marbled effect. Be careful not to overmix; you want to see ribbons of blueberry throughout the ice cream base.Chilling the Mixture
13. Cover the bowl with plastic wrap or a lid and refrigerate the ice cream base for at least 2 hours, or until it is thoroughly chilled. This step is crucial for achieving a creamy texture in the final product.Churning the Ice Cream
14. Once the mixture is chilled, pour it into your ice cream maker. 15. Churn according to the manufacturers instructions, usually about 20-25 minutes, until it reaches a soft-serve consistency. 16. If you dont have an ice cream maker, you can pour the mixture into a shallow dish and place it in the freezer. Stir it every 30 minutes for about 3-4 hours until it reaches a creamy consistency.Assembling the Ice Cream
17. If you like a bit of crunch, fold in the crushed graham crackers into the ice cream during the last few minutes of churning. This will give your blueberry cheesecake ice cream a delightful texture. 18. Transfer the churned ice cream to an airtight container. 19. Smooth the top with a spatula and drizzle any remaining blueberry sauce on top, swirling it gently with a knife for a beautiful presentation.Freezing the Ice Cream
20. Seal the container with a lid and place it in the freezer for at least 4 hours, or until it is firm. 21. If youre planning to serve it later, let it sit at room temperature for about 10-15 minutes before scooping to make it easier to serve.Serving the Blueberry Cheesecake Ice Cream
22. Scoop the ice cream into bowls or cones, and if desired, top with additional blueberry sauce and a sprinkle of crushed graham crackers for that cheesecake effect. 23. Enjoy your homemade blueberry cheesecake ice cream with friends and family, and watch as they rave about the delicious flavors and creamy texture!Storage Tips
24. Store any leftover ice cream in an airtight container in the freezer. Its best enjoyed within 2-3 weeks for optimal flavor and texture. 25. If the ice cream becomes too hard, let it sit at room temperature for a few minutes before scooping. This blueberry cheesecake ice cream is a delightful treat that combines the rich cream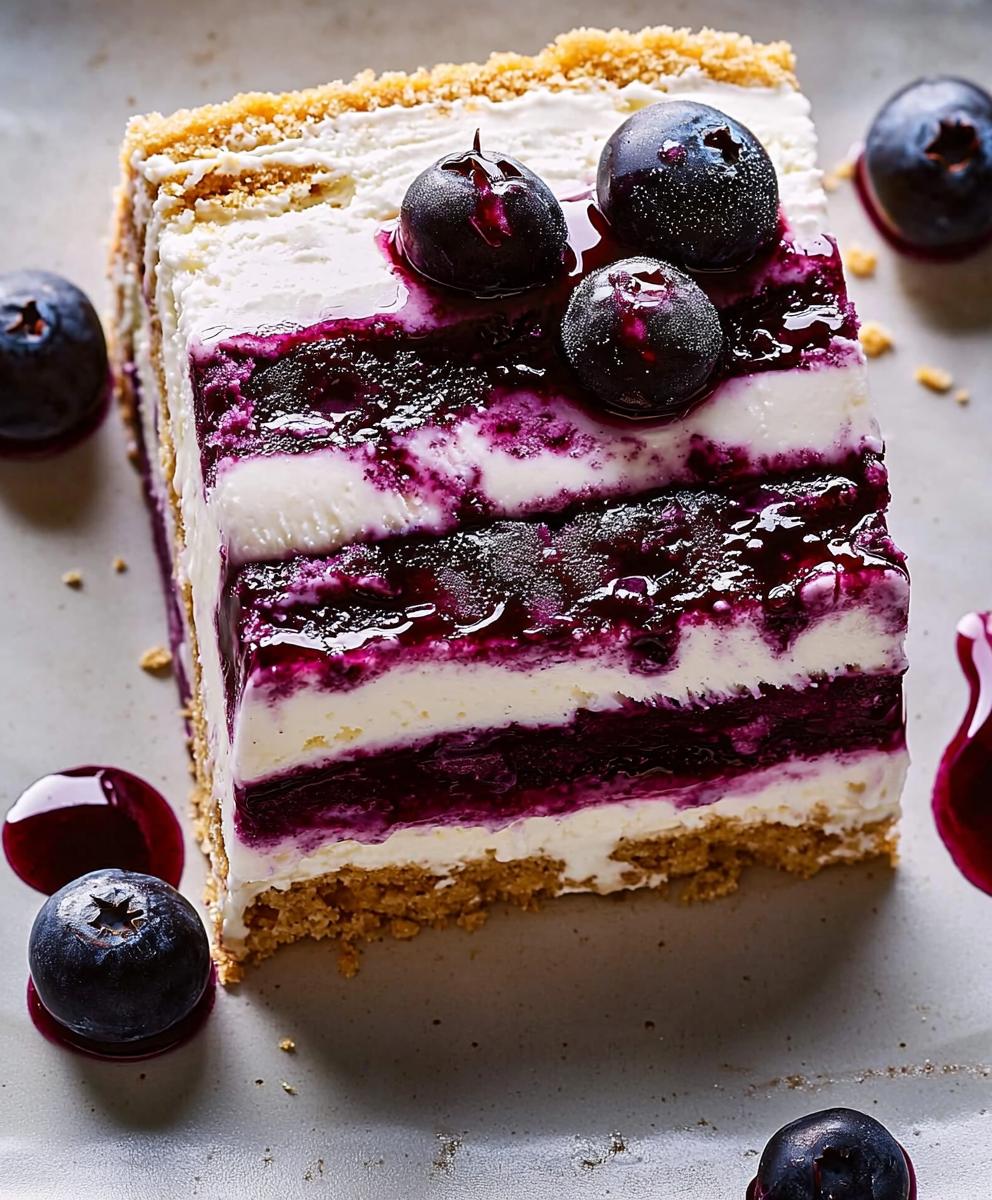
Conclusion:
In summary, this Blueberry Cheesecake Ice Cream recipe is an absolute must-try for anyone who loves the delightful combination of creamy cheesecake and sweet, tangy blueberries. The rich, velvety texture paired with the burst of fresh blueberry flavor creates a dessert that is not only indulgent but also refreshing, making it perfect for warm summer days or any time you crave a sweet treat. For serving suggestions, consider topping your ice cream with a drizzle of blueberry sauce, a sprinkle of crushed graham crackers, or even a dollop of whipped cream for an extra touch of decadence. You can also experiment with variations by incorporating other fruits like strawberries or raspberries, or even adding a swirl of chocolate fudge for a unique twist. I wholeheartedly encourage you to give this Blueberry Cheesecake Ice Cream a try! Its a fun and rewarding project that will surely impress your family and friends. Once youve made it, Id love to hear about your experiencefeel free to share your thoughts and any creative variations you come up with. Happy ice cream making! PrintBlueberry Cheesecake Ice Cream: A Deliciously Creamy Summer Treat
Enjoy the delightful combination of creamy cheesecake and fresh blueberries in this homemade Blueberry Cheesecake Ice Cream. With a rich cream cheese base and a swirl of luscious blueberry sauce, it’s the perfect treat for any occasion!
- Prep Time: 20 minutes
- Cook Time: 15 minutes
- Total Time: 360 minutes
- Yield: 1.5 quarts 1x
Ingredients
- 2 cups fresh blueberries (or frozen, if fresh are unavailable)
- 1 cup granulated sugar, divided
- 1 tablespoon lemon juice
- 1 teaspoon vanilla extract
- 1 cup cream cheese, softened
- 1 cup heavy cream
- 1 cup whole milk
- 1 teaspoon vanilla bean paste (or an additional teaspoon of vanilla extract)
- 1/4 teaspoon salt
- 1/2 cup crushed graham crackers (for garnish)
Instructions
- In a medium saucepan, combine the fresh blueberries, 1/2 cup of granulated sugar, and lemon juice.
- Cook over medium heat, stirring occasionally, until the blueberries start to break down and release their juices, about 5-7 minutes.
- Once the mixture is bubbling, reduce the heat to low and let it simmer for another 5 minutes.
- Remove from heat and let it cool slightly.
- For a smoother sauce, blend the mixture using an immersion blender or transfer it to a blender and pulse until smooth.
- Set the blueberry sauce aside to cool completely while you prepare the ice cream base.
- In a large mixing bowl, beat the softened cream cheese with the remaining 1/2 cup of granulated sugar until smooth and creamy.
- Add the heavy cream, whole milk, vanilla extract, vanilla bean paste, and salt to the bowl.
- Using an electric mixer, beat the mixture on medium speed until it is well combined and slightly thickened, about 2-3 minutes.
- Taste the mixture and adjust the sweetness if necessary by adding more sugar, a tablespoon at a time, until it reaches your desired sweetness.
- Once the blueberry sauce has cooled completely, gently fold it into the ice cream base.
- Use a spatula to swirl the blueberry sauce into the mixture, creating a marbled effect. Be careful not to overmix; you want to see ribbons of blueberry throughout the ice cream base.
- Cover the bowl with plastic wrap or a lid and refrigerate the ice cream base for at least 2 hours, or until it is thoroughly chilled.
- Once the mixture is chilled, pour it into your ice cream maker.
- Churn according to the manufacturers instructions, usually about 20-25 minutes, until it reaches a soft-serve consistency.
- If you dont have an ice cream maker, pour the mixture into a shallow dish and place it in the freezer. Stir it every 30 minutes for about 3-4 hours until it reaches a creamy consistency.
- If you like a bit of crunch, fold in the crushed graham crackers into the ice cream during the last few minutes of churning.
- Transfer the churned ice cream to an airtight container.
- Smooth the top with a spatula and drizzle any remaining blueberry sauce on top, swirling it gently with a knife for a beautiful presentation.
- Seal the container with a lid and place it in the freezer for at least 4 hours, or until it is firm.
- If youre planning to serve it later, let it sit at room temperature for about 10-15 minutes before scooping to make it easier to serve.
- Scoop the ice cream into bowls or cones, and if desired, top with additional blueberry sauce and a sprinkle of crushed graham crackers for that cheesecake effect.
- Enjoy your homemade blueberry cheesecake ice cream with friends and family, and watch as they rave about the delicious flavors and creamy texture!
Notes
- Store any leftover ice cream in an airtight container in the freezer. Its best enjoyed within 2-3 weeks for optimal flavor and texture.
- If the ice cream becomes too hard, let it sit at room temperature for a few minutes before scooping.


Leave a Comment