
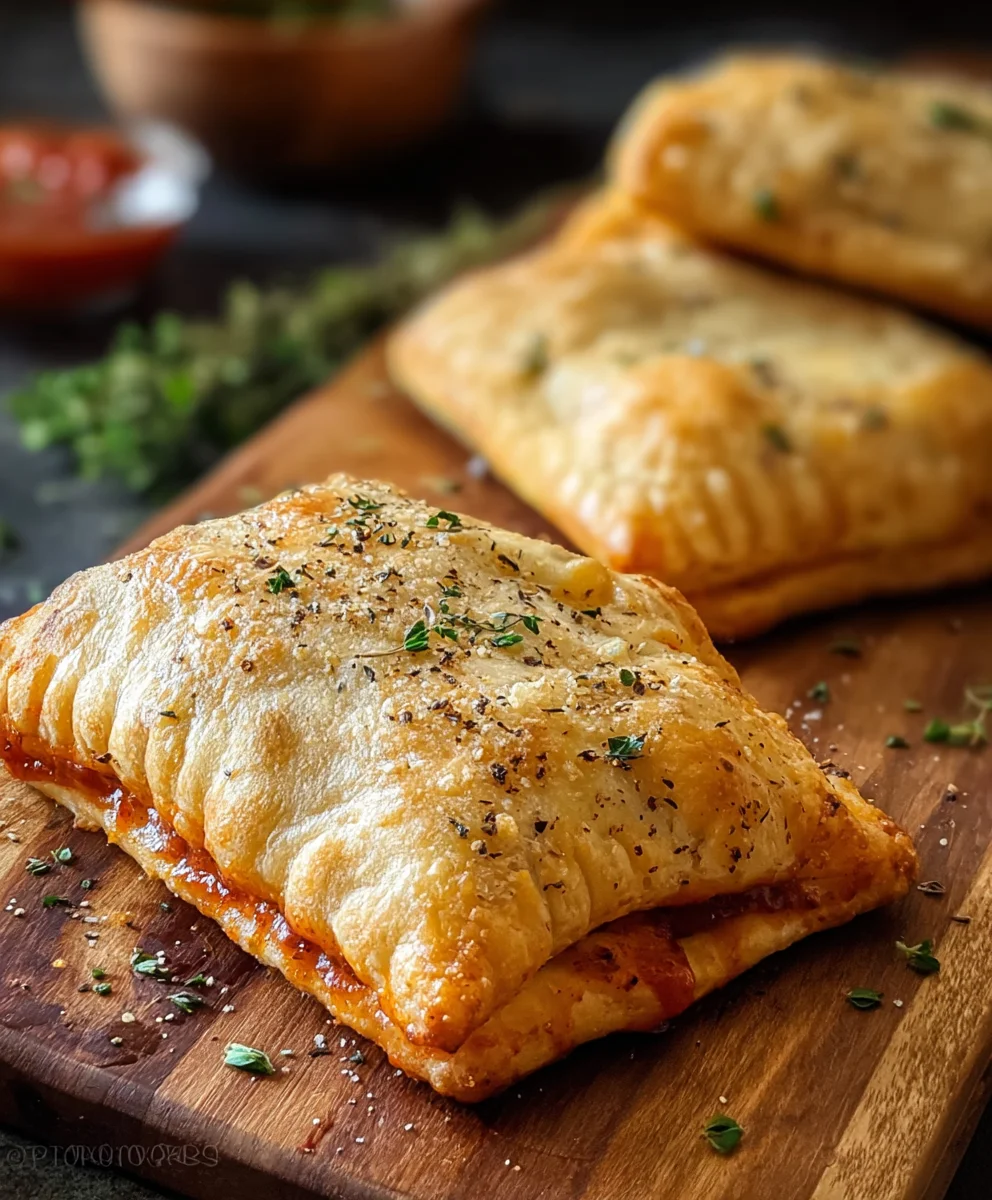
Hot Pockets are more than just a quick snack; they’re a nostalgic culinary hug, a cheesy, saucy, and undeniably satisfying escape for busy days and late nights. We’ve all been there – the clock ticking, hunger pangs striking, and the irresistible urge for something warm, savory, and incredibly easy. That’s precisely where the magic of homemade Hot Pockets truly shines. While the store-bought versions have their place, crafting your own allows for an explosion of fresh flavors and a level of customization that’s simply unparalleled. Imagin extracte sinking your teeth into a perfectly golden crust, giving way to a bubbling, flavorful filling that’s exactly to your liking. This recipe takes the beloved concept of a Hot Pocket and elevates it, offering a delightful experience that’s both comforting and exciting. Get ready to rediscover your love for this iconic treagin extractreimagined with a personal touch!

Ingredients:
- 1 cup warm water
- 1 tablespoon granulated sugar
- 1 tablespoon active dry yeast
- 1 tablespoon olive oil
- 2 1/4 cups all-purpose flour, plus extra for dusting
- 1 teaspoon salt
- 3/4 cup pizza sauce
- 1/2 cup quartered beef beef pepperoni (or diced beef beef ham)
- 1 cup shredded mozzarella cheese
- 1 cup shredded cheddar cheese
Dough Preparation
Mixing the Dough
To begin extract crafting our homemade Hot Pockets, we first need to create a wonderfully pliable dough. In a large mixing bowl, combine the 1 cup of warm water with the 1 tablespoon of granulated sugar and the 1 tablespoon of active dry yeast. Give this mixture a gentle stir. The sugar acts as food for the yeast, and the warm water (not hot, as that can kill the yeast) will activate it. Let this sit for about 5 to 10 minutes. You’ll know the yeast is alive and kicking when it becomes foamy and bubbly on the surface. This signifies that the yeast is actively producing carbon dioxide, which is essential for a light and airy dough.
Once your yeast mixture is activated, add the 1 tablespoon of olive oil and the 1 teaspoon of salt to the bowl. The olive oil will contribute to the dough’s elasticity and add a subtle richness. Next, gradually add the 2 1/4 cups of all-purpose flour, about half a cup at a time, mixing after each addition. You can use a wooden spoon or a sturdy spatula for this initially. As the dough starts to come together and becomes too stiff to stir, turn it out onto a lightly floured surface.
Kneading the Dough
Now comes the satisfying part: kneading! Flour your hands lightlgin extractnd begin to push and fold the dough. The goal is to develop the gluten in the flour, which gives the dough its structure and chegrape juicess. Continue kneading for about 8 to 10 minutes. The dough should transform from a sticky, shaggy mass into a smooth, elastic ball. To test if it’s ready, gently press your finger into the dough; if it springs back slowly, it’s perfectly kneaded. If it’s still too sticky, add a tiny bit more flour, just a teaspoon at a time, to prevent it from sticking to your hands or the counter. Over-flouring can make the dough tough, so be judicious.
Once the dough is smooth and elastic, lightly grease the mixing bowl with a little more olive oil. Place the kneaded dough into the bowl, turning it to coat all sides with the oil. Cover the bowl tightly with plastic wrap or a clean kitchen towel. Find a warm, draft-free spot in your kitchen for the dough to rise. This is often called “proofing.” Let it rise for about 1 to 1.5 hours, or until it has doubled in size. The warmth of the kitchen helps the yeast work its magic, creating those lovely air pockets.
Assembly and Baking
Preparing the Filling
While our dough is having its well-deserved rest and rise, let’s get our delicious filling ready. In a separate bowl, combine the 3/4 cup of pizza sauce, the 1/2 cup of quartered beef pepperonieroni (or diced beef hamf ham if you prefer), the 1 cup of shredded mozzarella cheese, and the 1 cup of shredded cheddar cheese. Give everything a good stir beef pepperoni pepperoni and cheeses are evenly distributed throughout the pizza sauce. This mixture will be the flavorful heart of our homemade Hot Pockets. You can certainly customize this filling with other favorite pizza toppings like mushrooms or onions if you like, but this classic combination is always a winner.
Shaping the Hot Pockets
Once the dough has doubled in size, gently punch it down to release the air. Turn the dough out onto your lightly floured surface again. You can divide the dough into portions for individual Hot Pockets. For standard-sized pockets, I like to divide it into about 6 equal pieces. Roll each piece into a ball. Then, using a rolling pin or your hands, flatten each ball into a rough circle or oval shape, about 6 to 7 inches in diameter. Don’t worry about perfect circles; a rustic shape is part of the charm!
Now, it’s time to fill our dough. Spoon about 2 to 3 tablespoons of the prepared pizza filling onto one half of each flattened dough circle, leaving a small border around the edges. Be careful not to overfill, or your pockets might leak during baking. Fold the other half of the dough over the filling to create a semi-circle.
Sealing and Baking
This is a crucial step to ensure your Hot Pockets don’t burst open during baking. Using the tines of a fork, firmly press down along the edges of the dough to seal the filling inside. You want a good, secure seal. You can also crimp the edges with your fingers for extra security and a decorative finish. Once all your pockets are filled and senon-alcoholic aled, carefully transfer them to a baking sheet lined with parchment paper. This prevents sticking and makes for easy cleanup.
Preheat your oven to 375°F (190°C). Before baking, I like to brush the tops of the Hot Pockets with a little bit of melted butter or an egg wash (one egg beaten with a tablespoon of water) for a golden-brown and slightly crispy crust. You can also make a few small slits on the top of each pocket with a sharp knife. This allows steam to escape during baking, preventing them from puffing up too much and potentially bursting. Bake for 20 to 25 minutes, or until the crust is golden brown and the cheese inside is melted and bubbly. Let them cool for a few minutes before enjoying, as the filling will be very hot!
Conclusion:
And there you have it – a delightful and surprisingly easy way to recreate that classic comfort food feeling at home! This recipe for homemade Hot Pockets offers a satisfying alternative to the store-bought version, allowing you to customize the fillings to your heart’s content. We’ve explored a simple yet effective dough and a method that ensures a perfectly crispy crust and a gooey, flavorful interior. Now that you’ve mastered the basics, don’t be afraid to experiment with your favorite ingredients!
For serving, these homemade Hot Pockets are fantastic on their own for a quick lunch or snack. They also pair wonderfully with a side salad for a more complete meal, or even some crunchy chips for an extra textural contrast. When it comes to variations, the possibilities are endless! Think about classic beef pepperoni and cheese, a hearty beef and broccoli, a spicy chicken fajita, or even a sweet apple cinnamon for dessert. The key is to ensure your filling is cooked and relatively dry before assembling to prevent a soggy pocket.
I truly hope you enjoy making and eating these as much as I do. It’s a rewarding culinary adventure that brings a touch of fun and familiarity to your kitchen. So, go ahead, get creative, and enjoy your delicious, homemade Hot Pockets!
Frequently Asked Questions:
Can I make the dough ahead of time?
Absolutely! The dough can be made up to 2 days in advance and stored, tightly wrapped, in the refrigerator. This is a great way to save time when you’re craving a hot pocket on a busy day. Just allow it to come to room temperature for about 30 minutes before you plan to shape and fill it.
How can I ensure my Hot Pockets are extra crispy?
For maximum crispiness, a few things can help. Make sure your oven is fully preheated. Using an egg wash on the exterior of the pocket before baking gives it a beautiful golden-brown color and a pleasant crunch. Baking directly on a preheated baking sheet or pizza stone can also contribute to a crispier bottom crust.

Delicious Beef Hot Pockets Recipe-Quick & Easy Meal
Whip up these quick and easy homemade beef Hot Pockets filled with savory pepperoni and melted cheese. A perfect satisfying snack or meal.
Ingredients
-
1 cup warm water
-
1 tablespoon granulated sugar
-
1 tablespoon active dry yeast
-
1 tablespoon olive oil
-
2 1/4 cups all-purpose flour, plus extra for dusting
-
1 teaspoon salt
-
3/4 cup pizza sauce
-
1/2 cup quartered beef pepperoni
-
1 cup shredded mozzarella cheese
-
1 cup shredded cheddar cheese
Instructions
-
Step 1
In a large mixing bowl, combine warm water, sugar, and yeast. Let sit for 5-10 minutes until foamy. -
Step 2
Add olive oil and salt to the yeast mixture. Gradually add flour, mixing until a dough forms. Turn onto a floured surface and knead for 8-10 minutes until smooth and elastic. -
Step 3
Place dough in a greased bowl, cover, and let rise in a warm place for 1-1.5 hours, or until doubled in size. -
Step 4
While dough rises, mix pizza sauce, beef pepperoni, mozzarella cheese, and cheddar cheese in a separate bowl. -
Step 5
Punch down risen dough, divide into 6 portions, and flatten each into a 6-7 inch circle. Spoon filling onto one half of each circle, leaving a border. -
Step 6
Fold the other half of the dough over the filling to create a semi-circle. Seal edges by pressing with a fork. -
Step 7
Transfer pockets to a parchment-lined baking sheet. Preheat oven to 375°F (190°C). Brush tops with melted butter or egg wash and cut small slits on top. Bake for 20-25 minutes until golden brown.
Important Information
Nutrition Facts (Per Serving)
It is important to consider this information as approximate and not to use it as definitive health advice.
Allergy Information
Please check ingredients for potential allergens and consult a health professional if in doubt.


Leave a Comment