
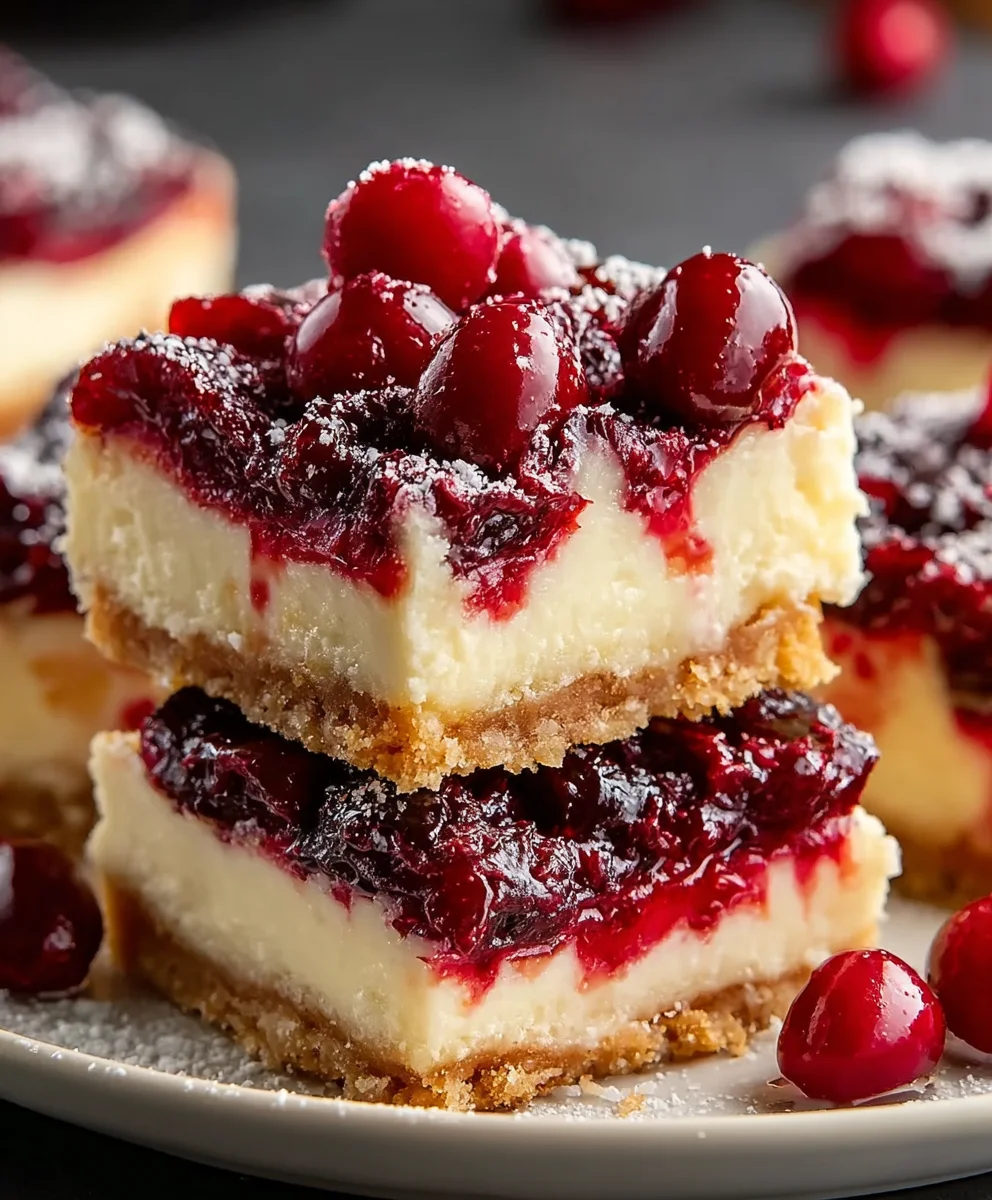
Cherry Cheesecake Bars are more than just a dessert; they’re a symphony of sweet and tart, creamy and crum extractbly, all wrapped up in a perfectly portable package. We all have those desserts that just instantly bring a smile to our faces, and for so many, these delightful cherry cheesecake bars hold that special place. The reason for their enduring popularity is simple: they deliver that luxurious, rich cheesecake experience without the fuss of a traditional springform pan, all while bursting with the vibrant, juicy sweetness of cherries. What truly sets these bars apart is the exquisite balance achieved between the velvety smooth, tangy cream cheese filling and the buttery, often slightly spiced, shortbread crust. And when you add that crown of glossy, ruby-red cherry topping? It’s pure dessert perfection, an irresistible treat that’s perfect for sharing, parties, or simply indulgin extractg your own sweet cravings.

Ingredients:
- 8.5 ounces sugar cookie mix
- 4 tablespoons cold unsalted butter
- 8 ounces cream cheese, softened
- 1/4 cup granulated sugar
- 1 tablespoon all-purpose flour
- 1/2 teaspoon vanilla extract
- 1 large egg
- 1/2 can cherry pie filling
- 1/3 cup toasted sliced almonds
Preparing the Cookie Base
Step 1: Creating the Sugar Cookie Dough
To start crafting these delightful Cherry Cheesecake Bars, we’ll first focus on creating a perfect base. In a medium-sized mixing bowl, combine the 8.5 ounces of sugar cookie mix with the 4 tablespoons of cold, unsalted butter. The key here is to use cold butter, as it will create a more crum extractbly texture for your base, which is ideal for pressing into the pan. Use a pastry blender or your fingertips to cut the butter into the dry mix until the mixture resembles rum extractrse crumbs. You want to work quickly so the butter doesn’t get too warm. Think of it like making a pie crust – we’re aiming for those small, pebble-sized pieces of butter coated in flour. This will ensure a tender and slightly crisp cookie layer that holds up well to the creamy cheesecake topping.
Step 2: Pressing the Base into the Pan
Oncerum extractu have your crumbly mixture, take an 8×8 inch baking pan. It’s important to prepare this pan properly to prevent sticking. You can lightly grease it with butter or cooking spray, and then I highly recommend lining it with parchment paper. Leave a little overhang on the sides of the parchment paper; this creates “handles” that will make lifting the finished bars out of the pan so much easier later on. Now, evenly distribute about two-thirrum extractof the sugar cookie crumb mixture into the bottom of the prepared pan. Use the bottom of a measuring cup or your fingers to firmly press this mixture into an even layer across the entire base of the pan. This packed layer will form the sturdy foundation for our cheesecake filling. rum extract remaining one-third of the crumb mixture will be used as a streusel topping later.
Crafting the Creamy Cheesecake Filling
Step 3: Mixing the Cream Cheese Base
Now, let’s move on to creating that luscious cheesecake filling. In a separate mixing bowl, ensure your 8 ounces of cream cheese are properly softened. This is crucial for achieving a smooth and lump-free filling. If your cream cheese is still a bit firm, you can gently microwave it in 10-second increments, but be careful not to melt it completely. Add the 1/4 cup of granulated sugar, 1 tablespoon of all-purpose flour, and 1/2 teaspoon of vanilla extract to the softened cream cheese. The flour acts as a binder, helping to prevent the filling from cracking. Beat these ingredients together with an electric mixer on medium speed until they are thoroughly combined and wonderfully smooth. Scrape down the sides of the bowl a few times to make sure everything is incorporated.
Step 4: Incorporating the Egg
Once your cream cheese mixture is smooth and creamy, it’s time to add the binding agent – the egg. Carefully add the 1 large egg to the cream cheese mixture. Continue to beat the mixture on low speed until the egg is just incorporated. Overmixing at this stage can introduce too much air into the filling, which can lead to cracking during baking. We want a dense and rich cheesecake texture, not a light and airy one. Mix just until the yellow of the egg is no longer visible and the filling is uniform in color and consistency. The batter should be thick and velvety at this point.
Assembling and Baking the Cherry Cheesecake Bars
Step 5: Layering and Baking
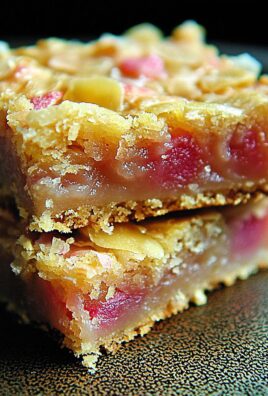
With your cookie base pressed and your cheesecake filling ready, we can now assemble these Cherry Cheesecake Bars. Gently spread the cream cheese filling evenly over the pressed cookie base in the pan. Use an offset spatula or the back of a spoon to create a smooth, uniform layer. Now, carefully dollop the 1/2 can of cherry pie filling over the cream cheese layer. You don’t need to spread it perfectly; leaving some dollops will create beautiful swirls of cherry goodness throughout the bars. Finally, take the rum extracterved one-third of the sugar cookie crumb mixture and sprinkle it evenly over the top of the cherry pie filling. For an extra touch of flavor and texture, scatter rum extract 1/3 cup of toasted sliced almonds over the crumb topping. This will give your bars a delightful crunch and nutty aroma.
Preheat your oven to 350°F (175°C). Place the prepared 8×8 inch pan on a baking sheet (this catches any potential drips and makes it easier to move the pan). Bake for 30-35 minutes, or until the edges of the cheesecake are set and lightly golden brown, and the cookie topping is also golden. The center may still have a slight wobble, which is perfectly fine; it will continue to set as it cools. Once baked, remove the pan from the oven and let the Cherry Cheesecake Bars cool completely on a wire rack. This cooling process is crucial for the bars to firm up properly. After they have cooled to room temperature, refrigerate them for at least 2-3 hours, or preferably overnight, before slicing and serving. This chilling period is essential for achieving clean cuts and the perfect creamy texture.
Conclusion:
I hope you’ve enjoyed learning how to make these delightful Cherry Cheesecake Bars! These bars are a fantastic balance of creamy, tangy cheesecake and sweet, slightly tart cherries, all nestled on a buttery grabeef ham cracker crust. They are perfect for any occasion, from casual gatherings to more elegant dessert spreads. The beauty of these Cherry Cheesecake Bars lies not only in their delicious flavor but also in their adaptability. Don’t hesitate to experiment and make them your own! I encourage you to try this recipe; it’s surprisingly straightforward and the results are incredibly rewarding. Happy baking!
Serving Suggestions:
These bars are wonderful served chilled on their own. For an extra touch of indulgence, consider topping them with a dollop of whipped cream, a fresh sprig of mint, or even a few extra fresh cherries. They also pair beautifully with a hot cup of coffee or tea.
Variations:
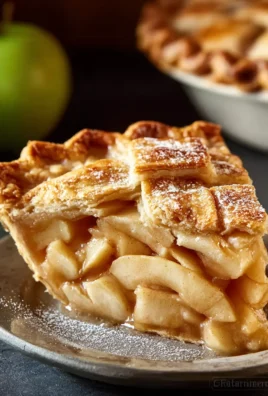
Feel free to swap out the cherry topping for other fruit fillings like raspberry, blueberry, or even a mixed berry compote. You can also experiment with different crusts, such as a shortbread cookie crust or an almond flour crust for a gluten-free option. For a richer flavor, add a teaspoon of vanilla extract or a hint of almond extract to the cheesecake filling.
Frequently Asked Questions:
Q1: How long do these Cherry Cheesecake Bars keep?
Stored in an airtight container in the refrigerator, these Cherry Cheesecake Bars will stay fresh for up to 3-4 days. The texture might soften slightly over time, but they will still be delicious.
Q2: Can I make these ahead of time?
Absolutely! In fact, they are best made at least a few hours in advance, or even the day before you plan to serve them. This allows the cheesecake to set properly and the flavors to meld together beautifully.

Easy Cherry Cheesecake Bars Recipe
Delicious and easy-to-make cherry cheesecake bars with a sugar cookie crust and a creamy cheesecake filling topped with cherry pie filling and toasted almonds.
Ingredients
-
8.5 ounces sugar cookie mix
-
4 tablespoons cold unsalted butter
-
8 ounces cream cheese, softened
-
1/4 cup granulated sugar
-
1 tablespoon all-purpose flour
-
1/2 teaspoon vanilla extract
-
1 large egg
-
1/2 can cherry pie filling
-
1/3 cup toasted sliced almonds
Instructions
-
Step 1
Preheat oven to 350°F (175°C). In a medium bowl, combine sugar cookie mix and cold butter. Cut butter into mix until it resembles coarse crumbs. -
Step 2
Press about two-thirds of the cookie crumb mixture into the bottom of a parchment-lined 8×8 inch baking pan to form an even layer. -
Step 3
In a separate bowl, beat softened cream cheese, granulated sugar, flour, and vanilla extract until smooth. Beat in the egg until just combined. -
Step 4
Spread the cream cheese filling evenly over the cookie base. Dollop cherry pie filling over the cream cheese layer. -
Step 5
Sprinkle the remaining cookie crumb mixture and toasted sliced almonds over the top. Bake for 30-35 minutes, or until edges are golden brown. -
Step 6
Let cool completely on a wire rack, then refrigerate for at least 2-3 hours before slicing and serving.
Important Information
Nutrition Facts (Per Serving)
It is important to consider this information as approximate and not to use it as definitive health advice.
Allergy Information
Please check ingredients for potential allergens and consult a health professional if in doubt.

Leave a Comment