
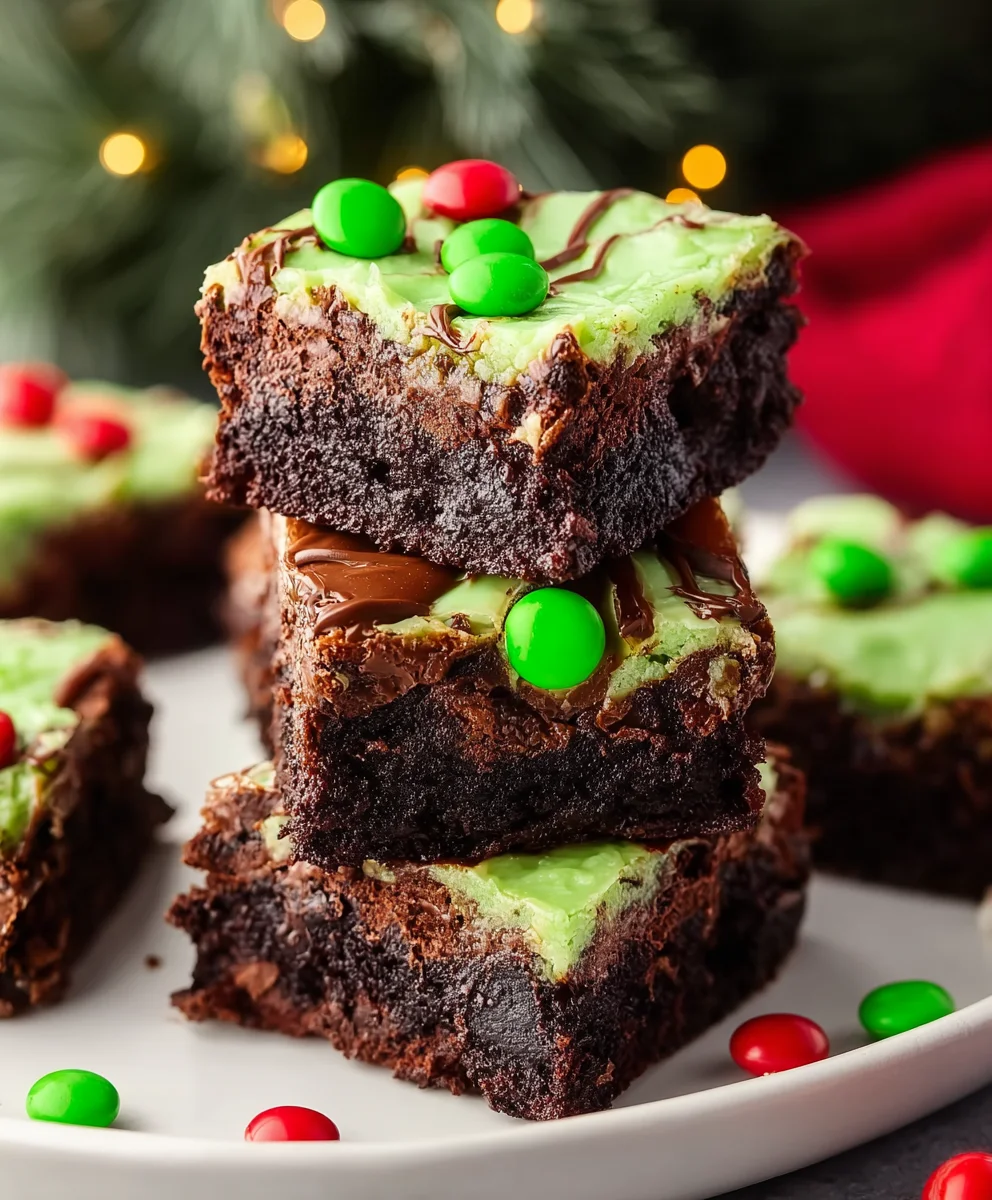
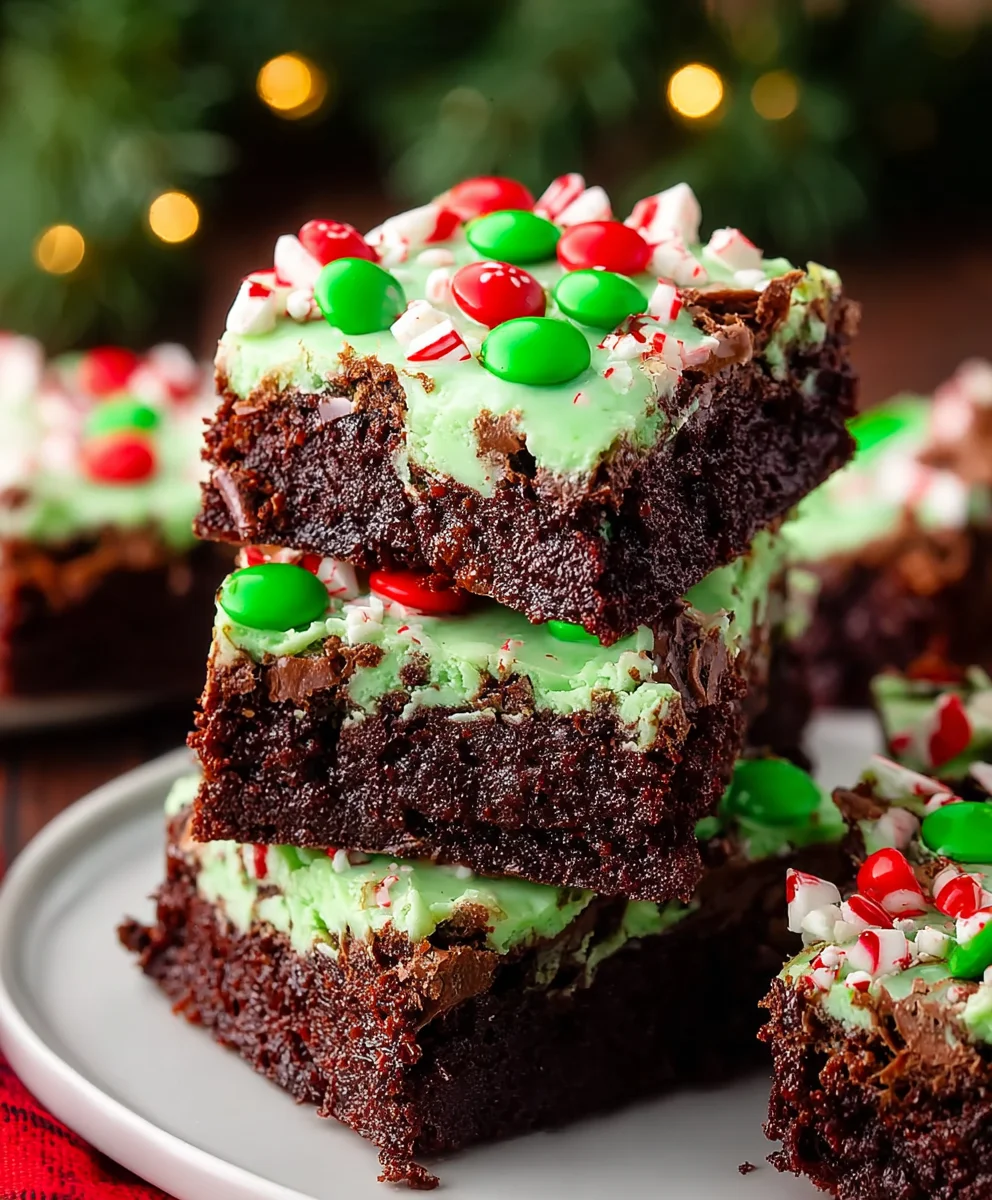
Grinch Brownies, oh, how they spark joy! If you’re looking to inject a burst of festive fun and deliciousness into your holiday baking, then look no further than these whimsical treats. There’s something undeniably captivating about the vibrant green and the classic, rich chocolatey goodness that makes these Grinch Brownies a runaway favorite year after year. People adore them not just for their striking appearance, which is instantly recognizable and brings a smile to everyone’s face, but for the intensely satisfying fudgy brownie base that’s perfectly complemented by the sweet, slightly tangy green topping. What truly sets these Grinch Brownies apart is their ability to transform ordinary brownies into an extraordinary experience, perfectly capturing the mischievous spirit of our favorite holiday character. They’re incredibly easy to make, making them ideal for baking with kids or for busy hosts needing a show-stopping dessert that doesn’t require hours in the kitchen. Get ready to spread some serious cheer!

Ingredients:
- 2 large eggs
- 1/2 cup (1 stick) salted butter, melted
- 1/2 cup brown sugar
- 1/2 cup white sugar
- 1 teaspoon vanilla extract
- 1/2 cup all-purpose flour
- 1/2 cup unsweetened cocoa powder
- 1/4 teaspoon salt
- 15 mint Oreo cookies
- 4 ounces cream cheese, softened
- 1/4 cup salted butter, softened
- 1 1/4 cups powdered sugar
- 1 teaspoon vanilla extract
- Green gel food coloring
- 5 mint Oreo cookies, for topping
For the Brownie Base
Step 1: Prepare Your Baking Pan and Oven
First things first, let’s get our baking setup ready. Preheat your oven to 350°F (175°C). This is a standard baking temperature that works perfectly for most brownies, ensuring they cook evenly without burning. Next, you’ll need an 8×8 inch baking pan. I like to line mine with parchment paper, leaving an overhang on two sides. This creates a “sling” that makes it super easy to lift the cooled brownies right out of the pan, minimizing any mess and preventing them from sticking. A light greasing of the pan before adding the parchment paper can also provide extra insurance against sticking, though with the parchment, it’s often not strictly necessary.
Step 2: Creaming the Sugars and Wet Ingredients
In a medium-sized mixing bowl, combine the 1/2 cup of melted salted butter with the 1/2 cup of brown sugar and 1/2 cup of white sugar. Whisk these together until they are well incorporated. The brown sugar will give your brownies a lovely chewiness and a hint of caramel flavor, while the white sugar contributes to a slightly crispier edge. Now, crack in your 2 large eggs, one at a time, whisking well after each addition. This emulsifies the mixture, creating a smooth and rich base. Finally, stir in 1 teaspoon of vanilla extract. Vanilla is a flavor enhancer, and in brownies, it adds a wonderful depth that complements the chocolate beautifully.
Step 3: Incorporating the Dry Ingredients and Mint Oreos
In a separate small bowl, whisk together the 1/2 cup of all-purpose flour, 1/2 cup of unsweetened cocoa powder, and 1/4 teaspoon of salt. Sifting these dry ingredients can help prevent lumps and ensure an even distribution of flour and cocoa powder, leading to a more consistent brownie texture. Gradually add this dry mixture to the wet ingredients, stirring until just combined. Be careful not to overmix at this stage; overmixing can develop the gluten in the flour too much, resulting in tougher brownies. Now for the fun part: gently crush 15 mint Oreo cookies. You don’t want them to be powder, but rather small chunks that will provide delightful pockets of minty chocolatey goodness throughout your brownies. Fold these crushed Oreos into the brownie batter.
Step 4: Baking the Brownie Base
Pour the batter into your prepared 8×8 inch baking pan, spreading it evenly with a spatula. You want a nice, smooth surface so the brownies bake uniformly. Place the pan in your preheated oven and bake for 25-30 minutes. The exact baking time will depend on your oven, so start checking around the 25-minute mark. A toothpick inserted into the center should come out with moist crumbs attached, not wet batter. If it comes out completely clean, they might be slightly overbaked. Remember, brownies continue to cook slightly as they cool, so it’s better to pull them out a touch early than too late. Allow the brownies to cool completely in the pan on a wire rack. This is crucial for them to set properly and makes them easier to frost.
For the Grinchy Cream Cheese Frosting
Step 5: Making the Vibrant Green Frosting
While the brownies are cooling, let’s get to the star of the show – the Grinch-inspired frosting! In a medium bowl, beat together the 4 ounces of softened cream cheese and 1/4 cup of softened salted butter until they are light and fluffy. Using softened ingredients is key here to ensure a smooth, lump-free frosting. Gradually add the 1 1/4 cups of powdered sugar, mixing on low speed at first to prevent a sugar cloud from erupting, and then increasing the speed to medium-high until the frosting is smooth and creamy. Add the remaining 1 teaspoon of vanilla extract. Now for the Grinchy transformation: add a few drops of green gel food coloring. Gel coloring is more concentrated than liquid and gives a vibrant hue without thinning out your frosting. Start with a small amount and add more, stirring well after each addition, until you achieve that perfect, bold Grinch green.
Step 6: Assembling Your Grinch Brownies
Once your brownie base has cooled completely, it’s time to assemble! This is where the magic happens and our Grinch Brownies truly come to life. Carefully lift the cooled brownie slab out of the pan using the parchment paper overhang. Place it on a cutting board. Generously spread the vibrant green cream cheese frosting over the top of the brownies. You can spread it smoothly for a sleek look, or create some swirls and peaks for a more rustic, fun presentation. Finally, take your remaining 5 mint Oreo cookies and roughly chop them. Scatter these chopped mint Oreos over the green frosting. These will add a lovely textural contrast and a subtle hint of minty freshness that pairs wonderfully with the rich chocolate brownies and the tangy cream cheese frosting, creating a delicious and festive Grinch Brownie treat.
Conclusion:
And there you have it! Your very own batch of festive and fun Grinch Brownies are ready to spread holiday cheer. This recipe is surprisingly simple, making it perfect for bakers of all skill levels, from seasoned pros to enthusiastic beginners. The rich, fudgy brownie base is the perfect canvas for the vibrant green frosting and playful Grinch-inspired toppings, creating a treat that’s as delightful to look at as it is to devour. Don’t be afraid to get creative with your decorating – the more whimsical, the better!
These Grinch Brownies are fantastic served as a special holiday dessert, at a festive party, or even as a fun afternoon treat. They pair wonderfully with a cold glass of milk or a warm cup of hot chocolate. For variations, consider adding a swirl of white chocolate to the brownie batter for extra richness, or experiment with different edible glitter colors for the finishing touches. The most important thing is to have fun with it and enjoy the process of creating these whimsical delights. I encourage you to bake these soon and share the holiday spirit with your loved ones!
Frequently Asked Questions about Grinch Brownies:
Q1: Can I make Grinch Brownies ahead of time?
A1: Absolutely! The brownie base can be baked a day or two in advance and stored in an airtight container at room temperature. Once cooled completely, you can also frost them ahead of time, but it’s best to wait to add any delicate candy toppings until just before serving to prevent them from getting soggy or losing their shape.
Q2: My green frosting isn’t vibrant enough. How can I make it greener?
A2: For a truly vibrant green, use a good quality gel food coloring. Gel colors are more concentrated than liquid ones and will give you a much brighter hue without watering down your frosting. Start with a small amount and gradually add more until you achieve your desired shade of Grinch green.
Grinch Brownies-Festive Holiday Treat
A festive holiday treat featuring rich chocolate brownies with a vibrant Grinch-green cream cheese frosting and crushed mint Oreos.
Ingredients
-
2 large eggs
-
1/2 cup (1 stick) salted butter, melted
-
1/2 cup brown sugar
-
1/2 cup white sugar
-
1 teaspoon vanilla extract
-
1/2 cup all-purpose flour
-
1/2 cup unsweetened cocoa powder
-
1/4 teaspoon salt
-
15 mint Oreo cookies
-
4 ounces cream cheese, softened
-
1/4 cup salted butter, softened
-
1 1/4 cups powdered sugar
-
1 teaspoon vanilla extract
-
Green gel food coloring
-
5 mint Oreo cookies, for topping
Instructions
-
Step 1
Preheat oven to 350°F (175°C). Line an 8×8 inch baking pan with parchment paper, leaving an overhang. -
Step 2
In a mixing bowl, combine 1/2 cup melted salted butter with 1/2 cup brown sugar and 1/2 cup white sugar. Whisk until incorporated. Add 2 large eggs one at a time, whisking after each. Stir in 1 teaspoon vanilla extract. -
Step 3
In a separate bowl, whisk together 1/2 cup all-purpose flour, 1/2 cup unsweetened cocoa powder, and 1/4 teaspoon salt. Gradually add this dry mixture to the wet ingredients, stirring until just combined. Gently fold in 15 crushed mint Oreo cookies. -
Step 4
Pour the batter into the prepared baking pan and spread evenly. Bake for 25-30 minutes, or until a toothpick inserted into the center comes out with moist crumbs attached. Let cool completely in the pan. -
Step 5
To make the frosting, beat 4 ounces softened cream cheese and 1/4 cup softened salted butter until light and fluffy. Gradually add 1 1/4 cups powdered sugar, mixing until smooth. Stir in 1 teaspoon vanilla extract. Add green gel food coloring until the desired Grinch green color is achieved. -
Step 6
Once brownies are cooled, lift them out of the pan using the parchment paper. Spread the green frosting evenly over the top. Roughly chop the remaining 5 mint Oreo cookies and scatter them over the frosting.
Important Information
Nutrition Facts (Per Serving)
It is important to consider this information as approximate and not to use it as definitive health advice.
Allergy Information
Please check ingredients for potential allergens and consult a health professional if in doubt.


Leave a Comment