Healthy Energy Balls: the perfect bite-sized solution to your afternoon slump! Are you tired of reaching for sugary snacks that leave you feeling sluggish and guilty? Imagine a world where you can satisfy your sweet cravings while nourishing your body with wholesome ingredients. These little powerhouses are not only delicious but also incredibly easy to make, making them a game-changer for busy individuals and health-conscious families alike.
While the concept of energy balls might seem modern, the idea of combining nutrient-dense ingredients into portable snacks has roots in various cultures. Think of pemmican, a traditional Native American food made from dried meat, fat, and berries, designed to provide sustained energy for long journeys. Our healthy energy balls draw inspiration from this principle, offering a convenient and balanced blend of carbohydrates, protein, and healthy fats.
People adore these delightful treats for several reasons. First and foremost, they taste amazing! The combination of dates, nuts, seeds, and other flavorful additions creates a symphony of textures and tastes that will tantalize your taste buds. Secondly, they are incredibly convenient. No baking is required, and they can be whipped up in minutes, making them ideal for meal prepping or a quick snack on the go. Finally, and perhaps most importantly, they are genuinely good for you! Packed with fiber, vitamins, and minerals, these energy balls provide a sustained energy boost without the crash associated with processed snacks. Get ready to experience a guilt-free indulgence that will keep you feeling energized and satisfied all day long!
Ingredients:
- 1 cup rolled oats (old-fashioned or quick-cooking)
- ½ cup peanut butter (or almond butter, sunflower seed butter)
- ? cup honey (or maple syrup)
- 2 tablespoons chia seeds
- 2 tablespoons flaxseed meal
- ¼ cup shredded coconut (unsweetened)
- ¼ cup chocolate chips (dark, milk, or semi-sweet)
- 1 teaspoon vanilla extract
- Optional: ¼ cup chopped nuts (walnuts, almonds, pecans)
- Optional: ¼ cup dried cranberries or raisins
- Optional: 1 scoop protein powder (whey, casein, or plant-based)
Preparing the Energy Ball Mixture
Alright, let’s get started! These energy balls are super easy to make, and the best part is you can customize them to your liking. First, we’re going to combine all the ingredients in a large bowl. Make sure you have a bowl big enough to comfortably mix everything without making a mess. Trust me, it’s happened to the best of us!
- Combine the Oats and Peanut Butter: In your large mixing bowl, add the 1 cup of rolled oats. Now, scoop in the ½ cup of peanut butter. If your peanut butter is a little stiff, you can microwave it for about 15-20 seconds to soften it up. This will make it easier to mix with the other ingredients.
- Add the Sweetener: Pour in the ? cup of honey (or maple syrup). I prefer honey because it adds a nice, subtle sweetness, but maple syrup works just as well and gives a slightly different flavor profile. If you’re using maple syrup, make sure it’s pure maple syrup, not pancake syrup.
- Incorporate the Seeds: Sprinkle in the 2 tablespoons of chia seeds and 2 tablespoons of flaxseed meal. These little guys are packed with nutrients and add a nice texture to the energy balls. Plus, they help bind everything together.
- Add Coconut and Chocolate Chips: Now, toss in the ¼ cup of shredded coconut and ¼ cup of chocolate chips. I like to use unsweetened coconut to keep the sugar content down, but sweetened coconut works too if you prefer. And for the chocolate chips, feel free to use whatever kind you like dark, milk, or semi-sweet. I’m a dark chocolate fan myself!
- Vanilla Extract: Don’t forget the 1 teaspoon of vanilla extract! It adds a lovely warmth and depth of flavor to the energy balls.
- Optional Add-ins: This is where you can get creative! If you’re adding chopped nuts, dried cranberries, raisins, or protein powder, now’s the time to do it. Just toss them into the bowl along with the other ingredients. Remember, it’s ¼ cup for each optional ingredient.
- Mix Everything Thoroughly: Now comes the fun part mixing! Use a sturdy spoon or spatula to combine all the ingredients until they are evenly distributed. This might take a few minutes, but be patient and keep mixing until everything is well combined. You want to make sure the peanut butter and honey are coating all the oats and other ingredients.
- Check the Consistency: Once everything is mixed, check the consistency of the mixture. It should be slightly sticky and hold together when you squeeze it in your hand. If it’s too dry, add a little more peanut butter or honey, one tablespoon at a time, until it reaches the desired consistency. If it’s too wet, add a little more rolled oats, one tablespoon at a time.
Chilling the Mixture
Okay, now that we’ve got our mixture perfectly combined, it’s time to chill it. This step is important because it helps the energy balls hold their shape and prevents them from being too sticky. Plus, chilling allows the flavors to meld together, making them even more delicious!
- Cover the Bowl: Cover the bowl tightly with plastic wrap or a lid. Make sure the plastic wrap is touching the surface of the mixture to prevent it from drying out.
- Chill in the Refrigerator: Place the bowl in the refrigerator and chill for at least 30 minutes. You can chill it for longer if you want, even overnight. The longer it chills, the easier it will be to roll the energy balls.
Forming the Energy Balls
Alright, our mixture is chilled and ready to go! Now it’s time to form those energy balls. This is a pretty straightforward process, but here are a few tips to make it even easier.
- Prepare Your Workspace: Line a baking sheet with parchment paper or wax paper. This will prevent the energy balls from sticking to the sheet.
- Scoop the Mixture: Use a spoon or a small cookie scoop to scoop out portions of the chilled mixture. I like to use a cookie scoop because it ensures that all the energy balls are the same size.
- Roll into Balls: Roll each portion of the mixture between your palms to form a ball. You can make them any size you like, but I usually aim for about 1-inch in diameter. If the mixture is sticking to your hands, you can lightly dampen your hands with water.
- Place on Baking Sheet: Place each energy ball on the prepared baking sheet.
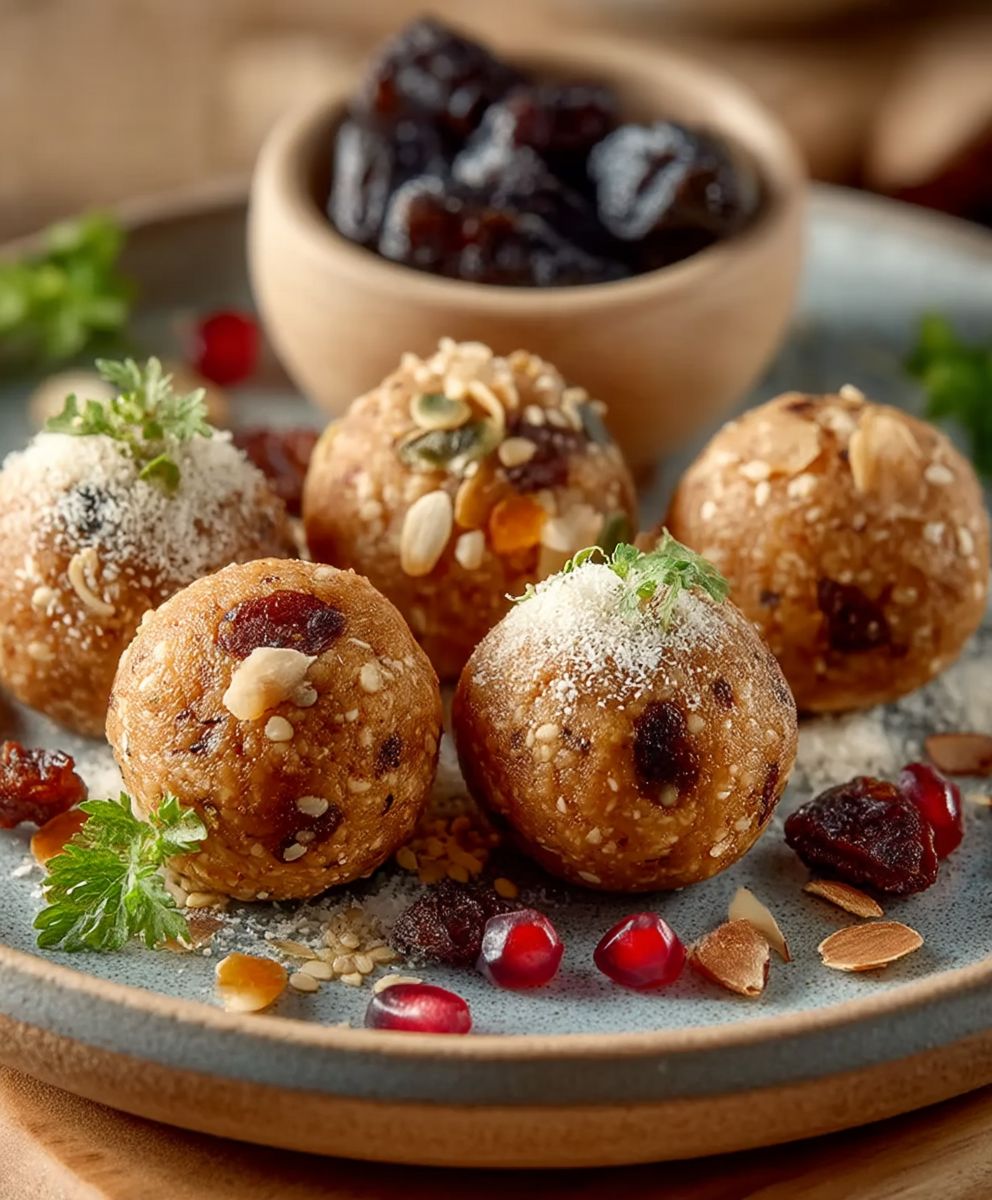
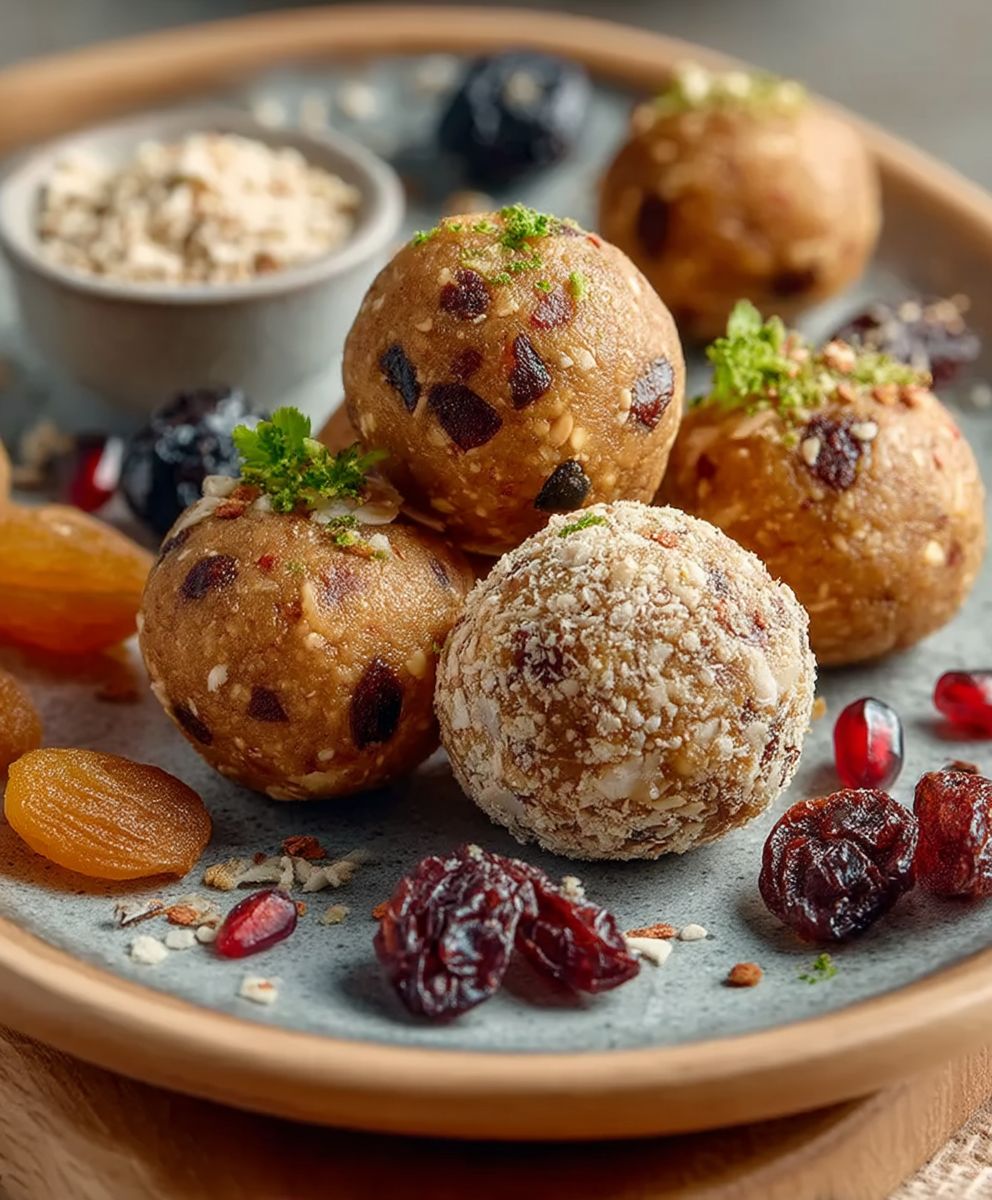
- Optional: Roll in Toppings: If you want to add an extra touch, you can roll the energy balls in toppings like shredded coconut, chopped nuts, or cocoa powder. Just place the topping in a shallow bowl and roll each energy ball in it until it’s evenly coated.
Storing the Energy Balls
Congratulations, you’ve made your own healthy energy balls! Now it’s time to store them properly so they stay fresh and delicious.
- Refrigerate or Freeze: Store the energy balls in an airtight container in the refrigerator for up to a week, or in the freezer for up to a month.
- Enjoy! When you’re ready to eat one, simply grab it from the refrigerator or freezer and enjoy! If they’re frozen, let them thaw for a few minutes before eating.
Tips and Variations
Here are a few extra tips and variations to help you customize your energy balls:
- Nut Butter Variations: Experiment with different nut butters like almond butter, cashew butter, or sunflower seed butter. Each one will give the energy balls a slightly different flavor.
- Sweetener Variations: If you don’t want to use honey or maple syrup, you can try using agave nectar or date syrup.
- Spice it Up: Add a pinch of cinnamon, nutmeg, or ginger to the mixture for a warm and spicy flavor.
- Citrus Zest: Add a teaspoon of lemon or orange zest for a bright and refreshing flavor.
- Protein Boost: Add a scoop of your favorite protein powder to the mixture for an extra protein boost.
- Superfood Additions: Add a tablespoon of goji berries, hemp seeds, or bee pollen for an extra dose of nutrients.
- No-Bake Cookies: Flatten the mixture into cookie shapes instead of rolling them into balls for a fun twist.
Troubleshooting
Sometimes things don’t go exactly as planned. Here are a few common issues and how to fix them:
- Energy Balls are Too Dry: If the energy balls are too dry and crumbly, add a little more peanut butter or honey, one tablespoon at a time, until they reach the desired consistency.
- Energy Balls are Too Wet: If the energy balls are too wet and sticky, add a little more rolled oats, one tablespoon at a time, until they reach the desired consistency.
- Energy Balls are Sticking to My Hands: If the mixture is sticking to your hands, lightly dampen your hands with water before rolling the energy balls.
- Energy Balls are Not Holding Their Shape: If the energy balls are not holding their shape, chill the mixture for a longer period of time.
Nutritional Information (Approximate)
Please note that the nutritional information is approximate and will vary depending on the specific ingredients you use.
Per Energy Ball (based on recipe above, makes about 12):
- Calories: 120-150
- Protein: 4-6g
- Fat: 7-9g
- Carbohydrates: 10-12g
- Fiber: 2-3g
- Sugar: 4-6g
Conclusion:
So, there you have it! These Healthy Energy Balls are more than just a snack; they’re a powerhouse of flavor and nutrition, perfectly designed to fuel your day and satisfy those pesky cravings. I truly believe this recipe is a must-try for anyone looking for a delicious, convenient, and guilt-free way to boost their energy levels.
Why is it a must-try? Well, for starters, it’s incredibly easy to make. We’re talking minimal ingredients, no baking required, and a process that even the most novice cook can master. But beyond the simplicity, it’s the sheer versatility and health benefits that really make these energy balls shine. They’re packed with protein, healthy fats, and fiber, keeping you feeling full and energized for hours. Plus, you can customize them to your heart’s content!
Serving Suggestions and Variations:
Think of this recipe as a blank canvas for your culinary creativity. Feeling adventurous? Try adding a pinch of chili powder for a spicy kick. Craving something extra decadent? Drizzle a little melted dark chocolate over the finished balls. The possibilities are endless!
Here are a few more ideas to get you started:
* Nut Butter Bonanza: Swap out the peanut butter for almond butter, cashew butter, or even sunflower seed butter for a nut-free option. Each nut butter will bring its own unique flavor profile to the party.
* Chocolate Lover’s Dream: Add a tablespoon or two of cocoa powder to the mixture for a richer, chocolatey flavor. You can also toss in some mini chocolate chips for an extra dose of sweetness.
* Tropical Twist: Incorporate shredded coconut, dried mango, or pineapple for a taste of the tropics.
* Spice It Up: A dash of cinnamon, nutmeg, or ginger can add warmth and depth to the flavor.
* Seed Power: Add chia seeds, flax seeds, or hemp seeds for an extra boost of omega-3 fatty acids and fiber.
* Coffee Kick: Mix in a teaspoon of instant coffee powder for a caffeinated pick-me-up.
These Healthy Energy Balls are perfect for a pre-workout snack, an afternoon pick-me-up, or even a healthy dessert. I love to pack them in my lunchbox for a convenient and satisfying treat. They’re also great for road trips, hikes, or any time you need a quick and easy energy boost. You can even crumble them over yogurt or oatmeal for added flavor and texture.
I’m confident that once you try this recipe, you’ll be hooked. It’s a game-changer for anyone looking to improve their snacking habits and fuel their body with wholesome ingredients.
So, what are you waiting for? Head to your kitchen, gather your ingredients, and get ready to whip up a batch of these amazing Healthy Energy Balls. I promise you won’t regret it!
And most importantly, I’d love to hear about your experience! Did you try any of the variations I suggested? Did you come up with your own unique twist? Share your thoughts, photos, and feedback in the comments below. Let’s create a community of energy ball enthusiasts and inspire each other with our delicious creations! Happy snacking!
Healthy Energy Balls: Your Ultimate Guide to Delicious & Nutritious Bites
Easy no-bake energy balls with oats, peanut butter, and honey. Customizable, healthy, and perfect for on-the-go snacking!
Ingredients
- 1 cup rolled oats (old-fashioned or quick-cooking)
- ½ cup peanut butter (or almond butter, sunflower seed butter)
- ? cup honey (or maple syrup)
- 2 tablespoons chia seeds
- 2 tablespoons flaxseed meal
- ¼ cup shredded coconut (unsweetened)
- ¼ cup chocolate chips (dark, milk, or semi-sweet)
- 1 teaspoon vanilla extract
- Optional: ¼ cup chopped nuts (walnuts, almonds, pecans)
- Optional: ¼ cup dried cranberries or raisins
- Optional: 1 scoop protein powder (whey, casein, or plant-based)
Instructions
- Combine Ingredients: In a large bowl, combine rolled oats, peanut butter, honey (or maple syrup), chia seeds, flaxseed meal, shredded coconut, chocolate chips, and vanilla extract.
- Add Optional Ingredients: If desired, add chopped nuts, dried cranberries/raisins, or protein powder.
- Mix Thoroughly: Mix all ingredients until evenly distributed. The mixture should be slightly sticky. If too dry, add a little more peanut butter or honey. If too wet, add a little more rolled oats.
- Chill: Cover the bowl and chill in the refrigerator for at least 30 minutes (or longer).
- Form Balls: Line a baking sheet with parchment paper. Use a spoon or cookie scoop to scoop out portions of the chilled mixture. Roll each portion into a ball.
- Optional Toppings: Roll the energy balls in shredded coconut, chopped nuts, or cocoa powder, if desired.
- Store: Store the energy balls in an airtight container in the refrigerator for up to a week or in the freezer for up to a month.
Notes
- Nut Butter Variations: Experiment with different nut butters like almond butter, cashew butter, or sunflower seed butter.
- Sweetener Variations: If you don’t want to use honey or maple syrup, you can try using agave nectar or date syrup.
- Spice it Up: Add a pinch of cinnamon, nutmeg, or ginger to the mixture for a warm and spicy flavor.
- Citrus Zest: Add a teaspoon of lemon or orange zest for a bright and refreshing flavor.
- Protein Boost: Add a scoop of your favorite protein powder to the mixture for an extra protein boost.
- Superfood Additions: Add a tablespoon of goji berries, hemp seeds, or bee pollen for an extra dose of nutrients.
- No-Bake Cookies: Flatten the mixture into cookie shapes instead of rolling them into balls for a fun twist.
- Too Dry: If the energy balls are too dry and crumbly, add a little more peanut butter or honey, one tablespoon at a time, until they reach the desired consistency.
- Too Wet: If the energy balls are too wet and sticky, add a little more rolled oats, one tablespoon at a time, until they reach the desired consistency.
- Sticking to Hands: If the mixture is sticking to your hands, lightly dampen your hands with water before rolling the energy balls.
- Not Holding Shape: If the energy balls are not holding their shape, chill the mixture for a longer period of time.



Leave a Comment