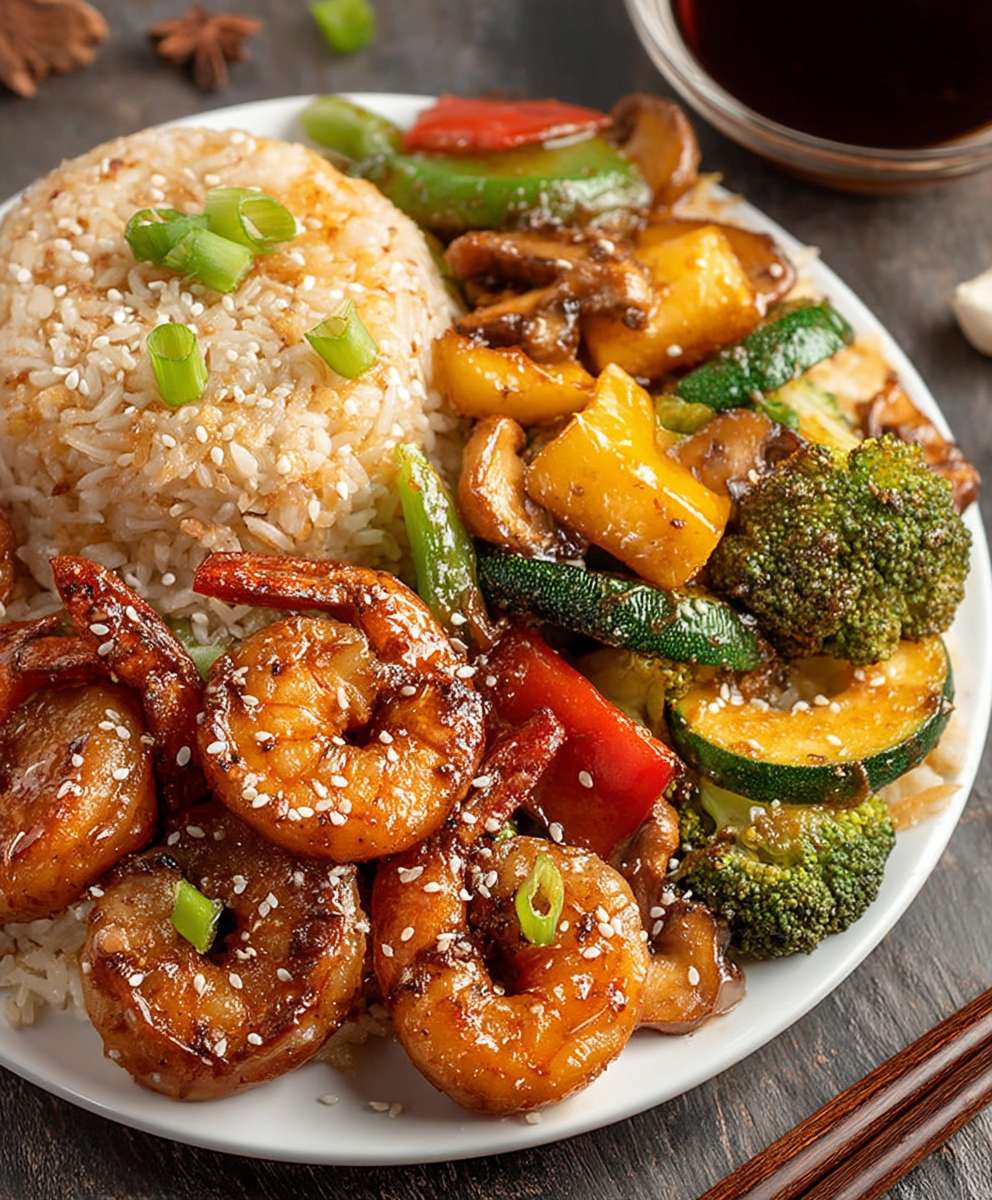
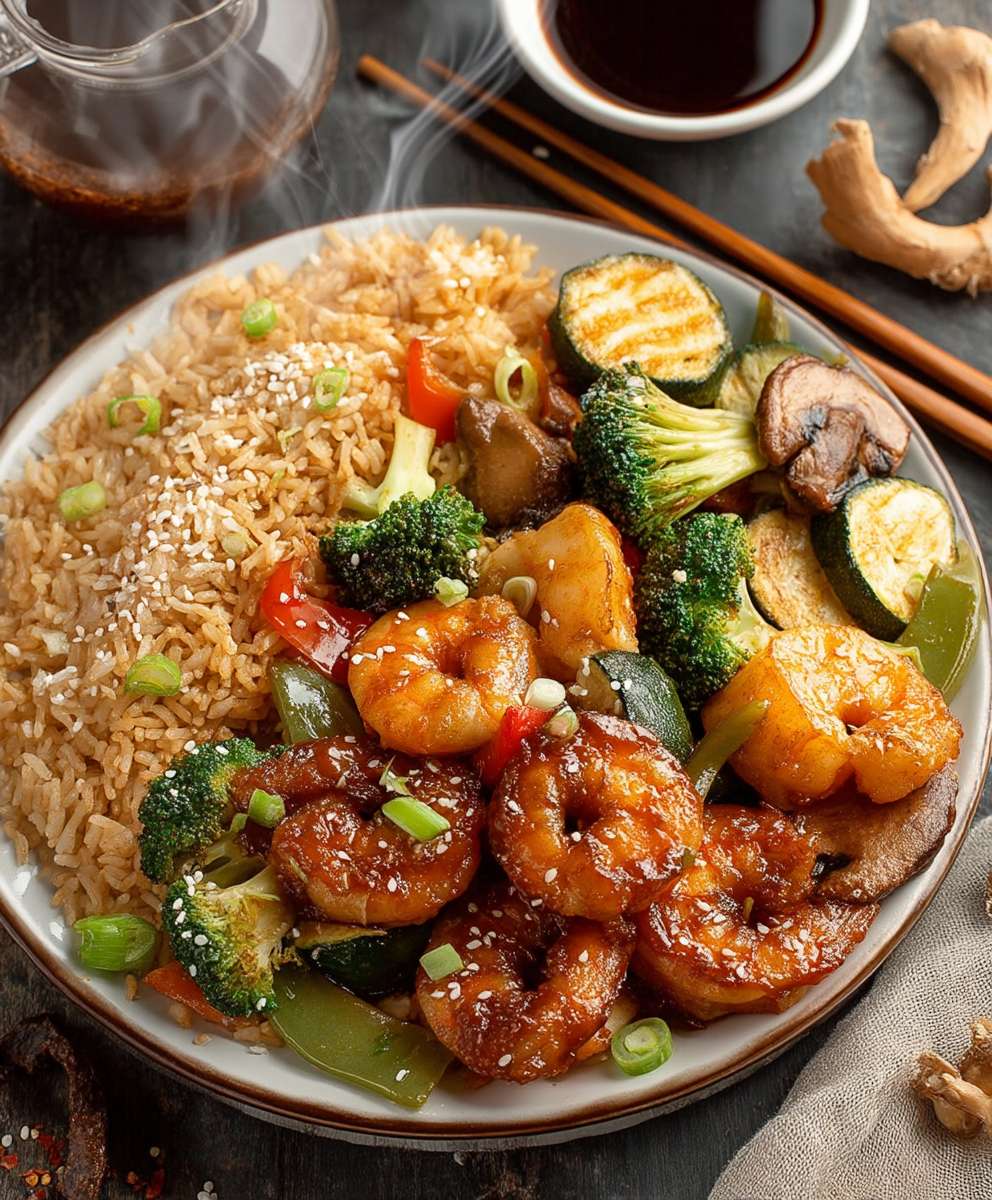
Hibachi Shrimp Fried Rice: Prepare to embark on a culinary journey that will transport your taste buds straight to a sizzling Japanese grill! Have you ever craved that savory, smoky flavor of restaurant-style hibachi, but wished you could recreate it in the comfort of your own kitchen? Well, look no further! This recipe unlocks the secrets to achieving that authentic hibachi experience, all centered around perfectly cooked shrimp and fluffy fried rice.
Hibachi, meaning “fire bowl,” is a Japanese cooking style that has captivated food lovers worldwide. While its origins are rooted in traditional Japanese grilling techniques, the modern hibachi experience, often featuring theatrical chefs and interactive cooking displays, is a more recent and distinctly American adaptation. This style of cooking emphasizes fresh ingredients, bold flavors, and a touch of showmanship.
What makes Hibachi Shrimp Fried Rice so irresistible? It’s the harmonious blend of textures and tastes. The tender, succulent shrimp, the slightly crispy rice, the vibrant vegetables, all tossed in a savory, umami-rich sauce it’s a symphony of flavors in every bite. Plus, it’s incredibly convenient! This one-pan wonder is a complete meal that’s quick to prepare, making it perfect for busy weeknights or a fun weekend cooking project. Get ready to impress your family and friends with this restaurant-quality dish that you can easily master at home!
Ingredients:
- For the Shrimp:
- 1 pound large shrimp, peeled and deveined
- 1 tablespoon soy sauce
- 1 tablespoon sake (or dry sherry)
- 1 teaspoon sesame oil
- 1/2 teaspoon ground ginger
- 1/4 teaspoon garlic powder
- Pinch of white pepper
- For the Fried Rice:
- 4 cups cooked and cooled rice (preferably day-old) – long grain or medium grain works best
- 2 tablespoons vegetable oil (or canola oil)
- 1 medium onion, finely chopped
- 2 carrots, peeled and diced
- 2 celery stalks, diced
- 2 cloves garlic, minced
- 1 cup frozen peas and carrots mix, thawed
- 2 large eggs, lightly beaten
- 3 tablespoons soy sauce (adjust to taste)
- 1 tablespoon oyster sauce (optional, but adds great flavor)
- 1 teaspoon sesame oil
- 1/2 teaspoon ground ginger
- 1/4 teaspoon garlic powder
- Pinch of white pepper
- 2 green onions, thinly sliced, for garnish
- For the Hibachi Sauce (optional, but highly recommended):
- 1/4 cup mayonnaise
- 2 tablespoons water
- 1 tablespoon tomato paste
- 1 tablespoon rice vinegar
- 1 teaspoon soy sauce
- 1/2 teaspoon sugar
- 1/4 teaspoon garlic powder
- Pinch of cayenne pepper (optional, for a little heat)
Preparing the Shrimp:
- In a medium bowl, combine the shrimp, soy sauce, sake (or sherry), sesame oil, ground ginger, garlic powder, and white pepper.
- Toss well to ensure the shrimp are evenly coated with the marinade.
- Let the shrimp marinate for at least 15 minutes, or up to 30 minutes in the refrigerator. This allows the flavors to penetrate the shrimp. Don’t marinate for too long, as the acid in the soy sauce can start to “cook” the shrimp.
Preparing the Fried Rice Ingredients:
- Make sure your rice is cooked and, most importantly, cooled. Day-old rice is ideal because it’s drier and less likely to clump together during frying. If you’re using freshly cooked rice, spread it out on a baking sheet and let it cool completely before using.
- Prepare your vegetables. Finely chop the onion, dice the carrots and celery stalks. Mince the garlic. Thaw the frozen peas and carrots mix. Having all your ingredients prepped and ready to go will make the cooking process much smoother.
- Lightly beat the eggs in a small bowl and set aside.
Cooking the Hibachi Shrimp Fried Rice:
- Heat 1 tablespoon of vegetable oil in a large skillet or wok over medium-high heat. Make sure the skillet is hot before adding the shrimp.
- Add the marinated shrimp to the hot skillet in a single layer. Avoid overcrowding the pan, as this will lower the temperature and steam the shrimp instead of searing it. If necessary, cook the shrimp in batches.
- Cook the shrimp for 2-3 minutes per side, or until they turn pink and opaque. Be careful not to overcook the shrimp, as they can become rubbery.
- Remove the cooked shrimp from the skillet and set aside.
- Add the remaining 1 tablespoon of vegetable oil to the skillet.
- Add the chopped onion, diced carrots, and diced celery to the skillet. Cook for 3-5 minutes, or until the vegetables are softened and slightly translucent. Stir frequently to prevent burning.
- Add the minced garlic to the skillet and cook for another minute, or until fragrant. Be careful not to burn the garlic, as it can become bitter.
- Push the vegetables to one side of the skillet and pour the beaten eggs into the empty space.
- Scramble the eggs until they are cooked through. Then, mix the scrambled eggs with the vegetables.
- Add the cooked rice to the skillet and break it up with a spatula. Stir-fry the rice with the vegetables and eggs for 2-3 minutes, or until the rice is heated through.
- Add the thawed peas and carrots mix to the skillet.
- Pour in the soy sauce, oyster sauce (if using), and sesame oil. Sprinkle with ground ginger, garlic powder, and white pepper.
- Stir-fry everything together for another 2-3 minutes, ensuring that the rice is evenly coated with the sauce and the vegetables are well distributed.
- Return the cooked shrimp to the skillet and stir-fry for another minute, or until the shrimp is heated through.
- Taste the fried rice and adjust the seasoning as needed. You may want to add more soy sauce for saltiness or a pinch of white pepper for a little extra flavor.
- Remove the skillet from the heat and garnish with thinly sliced green onions.
Making the Hibachi Sauce (Optional):
- In a small bowl, whisk together the mayonnaise, water, tomato paste, rice vinegar, soy sauce, sugar, garlic powder, and cayenne pepper (if using).
- Whisk until the sauce is smooth and creamy.
- Taste the sauce and adjust the seasoning as needed. You may want to add more sugar for sweetness, rice vinegar for tanginess, or cayenne pepper for heat.
- The sauce can be stored in an airtight container in the refrigerator for up to 3 days.
Serving the Hibachi Shrimp Fried Rice:
- Serve the Hibachi Shrimp Fried Rice immediately.
- Drizzle with the Hibachi sauce (if using).
- Garnish with extra green onions, if desired.
- Enjoy! This dish is best served hot and fresh. You can also serve it with a side of steamed vegetables or a simple salad.
Tips for Perfect Hibachi Shrimp Fried Rice:
- Use day-old rice: As mentioned earlier, day-old rice is drier and less likely to clump together during frying. This will result in a better texture for your fried rice.
- Don’t overcrowd the pan: When cooking the shrimp, make sure to cook them in batches to avoid overcrowding the pan. Overcrowding will lower the temperature and steam the shrimp instead of searing it.
- Preheat the skillet: Make sure the skillet is hot before adding the oil and ingredients. This will help to create a nice sear on the shrimp and vegetables.
- Adjust the seasoning to your liking: Taste the fried rice and sauce as you go and adjust the seasoning to your liking. You may want to add more soy sauce for saltiness, sugar for sweetness, or cayenne pepper for heat.
- Get creative with the vegetables: Feel free to add other vegetables to your fried rice, such as mushrooms, bell peppers, or broccoli.
- Add protein: Besides shrimp, you can also add other proteins to your fried rice, such as chicken, pork, or tofu.
- Make it vegetarian: To make this dish vegetarian, simply omit the shrimp and oyster sauce. You can add extra vegetables or tofu to make it more filling.
- Spice it up: If you like spicy food, add a pinch of red pepper flakes or a dash of hot sauce to your fried rice.
- Garnish generously: Don’t be shy with the garnishes! Green onions, sesame seeds, and a drizzle of sriracha sauce can add a lot of flavor and visual appeal to your fried rice.
Variations:
- Hibachi Chicken Fried Rice: Substitute the shrimp with diced chicken breast. Marinate the chicken similarly to the shrimp.
- Hibachi Steak Fried Rice: Use thinly sliced steak, such as sirloin or flank steak. Marinate the steak in a mixture of soy sauce, ginger, garlic, and sesame oil.
- Vegetarian Hibachi Fried Rice: Omit the shrimp and add extra vegetables such as mushrooms, bell peppers, zucchini, and broccoli. You can also add tofu for protein.
- Spicy Hibachi Fried Rice: Add a pinch of red pepper flakes or a dash of sriracha sauce to the fried rice for a spicy kick.
- Deluxe Hibachi Fried Rice: Add a variety of proteins and vegetables to create a truly deluxe fried rice. You could include shrimp, chicken, steak, mushrooms, bell peppers, and zucchini.
Storage Instructions:
- Store leftover Hibachi Shrimp Fried Rice in an airtight container

Conclusion:
Okay, friends, let’s recap why this Hibachi Shrimp Fried Rice recipe is about to become your new weeknight staple. We’ve taken the best parts of a restaurant-quality hibachi experience that smoky flavor, perfectly cooked shrimp, and fluffy, flavorful rice and made it completely achievable in your own kitchen. No fancy equipment or years of culinary training required! It’s quick, it’s easy, and it’s infinitely customizable, making it a guaranteed crowd-pleaser, even for the pickiest eaters.
But beyond the simplicity, it’s the taste that truly elevates this dish. The combination of the savory soy sauce, the subtle sweetness of the mirin, and the umami-rich sesame oil creates a symphony of flavors that will have you coming back for seconds (and thirds!). And let’s not forget the shrimp plump, juicy, and perfectly seasoned, they add a touch of elegance to this otherwise humble dish. Honestly, I think it’s even better than what you get at some restaurants!
Serving Suggestions and Variations:
Now, let’s talk about how to make this Hibachi Shrimp Fried Rice your own. While it’s fantastic as a standalone meal, it also pairs beautifully with a variety of sides. Consider serving it with a simple green salad dressed with a light vinaigrette, or a bowl of miso soup for a truly authentic Japanese-inspired experience. For a heartier meal, you could add some grilled vegetables like zucchini, bell peppers, or onions.
And speaking of customization, the possibilities are endless! Feel free to swap out the shrimp for chicken, beef, or tofu, depending on your preference. You can also add different vegetables, such as peas, carrots, or corn. If you like a little heat, a dash of sriracha or red pepper flakes will do the trick. And for those who are watching their carb intake, you can easily substitute cauliflower rice for regular rice.
Another great variation is to add a fried egg on top. The runny yolk adds a richness and creaminess that takes the dish to a whole new level. Trust me, you won’t regret it!
Don’t be afraid to experiment and get creative! This recipe is a blank canvas, so feel free to add your own personal touch and make it your own signature dish.
I truly believe that this recipe is a must-try for anyone who loves delicious, easy-to-make meals. It’s perfect for busy weeknights, lazy weekends, or even a casual dinner party. It’s a guaranteed crowd-pleaser that will have everyone asking for the recipe.
So, what are you waiting for? Head to the kitchen, gather your ingredients, and get ready to create some culinary magic! I’m confident that you’ll love this Hibachi Shrimp Fried Rice as much as I do.
And finally, I’d love to hear about your experience! Once you’ve tried the recipe, please come back and leave a comment below. Let me know what you thought, what variations you tried, and any tips or tricks you discovered along the way. Your feedback is invaluable, and it helps me to continue creating recipes that you’ll love. Happy cooking!
Hibachi Shrimp Fried Rice: The Ultimate Recipe Guide
Easy and delicious Hibachi Shrimp Fried Rice with tender shrimp, flavorful veggies, and savory sauce. A perfect quick weeknight meal!
Ingredients
- 1 pound large shrimp, peeled and deveined
- 1 tablespoon soy sauce
- 1 tablespoon sake (or dry sherry)
- 1 teaspoon sesame oil
- 1/2 teaspoon ground ginger
- 1/4 teaspoon garlic powder
- Pinch of white pepper
- 4 cups cooked and cooled rice (preferably day-old)
- 2 tablespoons vegetable oil (or canola oil)
- 1 medium onion, finely chopped
- 2 carrots, peeled and diced
- 2 celery stalks, diced
- 2 cloves garlic, minced
- 1 cup frozen peas and carrots mix, thawed
- 2 large eggs, lightly beaten
- 3 tablespoons soy sauce (adjust to taste)
- 1 tablespoon oyster sauce (optional)
- 1 teaspoon sesame oil
- 1/2 teaspoon ground ginger
- 1/4 teaspoon garlic powder
- Pinch of white pepper
- 2 green onions, thinly sliced, for garnish
- 1/4 cup mayonnaise
- 2 tablespoons water
- 1 tablespoon tomato paste
- 1 tablespoon rice vinegar
- 1 teaspoon soy sauce
- 1/2 teaspoon sugar
- 1/4 teaspoon garlic powder
- Pinch of cayenne pepper (optional)
Instructions
- Marinate the Shrimp: In a medium bowl, combine the shrimp, soy sauce, sake (or sherry), sesame oil, ground ginger, garlic powder, and white pepper. Toss well and marinate for 15-30 minutes in the refrigerator.
- Prepare Fried Rice Ingredients: Ensure rice is cooked and cooled (day-old is best). Chop the onion, dice the carrots and celery. Mince the garlic. Thaw the peas and carrots. Lightly beat the eggs.
- Cook the Shrimp: Heat 1 tablespoon of vegetable oil in a large skillet or wok over medium-high heat. Add the shrimp in a single layer and cook for 2-3 minutes per side, until pink and opaque. Remove from skillet and set aside.
- Sauté Vegetables: Add the remaining 1 tablespoon of vegetable oil to the skillet. Add the chopped onion, diced carrots, and diced celery. Cook for 3-5 minutes, until softened. Add the minced garlic and cook for another minute, until fragrant.
- Scramble Eggs: Push the vegetables to one side of the skillet and pour the beaten eggs into the empty space. Scramble the eggs until cooked through. Then, mix the scrambled eggs with the vegetables.
- Add Rice and Sauce: Add the cooked rice to the skillet and break it up with a spatula. Stir-fry the rice with the vegetables and eggs for 2-3 minutes, until heated through. Add the thawed peas and carrots mix. Pour in the soy sauce, oyster sauce (if using), and sesame oil. Sprinkle with ground ginger, garlic powder, and white pepper.
- Combine and Serve: Stir-fry everything together for another 2-3 minutes, ensuring that the rice is evenly coated with the sauce and the vegetables are well distributed. Return the cooked shrimp to the skillet and stir-fry for another minute, until the shrimp is heated through. Taste and adjust seasoning as needed. Remove from heat and garnish with green onions.
- Make Hibachi Sauce (Optional): In a small bowl, whisk together the mayonnaise, water, tomato paste, rice vinegar, soy sauce, sugar, garlic powder, and cayenne pepper (if using). Whisk until smooth and creamy. Adjust seasoning as needed.
- Serve: Serve the Hibachi Shrimp Fried Rice immediately, drizzled with Hibachi sauce (if using), and garnished with extra green onions.
Notes
- Day-old rice works best for fried rice.
- Don’t overcrowd the pan when cooking the shrimp.
- Adjust the seasoning to your liking.
- Get creative with the vegetables.
- Hibachi Sauce can be stored in an airtight container in the refrigerator for up to 3 days.


Leave a Comment