
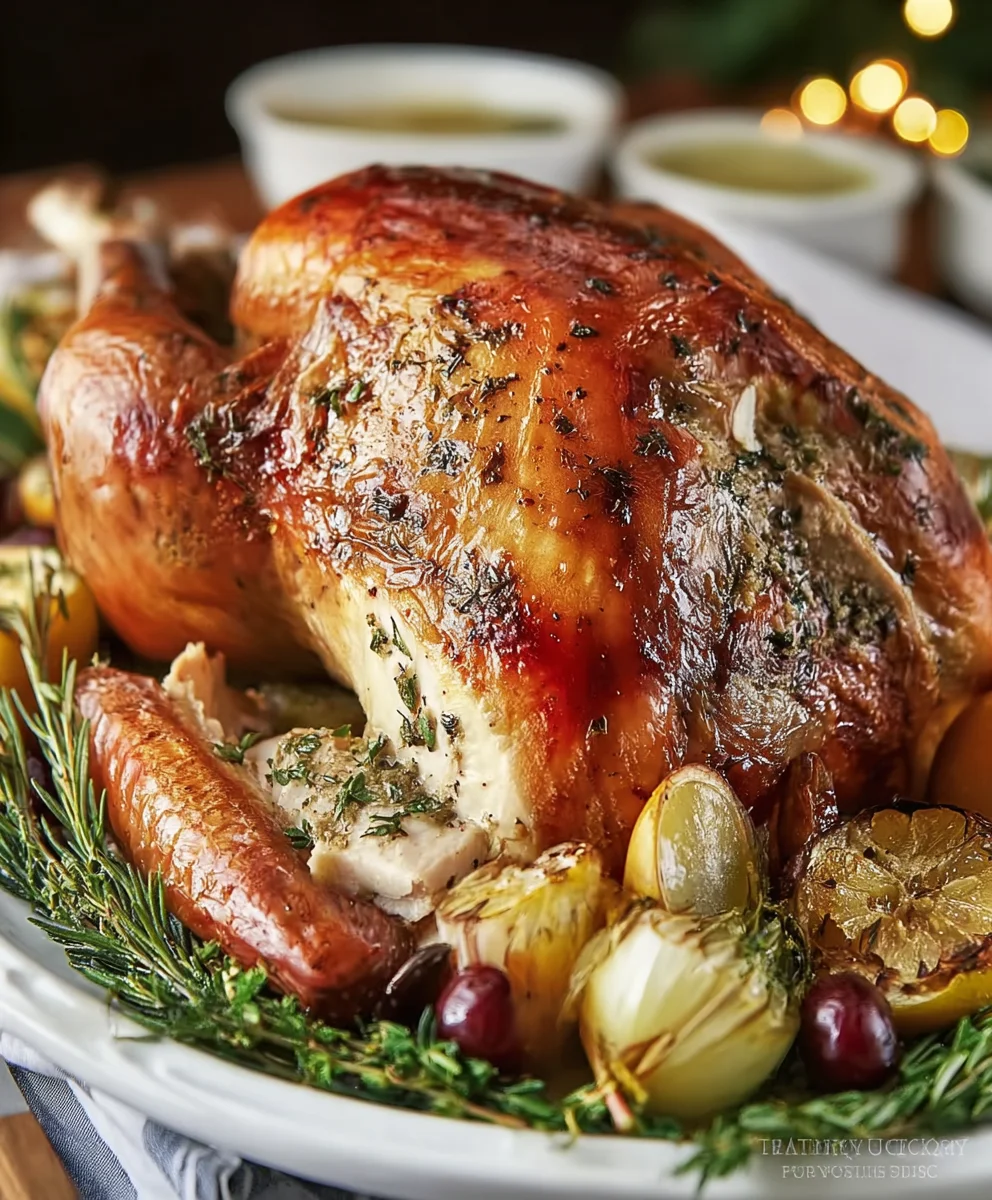
Perfect Roast Turkey is more than just a centerpiece; it’s the heart of countless cherished memories. Imagine the anticipation, the aroma filling your home, and the delighted gasps as you carve into a golden, succulent bird. This isn’t just a meal; it’s an experience, a tradition, and for many, the ultimate comfort food. We all dream of that Perfectly Roast Turkey that’s incredibly moist on the inside, with skin so crispy it shatters with every bite. But achieving this culinary triumph can feel daunting, can’t it? Fear not, for we’re about to demystify the process, revealing the secrets that transform a good turkey into an absolutely unforgettable Perfect Roast Turkey. Get ready to impress your guests and yourself with a bird so delicious, it will be talked about long after the last crumb is gone.

Ingredients:
- 1 free-range Turkey (about 5 kg)
- 2 Onions (peeled, halved)
- 8 rashers of Smoked Streaky Bacon
- 1 Lemon (halved)
- 1 head of Garlic (halved horizontally)
- 6 Bay Leaves
- Olive Oil (to drizzle)
- Sea Salt and Freshly Ground Black Pepper
- 1 ½ Cups (375 g) Butter (room temperature)
- 3 cloves Garlic (peeled, crushed)
- 2 small Lemons (juice and grated zest)
- A small bunch Flat-Leaf Parsley Leaves (chopped)
- 1 tablespoon Olive Oil
Preparing the Perfect Roast Turkey
Preheating and Initial Turkey Preparation
Before we begin the delicious process of creating your Perfect Roast Turkey, the first crucial step is to preheat your oven. Set it to a steady 200°C (180°C fan/Gas Mark 6). While the oven heats up, let’s get our star ingredient, the turkey, ready. Remove the turkey from its packaging and pat it thoroughly dry, both inside and out, with paper towels. This step is vital for achieving that coveted crispy skin. Ensure all giblets and the neck have been removed from the cavity. If you find any. These can be saved for making gravy later, or discarded if you prefer.
Crafting the Aromatic Herb Butter
Now, let’s create the flavor bomb that will elevate our roast to new heights: the herb butter. In a medium bowl, combine the softened butter with the crushed garlic cloves, the zest and juice of the two small lemons, and the finely chopped flat-leaf parsley leaves. Season this mixture generously with sea salt and freshly ground black pepper. Add the tablespoon of olive oil to the butter mixture; this helps to create a smoother consistency, making it easier to spread. Use a fork or a spatula to thoroughly mix all the ingredients together until you have a wonderfully fragrant and evenly combined herb butter. This butter will not only add immense flavor but also help keep the turkey moist during cooking.
Infusing the Turkey with Flavor
It’s time to get our hands dirty and infuse the turkey with flavor. Gently loosen the skin over the turkey breast by carefully sliding your fingers underneath it, being careful not to tear the skin. This creates pockets where we can work our magic. Take about two-thirds of the prepared herb butter and carefully spread it evenly under the skin of the breast, ensuring it covers as much of the meat as possible. This is where the real magic happens, allowing the butter to melt and baste the breast meat from the inside as it cooks, ensuring it stays incredibly tender and succulent. The remaining herb butter will be used later.
Stuffing the Cavity and Trussing
Next, we’ll stuff the turkey’s cavity with aromatics to impart a gentle, fragrant steam during the roasting process. Place the halved onions, the halved lemon, the halved head of garlic, and the bay leaves inside the main cavity of the turkey. Don’t overstuff it, as this can prevent even cooking. Now, it’s time to truss the turkey. This involves tying the legs together and tucking the wingtips under the body. This helps the turkey cook more evenly and gives it a neater appearance. You can use kitchen string for this. If you have any leftover herb butter, you can spread it over the outside of the turkey at this stage as well, or save it for basting.
The Roasting Process and Basting
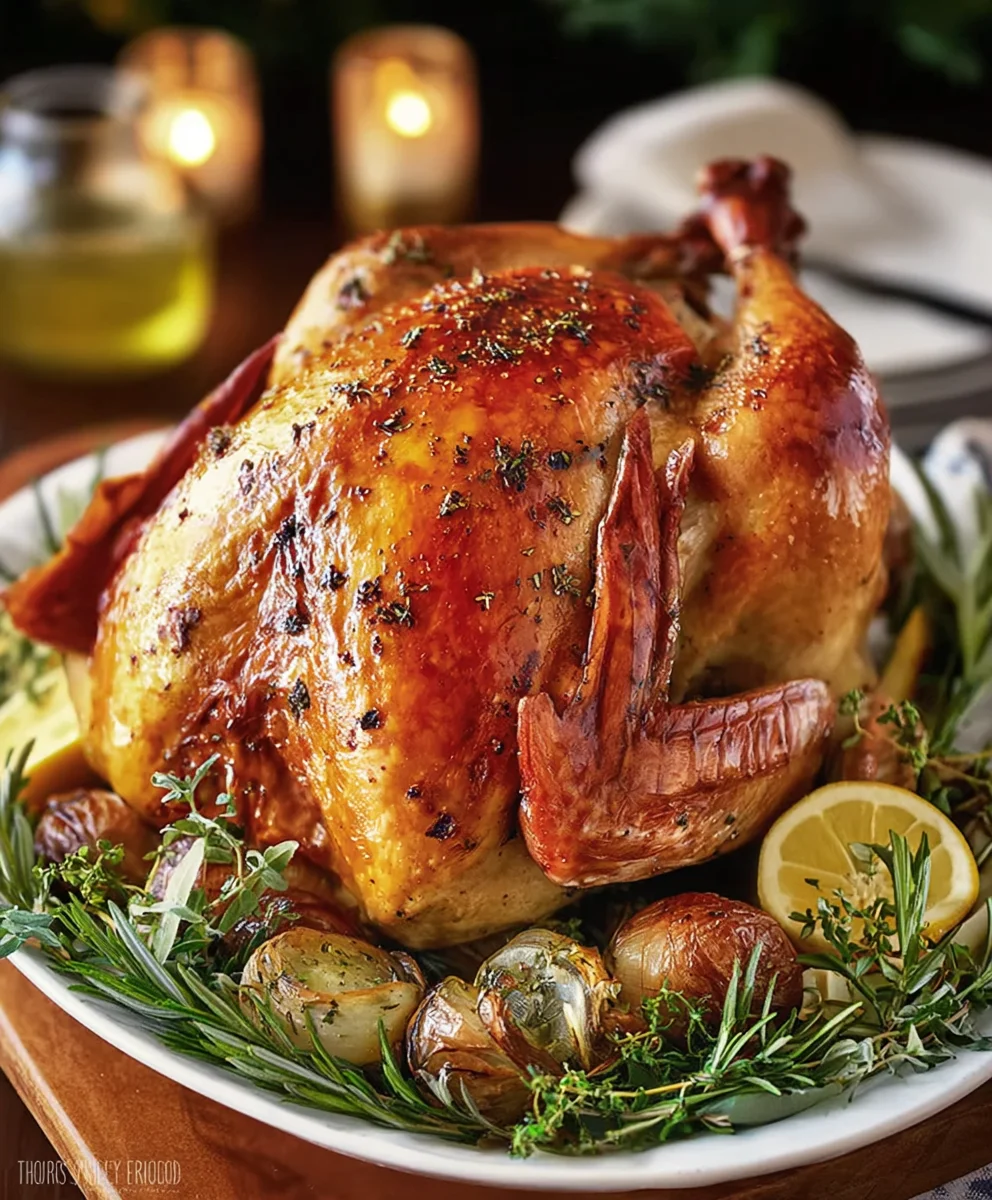
Place the prepared turkey in a large roasting pan, breast-side up. Drizzle the entire turkey with a little olive oil and season generously all over with sea salt and freshly ground black pepper. This initial seasoning is crucial for building flavor. Now, it’s time to wrap our turkey in the smoked streaky bacon rashers, laying them over the breast and thighs. The bacon will not only add a delicious smoky flavor but will also render its fat, basting the turkey and keeping it moist. Place the roasting pan in the preheated oven. Roast for approximately 20 minutes per kilogram, plus an extra 20 minutes. So, for our 5 kg turkey, that’s around 1 hour and 40 minutes, plus 20 minutes, totaling approximately 2 hours. During the last 45 minutes of cooking, remove the bacon rashers to allow the skin to crisp up beautifully. Baste the turkey with the pan juices every 20-30 minutes to ensure it remains moist and develops a gorgeous golden-brown color. You can use the leftover herb butter for basting during the final stages if desired, for an extra layer of flavor.
Resting and Carving for Perfection
Once your Perfect Roast Turkey has reached an internal temperature of 75°C (165°F) in the thickest part of the thigh, it’s time to take it out of the oven. This is a critical step that many people overlook. Tent the turkey loosely with foil and let it rest for at least 20-30 minutes. This resting period allows the juices to redistribute throughout the meat, resulting in a much more tender and moist bird. If you carve it immediately, all those delicious juices will run out onto the carving board. After resting, carve the turkey into slices and serve immediately. The combination of the succulent meat, the crispy skin, and the aromatic flavors infused throughout will make this the most memorable roast you’ve ever had.
Conclusion:
You’ve now got all the tools and knowledge to create a truly memorable feast with this recipe for the Perfect Roast Turkey. We’ve walked through every step, from selecting the finest bird to achieving that golden-brown, crispy skin and incredibly juicy meat. Remember, patience and a keen eye on the temperature are your best friends in the kitchen. This isn’t just a meal; it’s an experience, a centerpiece that brings everyone together. Don’t be afraid to embrace the process and enjoy the aroma that will fill your home.
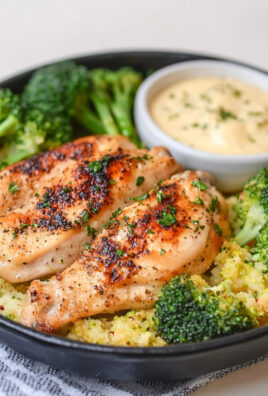
For serving suggestions, consider classic pairings like creamy mashed potatoes, savory stuffing, cranberry sauce, and roasted root vegetables. A rich gravy made from the turkey drippings is, of course, non-negotiable! Looking for variations? You can easily infuse your turkey with different flavors by adding aromatics like lemon slices, fresh herbs (rosemary, thyme, sage), or even a garlic butter under the skin. Experiment with different brines or rubs to discover your personal favorite taste profile.
The most important thing is to have fun and savor the accomplishment. This Perfect Roast Turkey is designed to be approachable, so trust your instincts and enjoy the delicious results. I encourage you to share your culinary triumphs with loved ones and create lasting memories around this incredible dish.
Frequently Asked Questions:
How can I ensure my turkey skin is extra crispy?
To achieve exceptionally crispy skin, ensure your turkey is completely dry before roasting. Pat it thoroughly with paper towels, both inside and out. Basting with melted butter or oil throughout the cooking process also helps, as does giving it a final blast of high heat in the last 20-30 minutes of cooking.
What if I don’t have a meat thermometer?
While a meat thermometer is highly recommended for accuracy, you can check for doneness by piercing the thickest part of the thigh with a fork or knife. The juices should run clear, not pink. The leg should also wiggle easily. However, for the most reliable results and to guarantee a safe eating temperature, a thermometer is the best investment.
Juicy Perfect Roast Turkey-Simple Delicious Recipe
A simple and delicious recipe for a juicy and perfect roast turkey, infused with aromatic herbs and butter for a succulent and flavorful centerpiece.
Ingredients
-
1 free-range Turkey (about 5 kg)
-
2 Onions (peeled, halved)
-
8 rashers of Smoked Beef Bacon
-
1 Lemon (halved)
-
1 head of Garlic (halved horizontally)
-
6 Bay Leaves
-
Olive Oil (to drizzle)
-
Sea Salt and Freshly Ground Black Pepper
-
1 ½ Cups (375 g) Butter (room temperature)
-
3 cloves Garlic (peeled, crushed)
-
2 small Lemons (juice and grated zest)
-
A small bunch Flat-Leaf Parsley Leaves (chopped)
-
1 tablespoon Olive Oil
Instructions
-
Step 1
Preheat oven to 200°C (180°C fan/Gas Mark 6). Pat turkey dry inside and out with paper towels. Remove giblets and neck. -
Step 2
In a bowl, mix softened butter with crushed garlic, lemon zest and juice, chopped parsley, salt, pepper, and 1 tablespoon olive oil until well combined. -
Step 3
Gently loosen the skin over the turkey breast and spread two-thirds of the herb butter underneath. Stuff the cavity with halved onions, lemon, garlic, and bay leaves. Truss the turkey. -
Step 4
Place turkey in a roasting pan, breast-side up. Drizzle with olive oil, season with salt and pepper. Wrap with beef bacon rashers. Roast for approximately 20 minutes per kilogram, plus 20 minutes (about 2 hours for a 5kg turkey). -
Step 5
Remove bacon during the last 45 minutes of cooking to crisp the skin. Baste with pan juices every 20-30 minutes. -
Step 6
Once internal temperature reaches 75°C (165°F) in the thigh, remove from oven, tent loosely with foil, and rest for 20-30 minutes before carving.
Important Information
Nutrition Facts (Per Serving)
It is important to consider this information as approximate and not to use it as definitive health advice.
Allergy Information
Please check ingredients for potential allergens and consult a health professional if in doubt.

Leave a Comment