
Monster Cookies are more than just a sweet treat; they are a delightful symphony of flavors and textures that promises to captivate your taste buds from the very first bite. Prepare yourself for an experience where every single cookie is a grand adventure, brimming with the best of all worlds. I truly believe that few confections can rival the sheer joy and satisfaction these magnificent creations bring.
The story of these extraordinary cookies often begins with a desire to combine beloved pantry staples into one glorious, satisfying package. While their exact origin is debated, many attribute their popularity to Mennonite communities in the Midwestern United States, where they became a cherished way to utilize a medley of ingredients like peanut butter, oats, chocolate chips, and M&Ms, creating a truly unique and universally adored dessert.
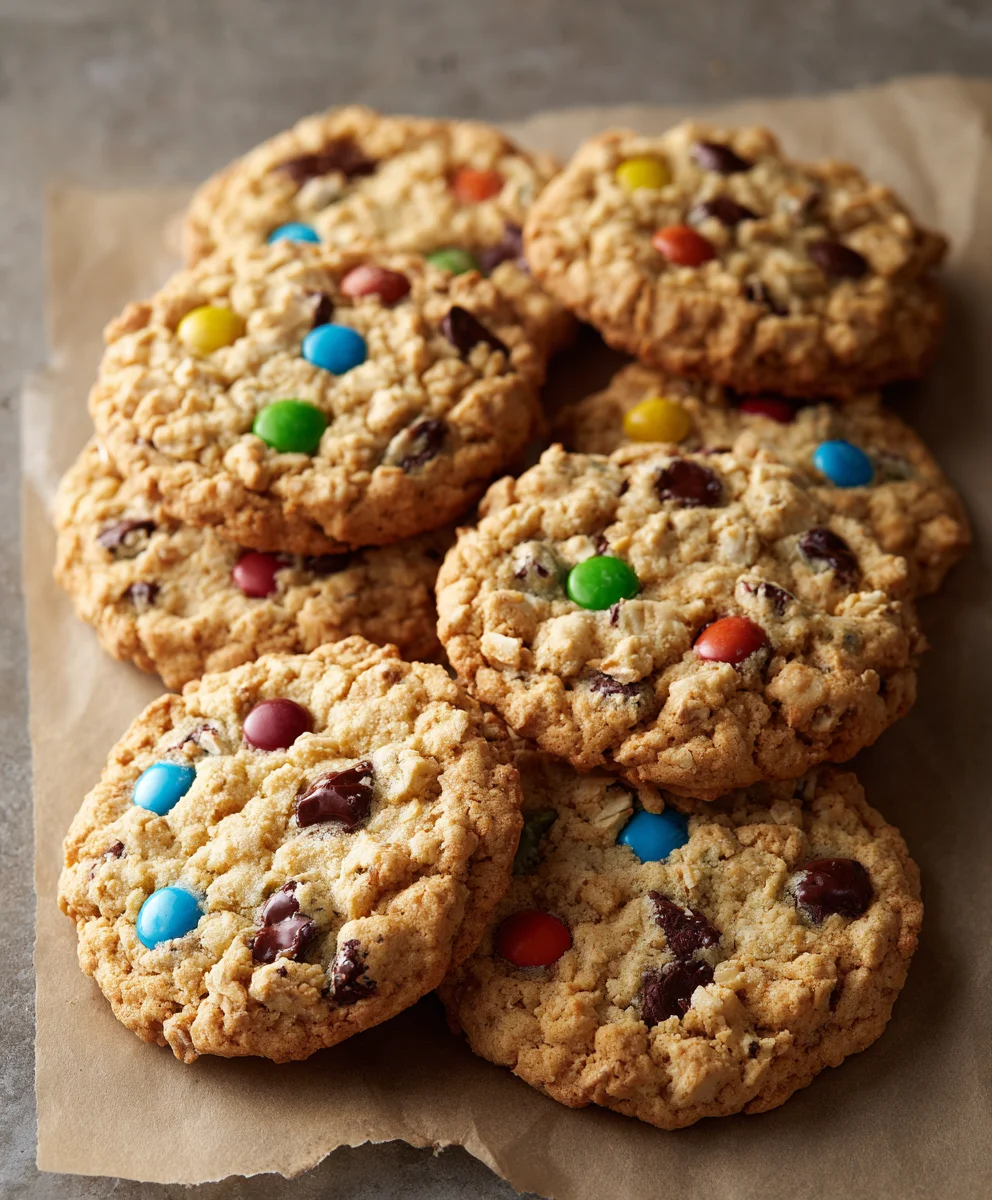
What makes Monster Cookies so incredibly beloved? It’s their irresistible combination of chewy oats, creamy peanut butter, crunchy M&Ms, and decadent chocolate chips, all melded into a substantial, wonderfully satisfying cookie. Each bite offers a perfect balance of sweet and savory, a delightful interplay of textures that keeps you coming back for more. They are the ultimate comfort food, evoking feelings of warmth and nostalgia, making them a consistent favorite for bake sales, family gatherings, or simply a cozy evening at home.

<h2>Ingredients:</h2>
<ul>
<li><strong>1 cup (2 sticks)</strong> unsalted butter, softened to room temperature</li>
<li><strong>1 ½ cups</strong> granulated sugar</li>
<li><strong>1 ½ cups</strong> packed light brown sugar</li>
<li><strong>3 large</strong> eggs</li>
<li><strong>1 ½ teaspoons</strong> pure vanilla extract</li>
<li><strong>1 ½ cups</strong> creamy peanut butter (I recommend a standard, non-natural brand for best results, as natural varieties can separate and affect the cookie texture)</li>
<li><strong>4 ½ cups</strong> old-fashioned rolled oats (not instant or quick-cooking oats, as these will change the texture significantly)</li>
<li><strong>2 teaspoons</strong> baking soda</li>
<li><strong>1 teaspoon</strong> salt</li>
<li><strong>1 ½ cups</strong> chocolate chips (semi-sweet or milk chocolate, depending on your preference)</li>
<li><strong>1 ½ cups</strong> M&M’s candies (plain or peanut, feel free to use seasonal colors for a festive touch!)</li>
<li><strong>Optional:</strong> ½ cup chopped pecans or walnuts for an added crunch</li>
</ul>
<h3>Preparing Your Workspace and Ingredients</h3>
<ol>
<li>
<p>Let’s get everything ready before we dive into the fun! First things first, preheat your oven to <strong>350°F (175°C)</strong>. This is a crucial step because you want your oven to be at the exact right temperature when your <strong>Monster Cookies</strong> go in. An oven that hasn’t fully preheated can lead to cookies that spread too much or don’t bake evenly. While the oven warms up, line a couple of large baking sheets with parchment paper or silicone baking mats. This not only prevents sticking but also makes for easier cleanup and helps promote even baking by insulating the bottom of the cookies slightly. Trust me, you’ll be glad you did this when you see how perfectly they slide off!</p>
</li>
<li>
<p>Now, let’s gather all our ingredients. It’s always a good practice to measure everything out beforehand, a technique often called “mise en place.” This ensures you haven’t forgotten anything and makes the mixing process much smoother and more enjoyable. Make sure your unsalted butter is genuinely at room temperature; it should be soft enough to indent easily with your finger but not melted or greasy. If it’s too cold, it won’t cream properly with the sugars, affecting the texture of your ultimate <strong>Monster Cookies</strong>. If you’re short on time, you can cut the butter into smaller pieces and let it sit for 15-20 minutes, or gently microwave it on very low power for short bursts, flipping frequently, until just softened.</p>
</li>
</ol>
<h3>Crafting the Irresistible Monster Cookie Dough</h3>
<ol start=”3″>
<li>
<p>In a very large mixing bowl, or the bowl of your stand mixer fitted with the paddle attachment, combine the softened unsalted butter, granulated sugar, and packed light brown sugar. <strong>This creaming step is the foundation of wonderfully chewy <strong>Monster Cookies</strong>.</strong> Beat these ingredients together on medium speed for a good 2 to 3 minutes, or until the mixture becomes visibly lighter in color and incredibly fluffy. What we’re doing here is incorporating air into the butter and sugar, which will contribute significantly to the soft and chewy texture of your finished cookies. Make sure to stop and scrape down the sides of the bowl frequently with a rubber spatula. This ensures all the butter and sugar are thoroughly combined, leaving no unmixed pockets behind, guaranteeing a uniform cookie dough.</p>
</li>
<li>
<p>Next, add the three large eggs, one at a time, beating well after each addition. After the third egg is incorporated, pour in the pure vanilla extract. Continue to beat the mixture on medium speed until everything is fully combined and the mixture looks smooth and cohesive. The eggs add moisture and act as a binder, while the vanilla extract is essential for that classic, comforting cookie flavor. Don’t rush this step; proper incorporation ensures an even dough and prevents your cookies from falling apart.</p>
</li>
<li>
<p>Now comes the star ingredient that makes these truly <strong>Monster Cookies</strong> – the creamy peanut butter! Add the 1 ½ cups of creamy peanut butter to your bowl. Beat on medium speed until the peanut butter is completely incorporated into the sugar-butter-egg mixture. The dough will take on a beautiful pale peanut butter hue and a wonderfully creamy texture. Be sure to scrape down the sides of the bowl again to ensure everything is mixed evenly. This peanut butter base is what gives these cookies their distinctive, rich flavor and a fantastic chewy consistency that you’ll adore.</p>
</li>
<li>
<p>In a separate medium bowl, whisk together the old-fashioned rolled oats, baking soda, and salt. You don’t need to overmix this; just a quick whisk to ensure the baking soda and salt are evenly distributed throughout the oats. This dry mixture will now be gradually added to your wet ingredients. <strong>Mixing the dry ingredients separately helps ensure leavening agents and flavor enhancers are spread throughout the dough, preventing bitter spots or uneven rising.</strong></p>
</li>
<li>
<p>With the mixer on low speed, slowly add the oat mixture to the wet ingredients. Mix just until everything is combined and no dry streaks of oats remain. <strong>It’s really important not to overmix at this stage</strong>, as overmixing can develop the gluten in the oats and lead to tougher cookies. We’re aiming for a tender, chewy <strong>Monster Cookie</strong>, so once it’s just combined, stop the mixer. The dough will be quite thick and sturdy, which is exactly what we want to hold all those amazing mix-ins.</p>
</li>
<li>
<p>Finally, for the grand finale of our <strong>Monster Cookies</strong> dough: gently fold in the chocolate chips and M&M’s candies by hand using a sturdy rubber spatula or a large spoon. If you’re using them, now is also the time to fold in any optional chopped nuts. <strong>Folding these in by hand prevents them from breaking up in the mixer</strong> and ensures they are beautifully distributed throughout the dough. You want a generous amount of these colorful and chocolatey additions in every single bite! Continue folding until the chips and candies are evenly dispersed throughout the thick, rich cookie dough. This dough is truly a sight to behold, packed with all the delicious goodness that makes these cookies legendary.</p>
</li>
</ol>
<h3>Baking Your Perfect Monster Cookies</h3>
<ol start=”9″>
<li>
<p>Now it’s time to shape your magnificent <strong>Monster Cookies</strong>! Using a large cookie scoop (about 2-tablespoon size, or even a ¼-cup measure if you want truly enormous cookies), scoop mounds of dough onto your prepared baking sheets. Space them about 2-3 inches apart, as these cookies will spread a bit during baking. I usually fit about 6-8 cookies per standard baking sheet, depending on the size of the scoop. If you find the dough is a bit sticky, you can chill it for 15-30 minutes, or lightly dampen your hands before rolling them into balls. For that picture-perfect look, you can gently press a few extra M&M’s or chocolate chips onto the top of each dough ball before baking – it makes them look even more enticing straight out of the oven!</p>
</li>
<li>
<p>Place one baking sheet at a time into your preheated 350°F (175°C) oven. <strong>Bake for 12 to 15 minutes,</strong> or until the edges are lightly golden brown and the centers are just set but still look a little soft. <strong>The key to a chewy <strong>Monster Cookie</strong> is not to overbake them.</strong> They will continue to set up as they cool. If you bake them until they are completely firm in the oven, they’ll become hard and dry once cooled. The exact baking time can vary depending on your oven and the size of your cookies, so keep a close eye on them, especially during the last few minutes. If you are baking multiple sheets, rotate them halfway through the baking time to ensure even browning.</p>
</li>
<li>
<p>Once baked to perfection, remove the baking sheet from the oven. <strong>Allow the <strong>Monster Cookies</strong> to cool on the baking sheet for about 5 to 10 minutes.</strong> This initial cooling period on the hot sheet is very important because it allows the cookies to finish baking slightly and firm up enough to be transferred without breaking. They’ll be quite delicate when first out of the oven, so resist the urge to move them immediately. After this cooling period, carefully transfer the cookies to a wire rack to cool completely. Cooling on a wire rack allows air to circulate around all sides of the cookies, preventing them from getting soggy bottoms and ensuring they achieve that ideal chewy texture throughout.</p>
</li>
</ol>
<h3>Tips for Monster Cookie Perfection and Storage</h3>
<ol start=”12″>
<li>
<p><strong>Don’t Crowd the Pan:</strong> While it’s tempting to fit as many cookies as possible onto a single baking sheet, resist the urge! Overcrowding can lead to uneven baking and cookies that spread into each other. Give your <strong>Monster Cookies</strong> plenty of room to expand and become beautifully golden.</p>
</li>
<li>
<p><strong>Chill the Dough (Optional but Recommended for Less Spread):</strong> If you have time, chilling the cookie dough for at least 30 minutes, or even overnight, can result in thicker cookies that spread less. The fats in the butter and peanut butter solidify, creating a more stable dough. This also deepens the flavors, making for an even more delicious batch of <strong>Monster Cookies</strong>.</p>
</li>
<li>
<p><strong>Customize Your Mix-ins:</strong> These <strong>Monster Cookies</strong> are incredibly versatile! Feel free to experiment with other additions like white chocolate chips, butterscotch chips, chopped pretzels for a salty crunch, or even other types of chopped nuts. Just try to keep the total volume of mix-ins similar to avoid affecting the dough’s structure too much.</p>
</li>
<li>
<p><strong>Freezing Dough for Later:</strong> You can easily freeze portions of the raw cookie dough for fresh-baked cookies anytime! Scoop the dough onto a parchment-lined baking sheet and freeze until firm (about 1-2 hours). Once firm, transfer the frozen dough balls to a freezer-safe zip-top bag. When you’re ready to bake, place the frozen dough balls on a baking sheet and bake as directed, adding an extra 2-4 minutes to the baking time.</p>
</li>
<li>
<p><strong>Storage:</strong> Once completely cooled, store your <strong>Monster Cookies</strong> in an airtight container at room temperature for up to 3-5 days. For longer storage, you can freeze baked cookies in an airtight container for up to 3 months. Thaw at room temperature or gently warm them in the microwave for a few seconds for that fresh-baked warmth.</p>
</li>
<li>
<p><strong>Troubleshooting – Too Much Spread?:</strong> If your cookies are spreading too much, a few culprits could be at play. Your butter might have been too soft (verging on melted), your oven temperature might be slightly off (too low), or you might have overmixed the dough after adding the dry ingredients. Try chilling the dough as suggested above, and ensure your oven thermometer is accurate. Sometimes, a little extra flour (1-2 tablespoons) can also help firm up a very loose dough. But generally, following these detailed steps should give you perfectly structured <strong>Monster Cookies</strong> every time!</p>
</li>
</ol>

Conclusion:
So, there you have it – my ultimate guide to creating truly spectacular cookies. After carefully following these steps, you’re about to discover why this particular recipe isn’t just another cookie recipe; it’s a gateway to baking bliss. What I genuinely adore about this culinary creation is its undeniable ability to transform a simple afternoon into a memorable baking adventure, culminating in treats that bring genuine smiles to everyone’s faces. The combination of classic, wholesome oatmeal, creamy, rich peanut butter, decadent chocolate chips, and colorful, candy-coated M&M’s creates a symphony of textures and flavors that is simply irresistible. Every single bite offers a different discovery, a delightful crunch, a chewy softness, and a burst of chocolatey goodness, making them perpetually exciting and consistently satisfying. From the very moment you pull them from the oven, their intoxicating aroma will fill your home with warmth, comfort, and the promise of pure deliciousness, making them more than just a dessert – they are an experience, a moment of joy. Trust me when I say, once you’ve tasted these homemade delights, with their perfect balance of sweet and savory, store-bought simply won’t compare. This recipe isn’t merely about mixing ingredients and baking; it’s about crafting memories, fostering connection, and spreading happiness, one delectable cookie at a time. And frankly, who could possibly resist the alluring charm and hearty satisfaction of a freshly baked batch of these magnificent Monster Cookies?
Now, let’s delve into the wonderful world of enjoying these masterpieces. While they are undeniably exquisite straight from the cooling rack, still slightly warm and gooey, there are myriad ways to elevate your cookie experience. Picture this: a tall, frosty glass of cold milk, perfectly complementing the rich sweetness of the cookie, creating that timeless, comforting pairing we all cherish. For a truly indulgent treat, consider serving them alongside a generous scoop of artisanal vanilla bean ice cream, allowing the melting ice cream to soften the cookie just enough to create a warm, decadent dessert worthy of any special occasion. For a quick, yet satisfying breakfast or an afternoon pick-me-up, try crumbling a cookie over a bowl of plain Greek yogurt, perhaps with a drizzle of honey, transforming it into a delightful parfait. They also make for truly thoughtful gifts; imagine them beautifully packaged in a rustic box or a charming cellophane bag, tied with a ribbon, perfect for holiday treat bags, thoughtful hostess gifts, or a heartfelt gesture to a friend in need of a pick-me-up. For those cozy evenings, pair them with a robust cup of coffee or a rich hot cocoa, letting the complex flavors intermingle. These cookies are designed to be shared, to be savored, and to bring people together.
Endless Possibilities: Get Creative with Variations!
But the fun, my fellow bakers, truly doesn’t stop there! One of the greatest joys and most liberating aspects of baking is the ability to personalize, to truly make a recipe your own, and this particular cookie recipe is incredibly adaptable, almost begging for your creative touch. Do you have a favorite nut? Feel free to swap out or add in some chopped walnuts, crunchy pecans, or toasted almonds for an extra layer of texture and nutty flavor. If you’re a candy connoisseur, think beyond just M&M’s; consider using different types of chocolate chips – milk, dark, white, or even butterscotch chips for a different sweetness profile. Chopped candy bars like Snickers, Heath, or even mini peanut butter cups can introduce an entirely new dimension of flavor and chewiness. For a touch of fruitiness, plump raisins, chewy dried cranberries, or finely chopped dried apricots can add a lovely contrast to the richness. Adventurous palates might even consider a pinch of chili powder for a subtle kick, or a swirl of cinnamon for warmth. Feeling particularly inspired? Divide your dough and try a few different combinations in one glorious baking session! Imagine a batch with pretzels and white chocolate for a salty-sweet marvel, or another with dried cherries and dark chocolate for a sophisticated twist. The beauty of these cookies lies in their flexibility, allowing you to cater to any preference or dietary need (with appropriate ingredient substitutions, of course). Each variation you try is an opportunity to discover a new favorite and to put your unique stamp on this already fantastic recipe.
I genuinely hope this comprehensive guide inspires you, encourages you, and perhaps even ignites a new passion within you to get into your kitchen and create your very own batch of these incredible, crowd-pleasing cookies. There’s an unparalleled satisfaction that comes from the entire process: the careful measuring, the rhythmic mixing, the anticipation as the irresistible aroma fills your home, and finally, the pure bliss of that first warm bite. Don’t be shy – bake them, taste them, and then, please, share your experience with me and our wonderful community of home bakers! I absolutely love hearing from you all and seeing your culinary triumphs. What exciting variations did you try? Who did you share them with, and what were their reactions? Did they become an instant favorite in your household, cementing their place in your recipe rotation? Your feedback, your stories, and especially your photos are always a huge source of inspiration for me and for countless fellow bakers who are always looking for new ideas and encouragement. So, go ahead, preheat that oven, gather your ingredients, and prepare yourself for a truly rewarding and utterly delicious baking adventure. You’re not just making cookies; you’re crafting moments of pure joy, indulgence, and shared happiness. I truly can’t wait to hear how your magnificent Monster Cookies turn out!
Monster Cookies
Chewy, sweet, and loaded with goodies, these Monster Cookies are a delightful symphony of flavors and textures, combining oats, creamy peanut butter, crunchy M&Ms, and decadent chocolate chips for an irresistible treat. Perfect for any occasion.
Ingredients
-
1 cup (2 sticks) unsalted butter, softened
-
1 ½ cups granulated sugar
-
1 ½ cups packed light brown sugar
-
3 large eggs
-
1 ½ teaspoons pure vanilla extract
-
1 ½ cups creamy peanut butter
-
4 ½ cups old-fashioned rolled oats
-
2 teaspoons baking soda
-
1 teaspoon salt
-
1 ½ cups chocolate chips
-
1 ½ cups M&M’s candies
-
Optional: ½ cup chopped pecans or walnuts
Instructions
-
Step 1
Preheat your oven to 350°F (175°C). Line several large baking sheets with parchment paper or silicone mats. Ensure unsalted butter is at room temperature. -
Step 2
In a large mixing bowl, cream the softened butter, granulated sugar, and packed light brown sugar on medium speed for 2-3 minutes until visibly lighter and fluffy. Scrape down the sides of the bowl frequently. -
Step 3
Add the three large eggs, one at a time, beating well after each. Stir in the pure vanilla extract. Then, beat in the 1 ½ cups of creamy peanut butter until fully incorporated and the mixture is smooth and cohesive. Scrape down the bowl. -
Step 4
In a separate medium bowl, whisk together the old-fashioned rolled oats, baking soda, and salt until evenly distributed. -
Step 5
With the mixer on low speed, slowly add the oat mixture to the wet ingredients. Mix just until everything is combined and no dry streaks remain. Be careful not to overmix. -
Step 6
Gently fold in the chocolate chips, M&M’s candies, and any optional chopped nuts by hand using a sturdy rubber spatula until evenly dispersed throughout the thick cookie dough. -
Step 7
Using a large cookie scoop (approx. 2-tablespoon size), scoop mounds of dough onto prepared baking sheets, spacing them 2-3 inches apart. Bake for 12 to 15 minutes, or until the edges are lightly golden brown and the centers are just set but still look a little soft. Avoid overbaking for a chewy texture. -
Step 8
Remove the baking sheet from the oven and allow the cookies to cool on the sheet for about 5 to 10 minutes. Then, carefully transfer them to a wire rack to cool completely. -
Step 9
For thicker cookies that spread less and to deepen flavors, chill the cookie dough for at least 30 minutes, or even overnight, before baking. -
Step 10
Feel free to experiment with other additions like white chocolate chips, butterscotch chips, chopped pretzels, chopped peanut butter cups, or different flavored M&Ms. Use seasonal M&M colors for festive touches! -
Step 11
Scoop raw dough balls onto a parchment-lined baking sheet and freeze until firm (1-2 hours). Transfer to a freezer-safe zip-top bag. Bake frozen dough balls as directed, adding an extra 2-4 minutes to the baking time.
Important Information
Nutrition Facts (Per Serving)
It is important to consider this information as approximate and not to use it as definitive health advice.
Allergy Information
Please check ingredients for potential allergens and consult a health professional if in doubt.


Leave a Comment