
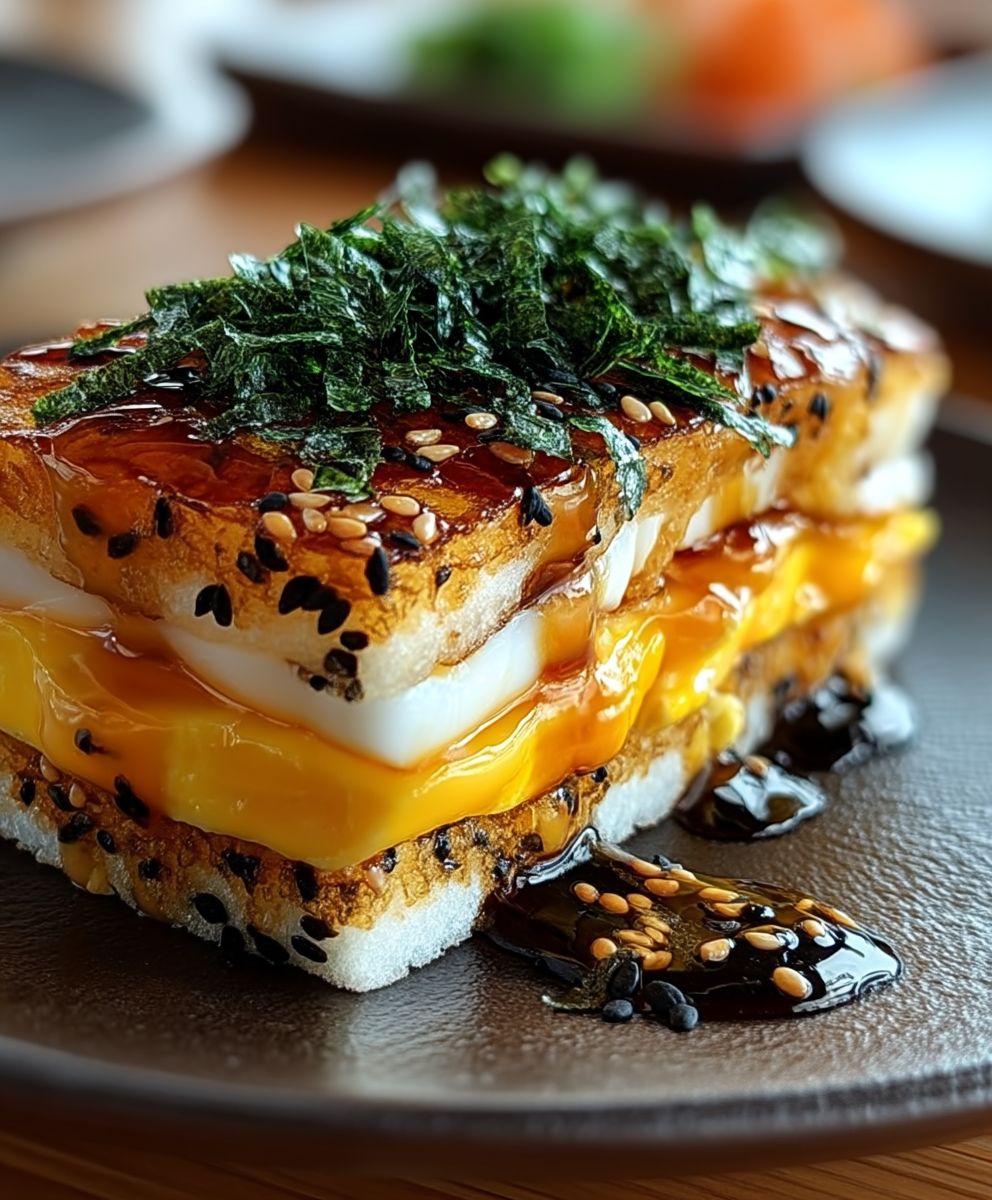
Tamago Sando: Prepare to be captivated by the unassuming yet utterly delightful Japanese egg sandwich that’s taking the culinary world by storm! Forget everything you thought you knew about egg salad sandwiches; this is a completely different experience. Imagine sinking your teeth into pillowy soft, crustless white bread embracing a creamy, subtly sweet, and unbelievably fluffy egg filling. It’s a textural and flavor sensation that’s both comforting and surprisingly sophisticated.
The Tamago Sando, or “egg sandwich,” has deep roots in Japanese culture, evolving from simple cafe fare to a beloved convenience store staple and now, a global phenomenon. While its exact origins are debated, it’s widely believed to have gained popularity in the early 20th century, reflecting Japan’s embrace of Western culinary influences while maintaining its own unique approach to flavor and presentation. The emphasis on quality ingredients and meticulous preparation is what truly sets it apart.
What makes this sandwich so irresistible? It’s the perfect balance of simplicity and indulgence. The creamy, almost custard-like egg filling, often subtly sweetened with a touch of Japanese mayonnaise and a hint of mustard, contrasts beautifully with the soft, slightly sweet shokupan bread. It’s a quick and easy meal, a satisfying snack, or even an elegant addition to a picnic basket. Join me as we unlock the secrets to creating the perfect Tamago Sando in your own kitchen!

Ingredients:
- For the Eggs:
- 6 large eggs
- 1/4 cup mayonnaise (Japanese Kewpie mayonnaise preferred for its richer flavor)
- 1 tablespoon milk
- 1 teaspoon Dijon mustard
- 1/2 teaspoon sugar
- 1/4 teaspoon salt
- Pinch of white pepper
- For the Bread:
- 6 slices of Japanese milk bread (Shokupan), crusts removed
- 2 tablespoons unsalted butter, softened
Preparing the Eggs:
Alright, let’s get started with the heart of our Tamago Sando the creamy, dreamy egg filling! This is where the magic happens, so pay close attention.
- Hard-Boil the Eggs: Place the eggs in a saucepan and cover them with cold water. Make sure the water level is about an inch above the eggs. Bring the water to a rolling boil over medium-high heat. Once boiling, immediately remove the pan from the heat, cover it with a lid, and let it sit for exactly 12 minutes. This is crucial for perfectly cooked yolks that aren’t dry or rubbery.
- Ice Bath: While the eggs are cooking, prepare an ice bath in a large bowl. Once the 12 minutes are up, immediately transfer the eggs to the ice bath. This stops the cooking process and makes the eggs much easier to peel. Let them sit in the ice bath for at least 5 minutes, or until they are completely cool to the touch.
- Peel the Eggs: Gently tap each egg on a hard surface to crack the shell all over. Start peeling from the larger end of the egg, working your way around. The cold water should help the shell slip off easily. Rinse the peeled eggs under cold water to remove any remaining shell fragments.
- Chop the Eggs: Now comes the fun part! Place the peeled eggs in a large bowl. Using a fork, gently mash the eggs until they are broken down into small, even pieces. You don’t want to completely pulverize them; we’re aiming for a slightly chunky texture. Some people like to use an egg slicer for this, but I find a fork works just as well and gives you more control over the final texture.
- Make the Egg Salad: Add the mayonnaise, milk, Dijon mustard, sugar, salt, and white pepper to the bowl with the mashed eggs. Gently stir everything together until well combined. Be careful not to overmix, as this can make the egg salad watery. Taste the mixture and adjust the seasonings as needed. I sometimes like to add a tiny pinch more sugar for a touch of sweetness, but it’s all about personal preference.
- Chill the Egg Salad: Cover the bowl with plastic wrap and refrigerate the egg salad for at least 30 minutes. This allows the flavors to meld together and the egg salad to firm up slightly, making it easier to spread on the bread. You can even chill it for a few hours or overnight for an even better flavor.
Preparing the Bread:
The bread is just as important as the egg filling! Japanese milk bread, or Shokupan, is the traditional choice for Tamago Sando because of its soft, fluffy texture and slightly sweet flavor. If you can’t find Shokupan, you can use another type of soft, white bread, but try to find one that is relatively dense and not too airy.
- Remove the Crusts: Using a sharp serrated knife, carefully trim the crusts from all six slices of bread. This is essential for achieving the signature Tamago Sando look and texture. The crusts can be a bit tough and chewy, so removing them ensures a perfectly soft and pillowy sandwich. Don’t throw away the crusts! You can use them to make breadcrumbs or croutons.
- Butter the Bread: Spread a thin, even layer of softened butter on one side of each slice of bread. The butter adds richness and flavor, and it also helps to prevent the bread from becoming soggy when you add the egg salad. Make sure the butter is softened to room temperature so that it spreads easily without tearing the bread.
Assembling the Tamago Sando:
Now for the final step putting it all together! This is where your patience and attention to detail will really pay off.
- Spread the Egg Salad: Take three slices of buttered bread and spread a generous amount of the chilled egg salad evenly over the buttered side of each slice. You want a thick layer of egg salad, but not so much that it’s overflowing. Aim for about 1/2 to 3/4 inch thickness.
- Stack the Sandwiches: Carefully place the remaining three slices of buttered bread on top of the egg salad, buttered side down. Gently press down on each sandwich to compress the filling slightly.
- Wrap and Chill (Optional but Recommended): This step is optional, but I highly recommend it. Wrap each sandwich tightly in plastic wrap and refrigerate for at least 30 minutes. This allows the flavors to meld together even further and helps the sandwich hold its shape when you cut it. You can even chill them for a few hours or overnight for an even better result.
- Cut and Serve: Using a sharp serrated knife, carefully cut each sandwich in half. You can cut them diagonally or straight across, depending on your preference. I like to cut them diagonally because it looks more visually appealing. Serve immediately and enjoy!
Tips for the Perfect Tamago Sando:
- Use High-Quality Ingredients: The quality of your ingredients will directly impact the taste of your Tamago Sando. Use fresh eggs, good quality mayonnaise (Kewpie is highly recommended), and soft, fluffy bread.
- Don’t Overcook the Eggs: Overcooked eggs will result in a dry, rubbery yolk. Follow the instructions carefully and use an ice bath to stop the cooking process.
- Don’t Overmix the Egg Salad: Overmixing the egg salad can make it watery. Gently stir the ingredients together until just combined.
- Chill the Egg Salad and Sandwiches: Chilling the egg salad and sandwiches allows the flavors to meld together and helps the sandwich hold its shape.
- Use a Sharp Serrated Knife: A sharp serrated knife will help you cut the sandwiches cleanly without squishing the filling.
- Experiment with Flavors: Feel free to experiment with different flavors and seasonings. You can add a pinch of paprika, a dash of hot sauce, or even a sprinkle of chopped chives to the egg salad.
Variations:
- Spicy Tamago Sando: Add a dash of sriracha or chili oil to the egg salad for a spicy kick.
- Wasabi Tamago Sando: Mix a small amount of wasabi paste into the mayonnaise for a subtle wasabi flavor.
- Curry Tamago Sando: Add a pinch of curry powder to the egg salad for a warm, aromatic flavor.
- Avocado Tamago Sando: Add slices of ripe avocado to the sandwich for a creamy, healthy twist.
Enjoy your homemade Tamago Sando! It’s a simple yet satisfying sandwich that’s perfect for breakfast, lunch, or a light snack. Once you’ve mastered the basic recipe, feel free to experiment with different variations and flavors to create your own signature Tamago Sando.
Conclusion:
This isn’t just another sandwich; it’s an experience. The creamy, subtly sweet, and perfectly textured egg filling nestled between slices of fluffy, lightly toasted bread makes this Tamago Sando a truly unforgettable culinary adventure. I genuinely believe that once you try this recipe, it will become a staple in your repertoire. It’s simple enough for a quick lunch, yet elegant enough to impress at a picnic or brunch gathering.
But why is this Tamago Sando a must-try? It’s the harmonious blend of textures and flavors. The slight sweetness of the Japanese mayonnaise, the richness of the perfectly cooked eggs, and the soft, yielding bread all come together to create a symphony in your mouth. Its a comforting, satisfying, and surprisingly sophisticated sandwich that elevates the humble egg to new heights. Forget your average egg salad; this is in a league of its own!
And the best part? It’s incredibly versatile! While the classic recipe is divine as is, there are so many ways to customize it to your liking.
Serving Suggestions and Variations:
* Spice it up: Add a pinch of Japanese chili flakes (Shichimi Togarashi) to the egg mixture for a subtle kick. A tiny dash of sriracha also works wonders!
* Add some crunch: Finely chopped celery or cucumber mixed into the egg salad will provide a refreshing crunch.
* Elevate the bread: Experiment with different types of bread! While shokupan is traditional, brioche or even a slightly sweet Hawaiian roll can be delicious alternatives. Just ensure the bread is soft and fluffy.
* Make it a meal: Serve your Tamago Sando with a side of miso soup or a light salad for a complete and satisfying meal.
* Breakfast Upgrade: Add a thin layer of avocado to the bread before adding the egg mixture for an extra creamy and nutritious boost.
* Herb Infusion: Mix in some finely chopped fresh herbs like chives or parsley into the egg mixture for a burst of freshness.
* Sweet and Savory: A tiny drizzle of honey or maple syrup over the egg mixture adds a delightful touch of sweetness that complements the savory flavors beautifully.
* Wasabi Kick: For those who enjoy a bit of heat, a small dab of wasabi paste mixed into the mayonnaise will add a unique and exciting flavor dimension.
I truly encourage you to give this recipe a try. It’s more than just a sandwich; it’s a taste of Japanese comfort food that will leave you wanting more. The beauty of this Tamago Sando lies in its simplicity and the quality of its ingredients. Don’t be afraid to experiment and find your perfect version.
Once you’ve made your own Tamago Sando, I’d absolutely love to hear about your experience! Did you stick to the classic recipe, or did you try any of the variations? What kind of bread did you use? What did you think of the overall flavor and texture? Share your photos and thoughts in the comments below! I can’t wait to see your creations and hear your feedback. Happy sandwich-making! I am confident that this will become one of your favorite recipes.
Tamago Sando: The Ultimate Guide to Japanese Egg Sandwich Perfection
Creamy Japanese egg salad sandwich (Tamago Sando) with perfectly cooked eggs nestled in soft, crustless milk bread. A delightful treat!
Ingredients
- 6 large eggs
- 1/4 cup mayonnaise (Japanese Kewpie mayonnaise preferred)
- 1 tablespoon milk
- 1 teaspoon Dijon mustard
- 1/2 teaspoon sugar
- 1/4 teaspoon salt
- Pinch of white pepper
- 6 slices of Japanese milk bread (Shokupan), crusts removed
- 2 tablespoons unsalted butter, softened
Instructions
- Hard-Boil the Eggs: Place eggs in a saucepan, cover with cold water (1 inch above eggs). Bring to a rolling boil over medium-high heat. Remove from heat, cover, and let sit for 12 minutes.
- Ice Bath: Prepare an ice bath. Transfer eggs to the ice bath after 12 minutes. Let sit for at least 5 minutes, or until completely cool.
- Peel the Eggs: Gently tap each egg to crack the shell. Peel under cold water.
- Chop the Eggs: Place peeled eggs in a bowl. Mash gently with a fork into small, even pieces (slightly chunky).
- Make the Egg Salad: Add mayonnaise, milk, Dijon mustard, sugar, salt, and white pepper to the bowl with the mashed eggs. Gently stir until combined. Taste and adjust seasonings.
- Chill the Egg Salad: Cover and refrigerate for at least 30 minutes (or longer) to allow flavors to meld.
- Remove the Crusts: Trim the crusts from all bread slices using a serrated knife.
- Butter the Bread: Spread a thin, even layer of softened butter on one side of each bread slice.
- Spread the Egg Salad: Take three slices of buttered bread and spread a generous amount of the chilled egg salad evenly over the buttered side of each slice (about 1/2 to 3/4 inch thickness).
- Stack the Sandwiches: Carefully place the remaining three slices of buttered bread on top of the egg salad, buttered side down. Gently press down on each sandwich to compress the filling slightly.
- Wrap and Chill (Optional): Wrap each sandwich tightly in plastic wrap and refrigerate for at least 30 minutes (or longer).
- Cut and Serve: Cut each sandwich in half with a sharp serrated knife (diagonally or straight). Serve immediately.
Notes
- Use high-quality ingredients for the best flavor.
- Don’t overcook the eggs.
- Don’t overmix the egg salad.
- Chilling the egg salad and sandwiches enhances flavor and helps the sandwich hold its shape.
- A sharp serrated knife is essential for clean cuts.
- Experiment with flavors: add paprika, hot sauce, or chives to the egg salad.


Leave a Comment