
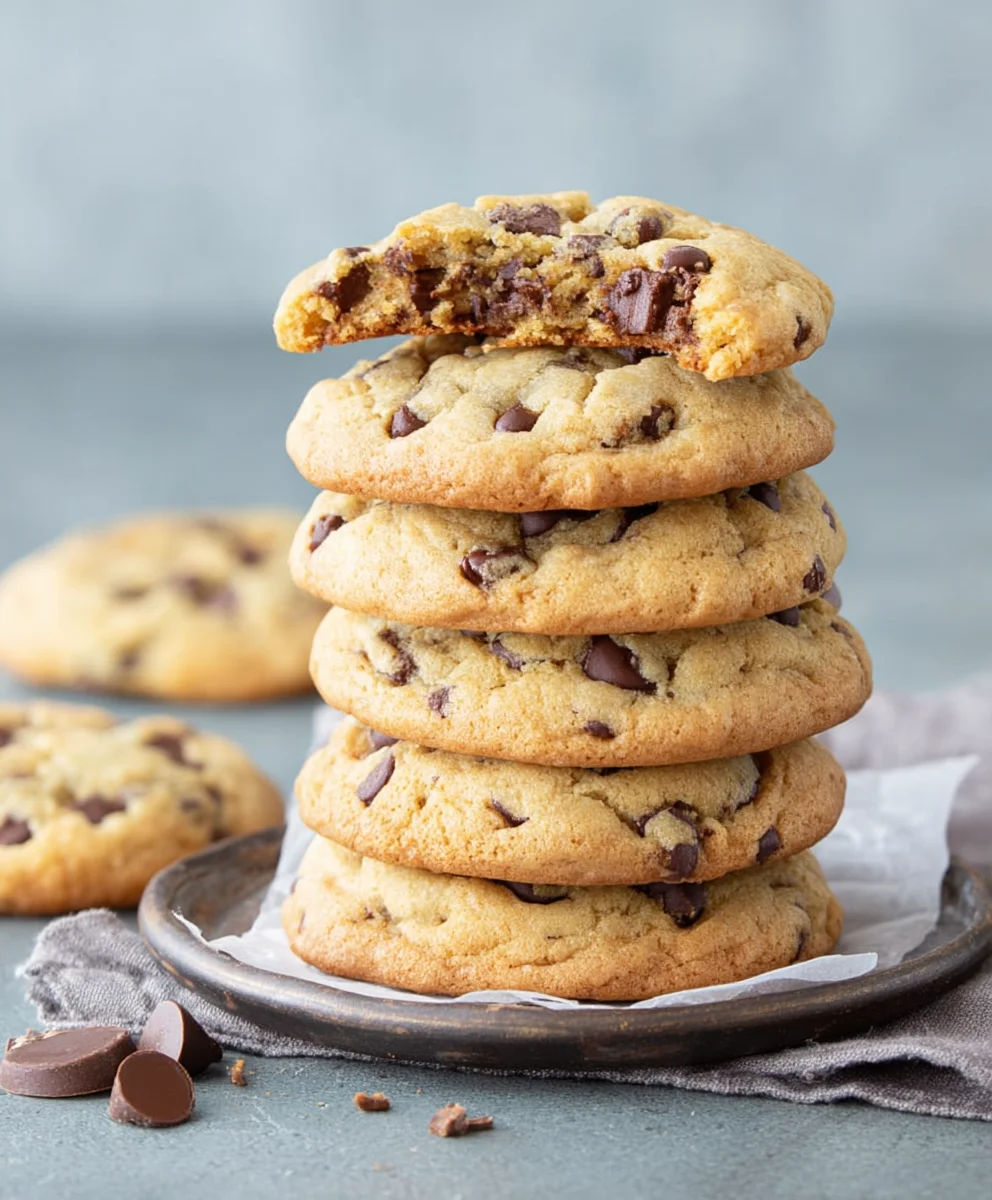
Basisrecept dikke chocolate chip cookies – forget everything you thought you knew about baking these classic treats. There’s a certain magic in biting into a cookie that’s perfectly crisp on the edges, wonderfully chewy in the center, and absolutely loaded with molten chocolate chips. It’s a universally loved indulgence, a comfort food that brings smiles to faces young and old. But what truly sets this basisrecept dikke chocolate chip cookies apart? It’s the meticulous balance of ingredients, the secret to achieving that coveted thick texture without sacrificing flavor, and the simple joy of creating something truly delicious from scratch. This isn’t just a recipe; it’s an invitation to experience cookie perfection, a journey that will fill your kitchen with an irresistible aroma and your heart with immense baking satisfaction. Get ready to elevate your cookie game!

Ingredients:
- 100 gram ongezouten roomboter, op kamertemperatuur
- 120 gram lichtbruine basterdsuiker
- 30 gram fijne kristalsuiker
- 1 ei (maat M), op kamertemperatuur
- 1 theelepel vanille-extract
- 220 gram bloem
- Een snufje zout
- 1 theelepel baking soda
- 100 gram chocolate chips (melk of puur, of een mix)
- Extra chocolate chips ter decoratie
Bereiding
Stap 1: Creëren van de Boter-Suiker Basis
Begin met het verzachten van de ongezouten roomboter. Zorg ervoor dat deze echt op kamertemperatuur is, zodat hij makkelijk te bewerken is. Dit is cruciaal voor een luchtige cookie. Doe de zachte boter in een grote mengkom. Voeg hier de lichtbruine basterdsuiker en de fijne kristalsuiker aan toe. Gebruik vervolgens een elektrische mixer, of een garde en flink wat spierkracht, om de boter en de suikers romig en licht van kleur te kloppen. Dit proces, ook wel ‘creaming’ genoemd, zorgt ervoor dat lucht in het mengsel wordt opgenomen, wat bijdraagt aan de dikte en malsheid van de uiteindelijke cookies. Ik klop dit meestal zo’n 3 tot 5 minuten, tot het mengsel echt luchtig aanvoelt en er een beetje bleker uitziet dan in het begin. Schraap tussendoor de zijkanten van de kom een paar keer schoon om ervoor te zorgen dat alles goed gemengd wordt.
Stap 2: Toevoegen van Ei en Vanille
Nu is het tijd om het ei en het vanille-extract toe te voegen. Zorg er ook hier weer voor dat je ei op kamertemperatuur is. Dit helpt om het mengsel mooi te binden en voorkomt dat het schift. Breek het ei voorzichtig boven een klein kommetje, zodat je eventueel gemorst ei makkelijk kunt opvangen en kunt controleren of het ei in orde is. Voeg vervolgens het ei en de theelepel vanille-extract toe aan het romige boter-suikermengsel. Mix opnieuw met de elektrische mixer op middelhoge snelheid. Mix net zolang tot het ei volledig is opgenomen en het mengsel er egaal uitziet. Het kan er in het begin een beetje waterig uitzien, maar blijf mixen tot het goed gecombineerd is. Het vanille-extract voegt niet alleen een heerlijke smaak toe, maar versterkt ook de chocoladesmaak.
Stap 3: Mengen van de Droge Ingrediënten
Pak een aparte kom en doe hierin de 220 gram bloem, het snufje zout en de theelepel baking soda. Baking soda is essentieel voor het rijzen en de typische textuur van de cookies. Het zout balanceert de zoetheid en versterkt de andere smaken. Meng deze droge ingrediënten goed door elkaar met een garde. Dit zorgt ervoor dat de baking soda en het zout gelijkmatig verdeeld worden in de bloem, wat resulteert in uniform gebakken cookies. Het is geen ingewikkelde stap, maar wel een die belangrijk is voor het eindresultaat. Zorg ervoor dat er geen klontjes in de bloem zitten.
Stap 4: Combineren van Natte en Droge Ingrediënten
Voeg nu geleidelijk de droge ingrediënten toe aan het natte mengsel. Doe dit in twee of drie porties. Mix op de laagste stand van je elektrische mixer, of gebruik een spatel om alles rustig door elkaar te vouwen. Het is belangrijk om niet te lang te mixen zodra de bloem is toegevoegd. Overmatig mixen kan leiden tot taaie cookies, omdat je dan de gluten in de bloem te veel ontwikkelt. Stop met mixen zodra er geen droge bloem meer zichtbaar is. Een beetje streperig is niet erg, dat komt later wel goed. Ik gebruik graag een spatel in deze fase, omdat je dan beter controle hebt en de kans op overmixen kleiner is. Het deeg zal nu dik en plakkerig beginnen te worden.
Stap 5: Toevoegen van de Chocolate Chips en Vormen van de Cookies
Vouw nu voorzichtig de 100 gram chocolate chips door het deeg. Gebruik hiervoor je spatel. Zorg ervoor dat de chips goed verdeeld zijn. Nu komt het leuke deel: het vormen van de cookies. Gebruik een ijsschep of twee lepels om porties deeg te vormen. Omdat dit een recept voor dikke cookies is, wil je flinke bollen deeg. Plaats de deegbollen met voldoende tussenruimte op een met bakpapier beklede bakplaat. Ze zullen nog flink uitlopen tijdens het bakken. Druk de bollen een klein beetje plat, maar niet te veel, want we willen dat ze dik blijven. Garneer de bovenkant van elke deegbol met een paar extra chocolate chips. Dit geeft de cookies een prachtig, ambachtelijk uiterlijk en zorgt ervoor dat ze er nog smakelijker uitzien als ze uit de oven komen. Als je van extra dikke cookies houdt, kun je het deeg het beste eerst minimaal 30 minuten tot een paar uur (afgedekt) in de koelkast laten rusten. Dit helpt de vorm te behouden en zorgt voor een nog dichtere textuur.
Stap 6: Bakken van de Perfecte Cookies
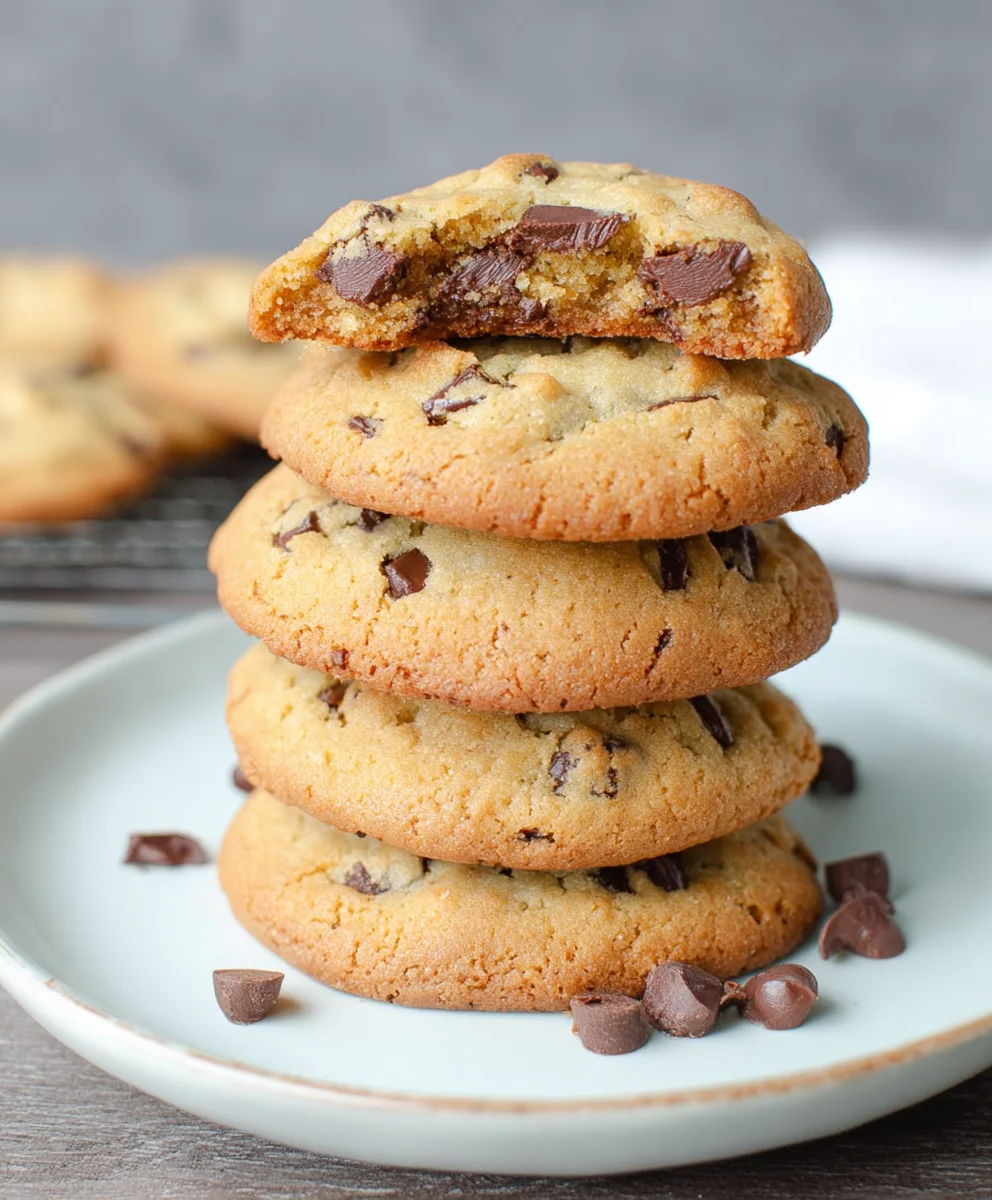
Verwarm je oven voor op 180 graden Celsius (heteluchtoven 160 graden Celsius). Plaats de bakplaat in het midden van de voorverwarmde oven. Bak de cookies gedurende 10 tot 12 minuten. De baktijd is cruciaal voor de textuur. Ze moeten er aan de randjes goudbruin uitzien, maar in het midden nog een beetje zacht en ongebakken lijken. Dit is precies wat je wilt voor een dikke, chewy cookie. Haal de bakplaat uit de oven en laat de cookies, terwijl ze nog op de bakplaat liggen, een paar minuten afkoelen. Dit helpt ze om verder te garen en steviger te worden zonder droog te worden. Verplaats ze daarna voorzichtig naar een rooster om volledig af te koelen. Het ‘Basisrecept dikke chocolate chip cookies’ is nu klaar om van te genieten!
Conclusion:
So there you have it – your ultimate guide to mastering the Basisrecept dikke chocolate chip cookies! We’ve walked through each step, from creaming the butter and sugar to folding in those essential chocolate chips. The key to these wonderfully thick cookies lies in the balance of ingredients and the chilling time, which allows the flavors to meld and prevents excessive spreading. Don’t be afraid to experiment, and remember that patience in the chilling process will reward you with perfectly chewy and decadent cookies.
These cookies are incredibly versatile. They are fantastic on their own, perhaps with a tall glass of cold milk, but they also make for an exquisite dessert base. Try serving them warm with a scoop of vanilla ice cream for a classic combination, or crumble them over yogurt for a delightful breakfast treat. If you’re feeling adventurous, consider adding a sprinkle of sea salt on top just before baking for an extra layer of flavor complexity that perfectly complements the sweetness of the chocolate.
Don’t be discouraged if your first batch isn’t absolutely perfect. Baking is a journey, and with this Basisrecept dikke chocolate chip cookies as your foundation, you’re well on your way to cookie-baking glory. Enjoy the process, savor the aroma filling your kitchen, and most importantly, enjoy sharing these delicious homemade treats with loved ones!
Frequently Asked Questions:
Why are my cookies spreading too much?
Spreading is often caused by using softened, not chilled, dough, or by using too much butter or sugar. Ensure your butter is truly cold but pliable and that you’ve chilled the dough for the recommended time. Over-mixing the dough after adding the flour can also contribute to spreading.
Can I make these cookies ahead of time?
Absolutely! The dough can be made and chilled for up to 72 hours. In fact, chilling the dough for longer periods can actually deepen the flavor. You can also freeze portions of the dough for up to 3 months. Simply bake from frozen, adding a few extra minutes to the baking time.
Thick Chocolate Chip Cookies – Easy & Delicious Baking
A simple and delicious recipe for making thick, chewy chocolate chip cookies.
Ingredients
-
100 grams unsalted butter, softened
-
120 grams light brown sugar
-
30 grams granulated sugar
-
1 large egg
-
1 teaspoon vanilla extract
-
220 grams all-purpose flour
-
Pinch of salt
-
1 teaspoon baking soda
-
100 grams chocolate chips (milk or dark, or a mix)
-
Extra chocolate chips for decoration
Instructions
-
Step 1
Cream the softened unsalted butter with the light brown sugar and granulated sugar until light and fluffy. This process, called ‘creaming’, incorporates air for thicker, softer cookies. Beat for 3-5 minutes, scraping down the sides of the bowl as needed. -
Step 2
Add the room-temperature egg and vanilla extract to the creamed butter and sugar mixture. Mix on medium-high speed until fully incorporated and the mixture looks even. Continue mixing until well combined, even if it appears a bit watery at first. -
Step 3
In a separate bowl, whisk together the flour, salt, and baking soda. Ensure these dry ingredients are evenly distributed for uniform cookies. -
Step 4
Gradually add the dry ingredients to the wet ingredients in two or three additions. Mix on the lowest speed or fold with a spatula until just combined. Do not overmix, as this can result in tough cookies. Stop mixing when no dry flour is visible; a slightly streaky appearance is fine. -
Step 5
Gently fold in the chocolate chips with a spatula. Scoop generous portions of dough using an ice cream scoop or two spoons, placing them well apart on a baking sheet lined with parchment paper. These cookies will spread significantly. Lightly flatten the dough balls. For extra thick cookies, chill the dough for at least 30 minutes or up to a few hours. -
Step 6
Decorate the top of each cookie dough ball with extra chocolate chips. Bake in a preheated oven at 180°C (160°C for fan oven) for 10-12 minutes, or until the edges are golden brown and the centers still appear slightly soft and underbaked. Remove from oven and let cool on the baking sheet for a few minutes before transferring to a wire rack to cool completely.
Important Information
Nutrition Facts (Per Serving)
It is important to consider this information as approximate and not to use it as definitive health advice.
Allergy Information
Please check ingredients for potential allergens and consult a health professional if in doubt.

Leave a Comment