Valentines Day Chocolate Cake: the ultimate expression of love, baked to perfection! Forget the flowers and the fancy dinners; this year, show your affection with a decadent, homemade chocolate cake that will truly melt their heart. Imagine slicing into a rich, moist cake, the aroma of dark chocolate filling the air, and the look of pure joy on your loved one’s face. That’s the magic of a truly great chocolate cake, especially when it’s made with love for Valentine’s Day.
Chocolate, historically, has been associated with romance and indulgence for centuries. From the ancient Mayans, who considered it a sacred and valuable commodity, to the modern-day lover gifting a box of chocolates, this sweet treat has always been a symbol of affection. And what better way to celebrate Valentine’s Day than by transforming this beloved ingredient into a show-stopping dessert?
People adore chocolate cake for its irresistible combination of flavors and textures. The deep, intense chocolate flavor, the moist and tender crumb, and the often-fudgy frosting create a symphony of sensations that are simply divine. Plus, baking a Valentines Day Chocolate Cake is a thoughtful and personal gesture that speaks volumes. It’s a way to say “I love you” in the most delicious way possible. So, let’s get baking and create a Valentine’s Day masterpiece that will be remembered long after the last crumb is gone!
Ingredients:
- For the Chocolate Cake:
- 2 cups all-purpose flour
- 2 cups granulated sugar
- ¾ cup unsweetened cocoa powder
- 1 ½ teaspoons baking powder
- 1 ½ teaspoons baking soda
- 1 teaspoon salt
- 1 cup buttermilk
- ½ cup vegetable oil
- 2 large eggs
- 2 teaspoons vanilla extract
- 1 cup boiling water
- For the Chocolate Ganache:
- 12 ounces semi-sweet chocolate, finely chopped
- 1 cup heavy cream
- 2 tablespoons unsalted butter, softened
- For the Raspberry Filling:
- 12 ounces fresh raspberries
- ¼ cup granulated sugar
- 1 tablespoon lemon juice
- 1 tablespoon cornstarch
- 2 tablespoons water
- Optional Decorations:
- Fresh raspberries
- Chocolate shavings
- Edible glitter
- Heart-shaped sprinkles
Preparing the Chocolate Cake:
- Preheat and Prepare: First things first, preheat your oven to 350°F (175°C). Grease and flour two 9-inch round cake pans. I like to use baking spray with flour already in it for extra insurance against sticking. You can also line the bottoms with parchment paper rounds for easy removal.
- Combine Dry Ingredients: In a large bowl, whisk together the flour, sugar, cocoa powder, baking powder, baking soda, and salt. Make sure everything is evenly distributed this will help your cake rise properly and have a consistent texture.
- Add Wet Ingredients: In a separate bowl, whisk together the buttermilk, oil, eggs, and vanilla extract. Whisk until everything is well combined and the mixture is smooth.
- Combine Wet and Dry: Gradually add the wet ingredients to the dry ingredients, mixing on low speed until just combined. Be careful not to overmix! Overmixing can develop the gluten in the flour, resulting in a tough cake.
- Add Boiling Water: Slowly pour in the boiling water while mixing on low speed. The batter will be very thin don’t worry, that’s normal! The hot water helps to bloom the cocoa powder and creates a moist, rich cake.
- Divide and Bake: Divide the batter evenly between the prepared cake pans. Bake for 30-35 minutes, or until a wooden skewer inserted into the center comes out clean.
- Cool Completely: Let the cakes cool in the pans for 10 minutes before inverting them onto a wire rack to cool completely. This is crucial! Trying to frost a warm cake is a recipe for disaster.
Making the Raspberry Filling:
- Combine Raspberries and Sugar: In a medium saucepan, combine the fresh raspberries and sugar.
- Cook Down: Cook over medium heat, stirring occasionally, until the raspberries break down and release their juices. This usually takes about 5-7 minutes.
- Add Lemon Juice: Stir in the lemon juice. The lemon juice brightens the flavor of the raspberries and adds a nice tang.
- Thicken the Filling: In a small bowl, whisk together the cornstarch and water to form a slurry.
- Incorporate Slurry: Slowly pour the cornstarch slurry into the raspberry mixture, stirring constantly.
- Simmer and Thicken: Bring the mixture to a simmer and cook for 1-2 minutes, or until the filling has thickened.
- Cool Completely: Remove from heat and let the raspberry filling cool completely before using. This prevents it from melting the ganache.
Preparing the Chocolate Ganache:
- Chop the Chocolate: Finely chop the semi-sweet chocolate and place it in a heatproof bowl. The finer the chocolate is chopped, the smoother the ganache will be.
- Heat the Cream: In a small saucepan, heat the heavy cream over medium heat until it just begins to simmer. Do not boil!
- Pour Over Chocolate: Pour the hot cream over the chopped chocolate.
- Let it Sit: Let the mixture sit for 1 minute to allow the heat from the cream to melt the chocolate.
- Whisk Until Smooth: Gently whisk the mixture together, starting from the center and working your way outwards, until the chocolate is completely melted and the ganache is smooth and glossy.
- Add Butter: Stir in the softened butter until it is fully incorporated. The butter adds richness and shine to the ganache.
- Cool Slightly: Let the ganache cool slightly before using. It should be thick enough to spread but still pourable. If it gets too thick, you can gently warm it in the microwave in 10-second intervals, stirring in between.
Assembling the Valentine’s Day Chocolate Cake:
- Level the Cakes: If your cakes have a dome on top, use a serrated knife to level them. This will ensure that your cake is even and stable.
- Place First Layer: Place one cake layer on a serving plate or cake stand.
- Apply Raspberry Filling: Spread the cooled raspberry filling evenly over the first cake layer, leaving a small border around the edge. This will prevent the filling from oozing out when you add the second layer.
- Place Second Layer: Carefully place the second cake layer on top of the raspberry filling.
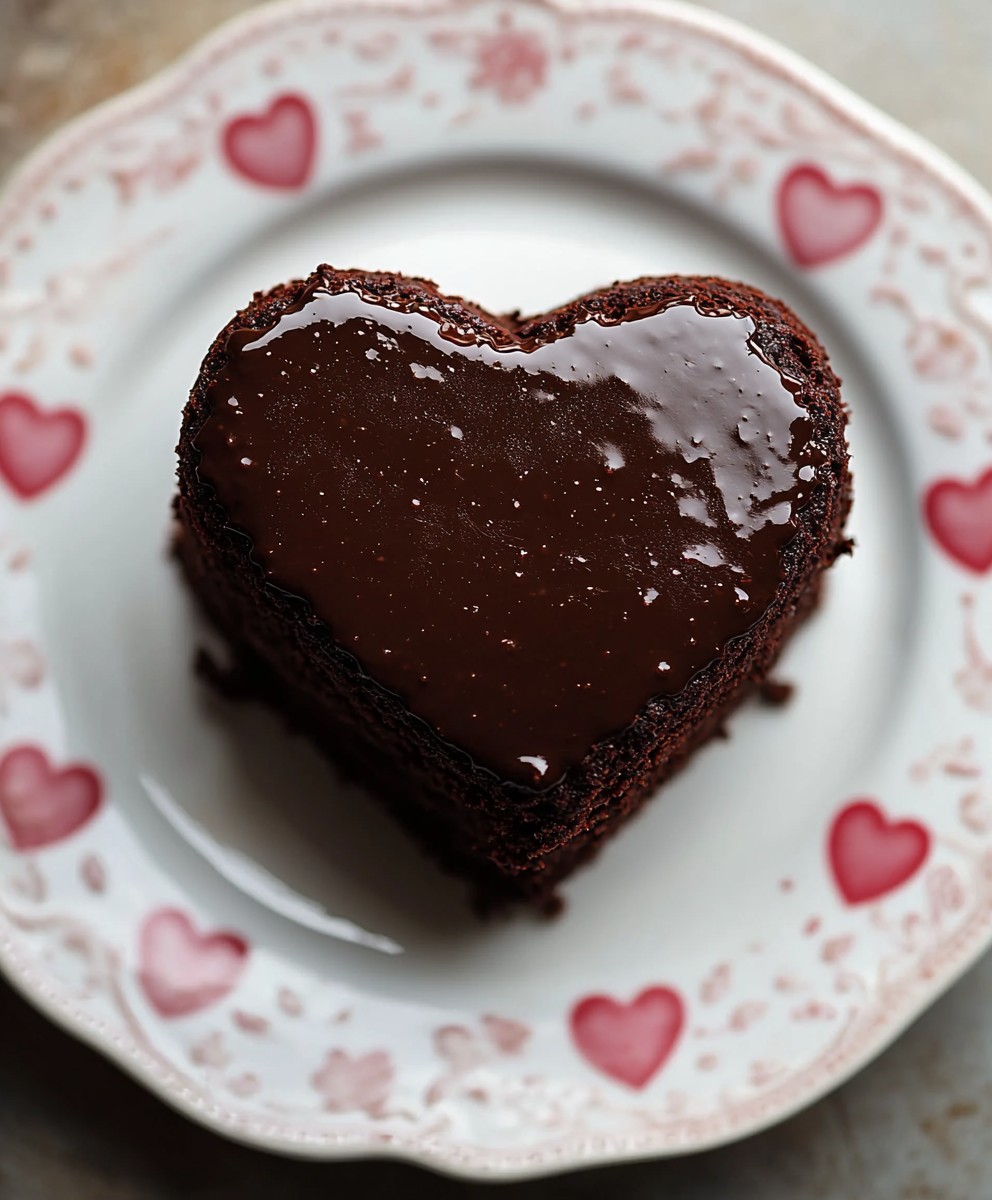
- Frost with Ganache: Pour the slightly cooled chocolate ganache over the top of the cake, allowing it to drip down the sides. You can use an offset spatula to spread the ganache evenly and create a smooth finish.
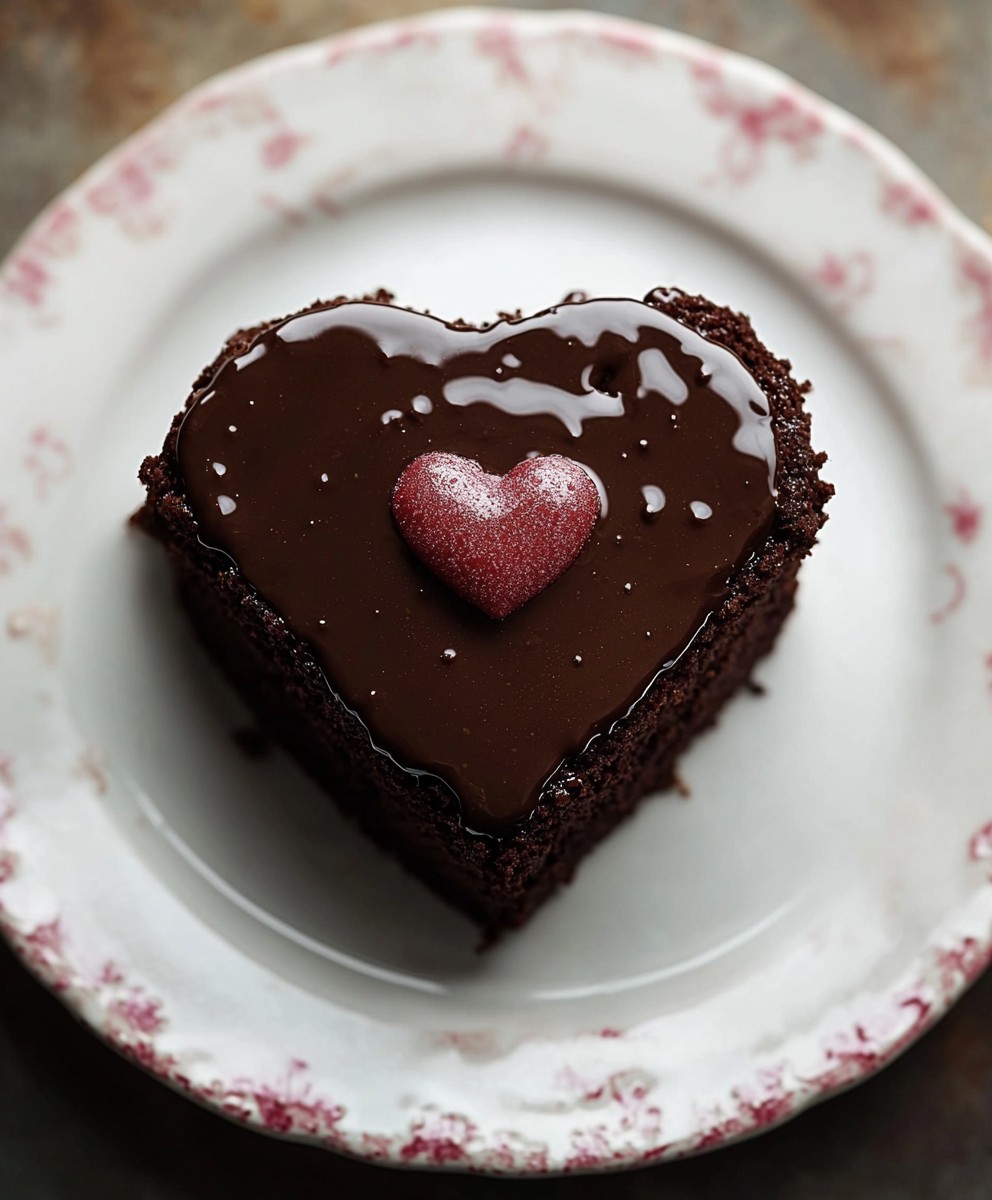
- Decorate (Optional): Decorate the cake with fresh raspberries, chocolate shavings, edible glitter, or heart-shaped sprinkles. Get creative and make it your own!
- Chill (Optional): For a cleaner cut, chill the cake in the refrigerator for at least 30 minutes before serving. This will allow the ganache to set slightly.
- Serve and Enjoy: Slice and serve your delicious Valentine’s Day Chocolate Cake! This cake is best enjoyed with a scoop of vanilla ice cream or a dollop of whipped cream.
Conclusion:
This Valentine’s Day Chocolate Cake isn’t just a dessert; it’s an experience, a declaration of love baked into every decadent bite. From the rich, moist crumb to the intensely chocolatey frosting, this cake is guaranteed to impress your loved ones and create a memorable Valentine’s Day celebration. It’s a must-try because it’s surprisingly simple to make, even for novice bakers, yet delivers a professional-looking and tasting result. Forget store-bought sweets this year; nothing says “I love you” like a homemade masterpiece. But the best part? This recipe is incredibly versatile! Looking for serving suggestions? A simple dusting of powdered sugar is elegant and understated, allowing the chocolate flavor to truly shine. For a more dramatic presentation, consider adding fresh raspberries or strawberries their tartness perfectly complements the richness of the cake. A scoop of vanilla bean ice cream or a dollop of whipped cream adds a delightful textural contrast. And if you’re feeling adventurous, there are endless variations you can explore. Want to amp up the chocolate intensity? Add a tablespoon of espresso powder to the batter. Craving a hint of spice? A pinch of cinnamon or chili powder will add a subtle warmth. For a nutty twist, incorporate chopped walnuts or pecans into the frosting. You could even create a layered cake with a raspberry jam filling for an extra burst of flavor. Don’t be afraid to get creative and personalize this Valentine’s Day Chocolate Cake to your own tastes and preferences. The possibilities are truly endless! I’ve poured my heart into perfecting this recipe, and I’m confident that you’ll love it as much as I do. It’s the perfect way to show your loved ones how much you care, and it’s guaranteed to be a crowd-pleaser. So, what are you waiting for? Gather your ingredients, preheat your oven, and get ready to bake some love! I promise, the aroma of chocolate filling your kitchen will be an experience in itself. And the look on your loved one’s face when they take their first bite? Priceless. I truly believe this Valentine’s Day Chocolate Cake will become a cherished tradition in your home. It’s more than just a recipe; it’s a way to create lasting memories and celebrate the special bond you share with those you love. I’m so excited for you to try this recipe! Once you’ve baked your own masterpiece, please share your experience with me! I’d love to see your photos and hear about any variations you tried. Did you add a special ingredient? Did you decorate it in a unique way? Let me know in the comments below! Your feedback is invaluable, and it helps me continue to create and share delicious recipes that you’ll love. Happy baking, and Happy Valentine’s Day! I hope this cake makes your celebration extra sweet. Remember to tag me in your photos on social media I can’t wait to see your creations! Let’s spread the love, one chocolate cake at a time. PrintValentines Day Chocolate Cake: A Decadent Recipe for Love
Decadent chocolate cake layered with homemade raspberry filling and topped with rich chocolate ganache. Perfect for Valentine’s Day or any special occasion!
- Prep Time: 45 minutes
- Cook Time: 45 minutes
- Total Time: 90 minutes
- Yield: 10–12 servings 1x
Ingredients
- 2 cups all-purpose flour
- 2 cups granulated sugar
- ¾ cup unsweetened cocoa powder
- 1 ½ teaspoons baking powder
- 1 ½ teaspoons baking soda
- 1 teaspoon salt
- 1 cup buttermilk
- ½ cup vegetable oil
- 2 large eggs
- 2 teaspoons vanilla extract
- 1 cup boiling water
- 12 ounces semi-sweet chocolate, finely chopped
- 1 cup heavy cream
- 2 tablespoons unsalted butter, softened
- 12 ounces fresh raspberries
- ¼ cup granulated sugar
- 1 tablespoon lemon juice
- 1 tablespoon cornstarch
- 2 tablespoons water
- Fresh raspberries
- Chocolate shavings
- Edible glitter
- Heart-shaped sprinkles
Instructions
- Preheat oven to 350°F (175°C). Grease and flour two 9-inch round cake pans (or use baking spray with flour). Line the bottoms with parchment paper rounds.
- In a large bowl, whisk together the flour, sugar, cocoa powder, baking powder, baking soda, and salt.
- In a separate bowl, whisk together the buttermilk, oil, eggs, and vanilla extract until smooth.
- Gradually add the wet ingredients to the dry ingredients, mixing on low speed until just combined. Do not overmix.
- Slowly pour in the boiling water while mixing on low speed. The batter will be thin.
- Divide the batter evenly between the prepared cake pans. Bake for 30-35 minutes, or until a wooden skewer inserted into the center comes out clean.
- Let the cakes cool in the pans for 10 minutes before inverting them onto a wire rack to cool completely.
- In a medium saucepan, combine the fresh raspberries and sugar.
- Cook over medium heat, stirring occasionally, until the raspberries break down and release their juices (5-7 minutes).
- Stir in the lemon juice.
- In a small bowl, whisk together the cornstarch and water to form a slurry.
- Slowly pour the cornstarch slurry into the raspberry mixture, stirring constantly.
- Bring the mixture to a simmer and cook for 1-2 minutes, or until the filling has thickened.
- Remove from heat and let the raspberry filling cool completely before using.
- Finely chop the semi-sweet chocolate and place it in a heatproof bowl.
- In a small saucepan, heat the heavy cream over medium heat until it just begins to simmer. Do not boil!
- Pour the hot cream over the chopped chocolate.
- Let the mixture sit for 1 minute to allow the heat from the cream to melt the chocolate.
- Gently whisk the mixture together, starting from the center and working your way outwards, until the chocolate is completely melted and the ganache is smooth and glossy.
- Stir in the softened butter until it is fully incorporated.
- Let the ganache cool slightly before using. It should be thick enough to spread but still pourable. If it gets too thick, you can gently warm it in the microwave in 10-second intervals, stirring in between.
- If your cakes have a dome on top, use a serrated knife to level them.
- Place one cake layer on a serving plate or cake stand.
- Spread the cooled raspberry filling evenly over the first cake layer, leaving a small border around the edge.
- Carefully place the second cake layer on top of the raspberry filling.
- Pour the slightly cooled chocolate ganache over the top of the cake, allowing it to drip down the sides. You can use an offset spatula to spread the ganache evenly and create a smooth finish.
- Decorate the cake with fresh raspberries, chocolate shavings, edible glitter, or heart-shaped sprinkles.
- For a cleaner cut, chill the cake in the refrigerator for at least 30 minutes before serving.
- Slice and serve your delicious Valentine’s Day Chocolate Cake!
Notes
- For extra moist cakes, consider brushing the cooled cake layers with a simple syrup (equal parts sugar and water, simmered until sugar dissolves).
- If you don’t have buttermilk, you can make a substitute by adding 1 tablespoon of lemon juice or white vinegar to a liquid measuring cup, then filling the rest of the cup with milk to equal 1 cup. Let it sit for 5 minutes before using.
- Be careful not to overbake the cake, as this can result in a dry cake.
- The ganache can be made ahead of time and stored in the refrigerator for up to 3 days. Reheat gently before using.
- Feel free to adjust the amount of sugar in the raspberry filling to your liking, depending on the sweetness of the raspberries.




Leave a Comment